Image source: Pexels / BOOM 💥 Photography (Pexels License)
Dehumidifiers are unsung heroes of a healthy home. They pull excess moisture from the air, keeping your spaces comfortable and protecting walls, furniture, and belongings from damp damage. But here’s the catch, that very moisture collection process makes dehumidifiers prone to mold, mildew, and bacterial growth if you don’t take care of them.
When a dehumidifier grows mold inside its own tank or coils, it blows that contaminated air right back into your rooms.
That’s why learning how to disinfect a dehumidifier isn’t just a nice-to-have. It’s a must. A dirty dehumidifier can worsen allergies, trigger asthma attacks, and create unpleasant odors that no amount of air freshener will fix.
This guide walks you through everything you need to know, from the supplies to gather, to the exact steps for tackling every part of your unit, to tips that keep it running clean between deep cleans.
Why You Need to Disinfect Your Dehumidifier
Dehumidifiers work by pulling warm, humid air over cold coils. That condensation drips into a collection tank or drains away. Sounds simple enough.
But that dark, damp environment inside the tank and on those coils is basically a breeding ground for microbes.
Studies show that standing water in HVAC-related equipment can harbor mold species like Aspergillus and Penicillium, along with bacteria such as Legionella. EPA guidance on indoor moisture control recommends keeping indoor humidity between 30% and 50% precisely because that range slows microbial growth, but your dehumidifier’s internal reservoir sits outside that controlled zone. It’s warm, wet, and often untouched for weeks.
When you run the fan, whatever grows inside gets pushed out through the vent. That means you’re not just cleaning your air, you could be contaminating it.
Regular disinfection does three critical things:
- Stops mold and mildew before they spread. Cleaning kills existing colonies and removes the biofilm they build up on surfaces.
- Keeps airflow strong. Dust and grime clog filters and coat coils, forcing the compressor to work harder and using more electricity.
- Eliminates musty odors. That sour smell coming off your unit? It’s microbes. Disinfection removes the cause, not just the symptom.
If you’ve ever opened your dehumidifier’s tank and found slimy residue on the bottom, or smelled something funky when the unit runs, it’s time to disinfect. Don’t wait for visible slime, schedule cleaning before problems appear.
How Often Should You Disinfect Your Dehumidifier
Frequency depends on usage, climate, and the type of dehumidifier you own. Here’s a practical breakdown:
Weekly checks apply if you live in a hot, humid climate or run your dehumidifier daily. Empty and rinse the tank every time you pour it out. Wipe the interior with a damp cloth.
Check the filter weekly and vacuum or wash it.
Monthly disinfection is the baseline for most households. Even in moderate climates, a full disinfection cycle once a month keeps biological growth in check. This means scrubbing the tank with a disinfecting solution, cleaning the filter thoroughly, and wiping down the coils.
Seasonal deep clean matters if you only use your dehumidifier during summer or after a flood. Before you pull it out of storage at the start of each season, give it a complete overhaul. Clean every component, run it with a disinfectant cycle, and inspect hoses and drain lines for buildup.
Signs you need to disinfect sooner include:
- Visible mold spots inside the tank or on the filter
- A persistent musty or earthy smell
- Reduced moisture removal, the unit runs but doesn’t seem to dry the air
- Water that looks cloudy or has floating particles in the tank
Your owner’s manual may list a cleaning schedule specific to your model. Always check it first, but use the guidelines above as your floor, never cleaner than monthly unless conditions demand it.
What Supplies You’ll Need
You don’t need specialty chemicals or expensive tools. Most of what you need sits in your kitchen or cleaning cabinet. Here’s the complete list:
- White distilled vinegar, A natural disinfectant that kills about 80% of mold species and breaks down mineral deposits. Use plain white vinegar, not seasoned or flavored varieties.
- Bleach (optional), For heavy mold situations, a diluted bleach solution provides stronger disinfection. Mix one part bleach to ten parts water. Never mix bleach with vinegar, the reaction creates toxic chlorine gas.
- Baking soda, Helps scrub away grime and neutralize odors without scratching plastic or metal surfaces.
- Soft-bristled brush, An old toothbrush works perfectly for tight corners and filter slots.
- Microfiber cloths, Lint-free and effective at picking up residue without leaving fibers behind.
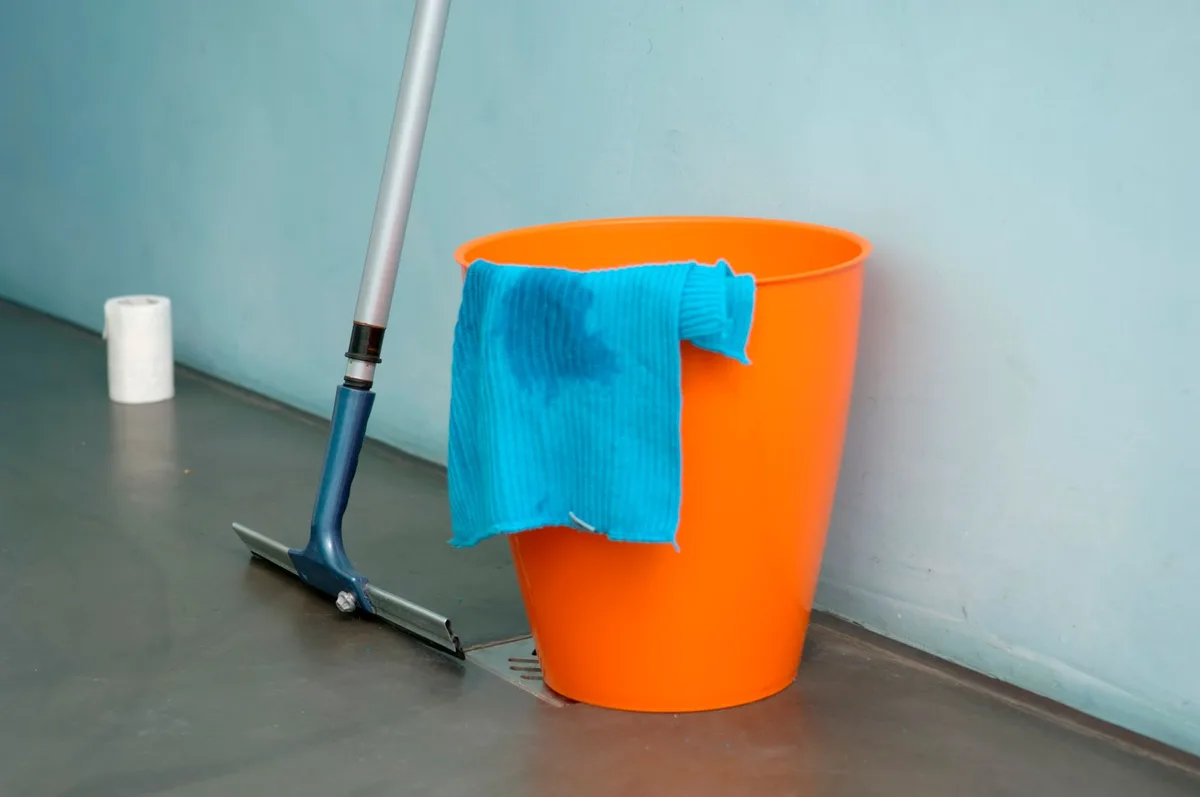
- Bucket, Large enough to soak the tank and filter.
- Vacuum cleaner with a brush attachment, For pulling dust from coils and the exterior grille.
- Gloves, Rubber or nitrile gloves protect your hands from mold spores, cleaning solutions, and sharp edges inside the unit.
- Shop towel or old rags, For drying components after washing.
Avoid abrasive scrub pads on plastic tanks, they leave micro-scratches where mold can hide. Avoid harsh cleaners with ammonia on coils; they can corrode the aluminum fins over time.
How to Clean and Disinfect the Water Tank
The water tank is the heart of the problem and the easiest place to start. It holds stagnant water, collects sediment, and develops that slimy biofilm that feels almost alive against your fingers. Cleaning it properly takes just ten to fifteen minutes.
First, unplug the dehumidifier. Never clean any component while the unit is powered on. Remove the tank carefully and carry it to a sink or outdoor area where you can dispose of the water safely.
Image source: Pexels / Yagyaansh Khaneja (Pexels License)
Empty the tank completely. If the water looks murky or has debris floating in it, pour it down a floor drain or outside rather than a kitchen sink, this keeps any spores or bacteria away from your household plumbing. Rinse the tank with warm water to remove loose residue.
Next, choose your cleaning approach based on the level of contamination.
For routine cleaning, fill the tank with a solution of equal parts white vinegar and warm water. Let it sit for at least thirty minutes. The acetic acid in vinegar breaks down mineral deposits and disrupts mold cell walls.
After soaking, scrub the interior with a soft brush, paying special attention to corners and the area around the float valve if your model has one. Rinse thoroughly with clean water and let the tank air-dry completely before putting it back.
For mold or heavy buildup, switch to the bleach solution. Mix one part household bleach with ten parts water. Pour it into the tank, swish it around to coat every surface, and let it sit for fifteen to twenty minutes.
This concentration is strong enough to kill mold spores but safe for most plastic tank materials when used briefly. Wear gloves and work in a well-ventilated area. After soaking, scrub thoroughly, rinse multiple times until you no longer smell bleach, and allow the tank to dry fully.
The drying step matters more than people realize. Any moisture left behind becomes tomorrow’s mold home. Turn the tank upside down on a clean towel and let it sit for at least an hour.
Use a shop towel to wipe the inside dry if you’re in a hurry.
Inspect the tank for cracks or cloudiness. Cloudy plastic often means microscopic scratches where biofilm has lodged. Cracked tanks should be replaced, sealing them doesn’t solve the problem long-term.
How to Clean the Air Filter and Coils
Your dehumidifier pulls air through a filter before it reaches the cooling coils. That filter catches dust, lint, pet hair, and allergens. Over time, it clogs.
Clogged filters reduce airflow, force the compressor to overwork, and become a secondary source of airborne particles every time the fan kicks on.
Image source: Pexels / Jesus Arias (Pexels License)
Locate the filter. On most models, it slides out from the front or back panel. Some sit behind a removable grille.
Consult your manual if you’re unsure, forcing a filter panel can crack the housing.
For reusable mesh filters, remove the filter and tap it gently against a trash can to dislodge loose dust. Then vacuum both sides with a brush attachment. For a deeper clean, soak the filter in warm soapy water for ten minutes.
Use a soft brush to work soap through the mesh, don’t bend or stretch the wires. Rinse under running water until the water runs clear. Shake off excess water and lay the filter flat to dry completely.
Do not reinstall a damp filter.
For disposable foam filters, replace them instead of cleaning. Washing destroys the foam structure and reduces filtration efficiency. Check the filter every month and swap it out when it looks gray or feels stiff with trapped dirt.
Now move to the coils. These thin metal fins sit behind the filter and feel cold when the unit runs. Dust and fuzz build up between them like fur on a pet.
You can’t scrub them, bending the fins reduces cooling performance. Instead, use a coil brush or a soft paintbrush to gently sweep between the fins. Follow the direction of the fins, not across them.
A vacuum with a narrow hose attachment works well here too. Run it slowly along the coil face to pull out trapped debris. If the coils look heavily coated, you can spray them with a no-rinse coil cleaner from an HVAC supply store.
Follow the product instructions exactly, some foaming cleaners require waiting time before the unit runs again.
After the filter and coils are clean and dry, reassemble everything. Plug the unit back in and listen. Clean coils and a clear filter make the compressor run smoother and quieter.
That sound difference is your first indicator that the job paid off.
How to Disinfect the Inside of the Unit
Cleaning the tank and filters handles the biggest contamination zones. But the interior cabinet, the fan housing, the evaporator casing, and any drain ports also collect moisture and spores. This is where a full-unit disinfection pass comes in.
Start by unplugging the unit and removing all accessible components, tank, filter, any removable panels. With those out, you can see inside the main chamber.
Use a spray bottle filled with your chosen disinfectant. Vinegar solution works for light maintenance. Bleach solution for serious mold concerns.
Lightly mist the interior walls, the fan blade area, and the drain pan if your model has one. Don’t flood the electronics, a fine mist is enough. Let the solution sit for ten to fifteen minutes.
Wipe everything down with a microfiber cloth. Pay attention to corners, seams, and the area around the humidity sensor. Those small plastic probes can accumulate condensation residue that throws off readings.
Gently wipe them with a slightly damp cloth and dry immediately.
For the drain port or hose connection on permanent-install models, run a pipe cleaner or a long cotton swab dipped in disinfectant through the opening. Stagnant water in drain lines is a common source of odor that people blame on the tank when the real problem sits downstream.
If your dehumidifier has a washable carbon pre-filter, clean or replace it now as well. Carbon filters absorb odors but also trap moisture. A wet carbon filter smells worse than no filter at all.
Run the unit empty for thirty minutes after reassembly with the door or panel open if possible. This helps blow any remaining moisture out of the interior and ensures the disinfectant has fully dissipated. Close everything up once the unit runs dry and the interior smells clean, not chemical.
Preventive Tips to Keep Mold at Bay
Disinfection solves today’s problem. Prevention stops tomorrow’s. A few habits make a big difference over the life of your dehumidifier.
Keep humidity in the target range. Set your unit between 45% and 50%. Running it below 30% dries out your home unnecessarily and wastes energy. Running it above 60% invites mold into every surface, including the dehumidifier itself.
A built-in hygrometer helps, but a standalone hygrometer costs less than ten dollars and gives you a second opinion.
Empty the tank promptly. Don’t let collected water sit overnight. Standing water breeds bacteria fast, especially in warm rooms. If your model has a continuous drain hose, use it.
Gravity drainage eliminates the tank-emptying chore entirely and reduces mold risk significantly.
Place the unit correctly. Airflow matters. Leave at least six inches of clearance on all sides. Don’t push the dehumidifier into a tight corner or tuck it behind furniture.
Good airflow keeps the exterior cooler and reduces condensation buildup on the outer casing where mold loves to take hold.
Run the unit regularly, even in low humidity months. Short runs keep internal components moving and prevent seals from drying out. A dehumidifier that sits unused for months accumulates dust and stale moisture in ways that regular use prevents.
Wipe the exterior weekly. A quick pass with a damp cloth removes surface dust before it tracks inside through vents. Use a dry cloth afterward to prevent water spots.
Change or clean filters on schedule. A clogged filter is the fastest route to poor performance and internal moisture problems. Mark your calendar or set a phone reminder. Monthly is easy to forget.
A recurring alert keeps you on track.
Inspect annually before storing. If you use your dehumidifier seasonally, give it a full disinfection before putting it away for winter. Store it in a dry place with the tank removed and the panels open. Closing a damp unit in a closet is a guaranteed mold guarantee.
FAQ
Can I use alcohol to disinfect my dehumidifier? Rubbing alcohol kills many bacteria and some mold, but it evaporates too quickly to be effective on porous surfaces and isn’t recommended by appliance manufacturers. Vinegar or a diluted bleach solution does a better job and is safer for the plastics and metals inside your unit.
Is it safe to use bleach near the coils? Yes, as long as you dilute it properly and rinse thoroughly. A 1:10 bleach-to-water ratio is safe for occasional coil disinfection. Never use full-strength bleach, it can corrode aluminum fins and damage plastic components.
Rinse with a spray bottle of clean water after the disinfectant sits, then let everything dry completely before running the unit.
How do I know if my dehumidifier has a mold problem beyond the tank? Musty odors when the unit runs, visible discoloration on the filter or interior walls, and water that smells off even right after pouring are all signs. If you notice these, perform a full disinfection immediately and inspect the drain line if applicable.
Can I put my dehumidifier filter in the dishwasher? No. Dishwasher detergents are too harsh for filter media and can leave residues that affect air quality. Hand-wash filters in warm soapy water instead.
Only replace filters that are damaged or past their usable life.
Does a dehumidifier with a self-cleaning feature really need manual disinfection? Self-cleaning features typically refer to frost-defrost cycles on coil surfaces, not full sanitization of the tank or interior. Manual disinfection remains necessary regardless of auto-cycle capabilities. Check your manual for what the feature actually covers.
Conclusion
Learning how to disinfect a dehumidifier takes fifteen minutes and costs almost nothing in supplies. The payoff, cleaner air, a healthier home, and a longer-lasting appliance, is worth far more than the effort. Handle the tank, the filter, the coils, and the interior on a regular schedule, and your dehumidifier will keep doing its job without becoming a source of the very problems it was meant to solve.
Start with this week. Pull the tank, mix your solution, and scrub. Your lungs will thank you.

Table of Contents