That trusty vegetable peeler might be showing its age. A few persistent orange spots appearing on the blade? That’s rust, and it’s a common problem for kitchen tools.
Don’t toss it just yet! Removing rust from a peeler is surprisingly simple and requires things you probably already have in your kitchen. Restoring your peeler means safer, more efficient food prep and saying goodbye to those unappetizing rust flakes.
We’ll walk you through the most effective methods, from simple DIY tricks to tougher solutions for stubborn rust.
Why Does My Peeler Rust Anyway?
Rust forms when iron, or an alloy containing iron (like steel), is exposed to moisture and oxygen. Your peeler likely encounters plenty of both.
- Washing and not drying thoroughly: This is the most common culprit. Water left on the metal surface for too long creates the perfect environment for rust to start.
- Dishwasher exposure: While some peelers are dishwasher-safe, the prolonged heat and moisture cycles, plus harsh detergents, can accelerate rust formation. It’s often better to hand wash.
- Storing in damp environments: Leaving it near the sink or in a humid drawer can also contribute.
- Low-quality materials: Some peelers, especially those made with less expensive steel, are more prone to rusting.
The good news is that as long as the rust hasn’t eaten away too deeply, you can almost always bring its shine back.
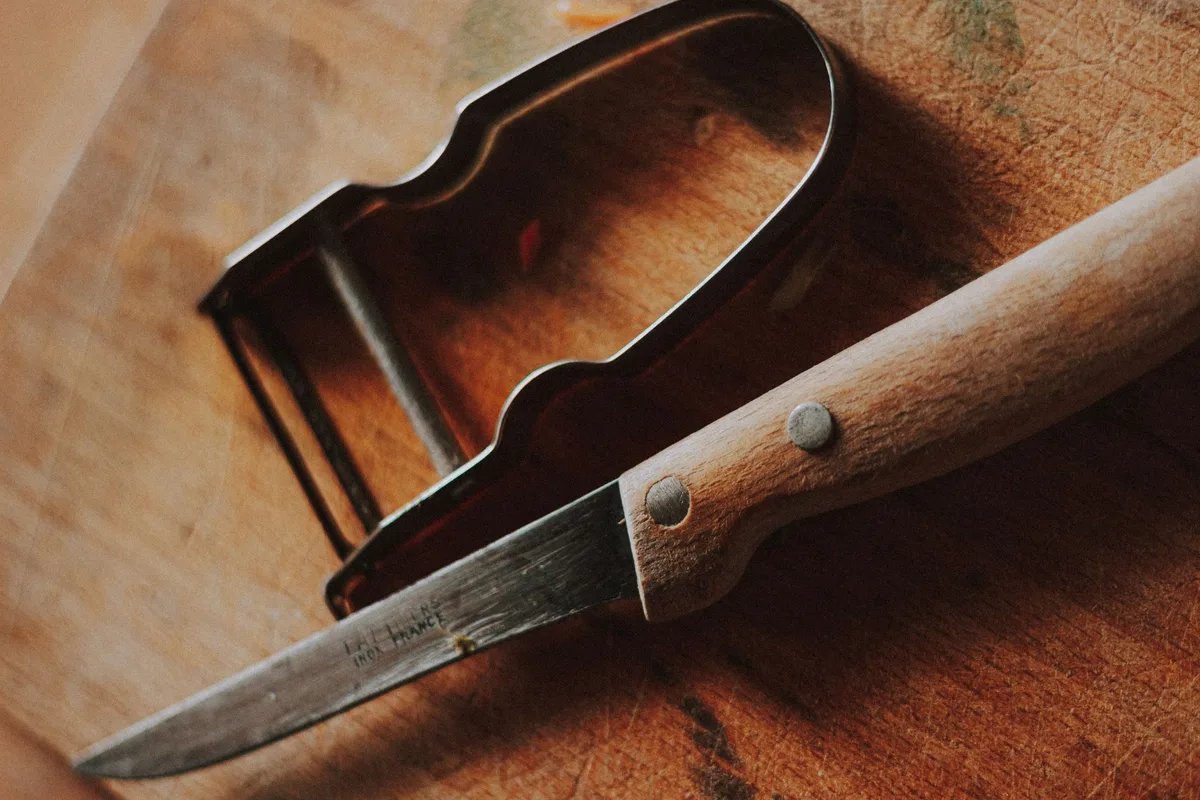
Image source: Pexels / Mathias Reding (Pexels License)
Simple Solutions: Everyday Household Items For Light Rust
Got a few specks of rust? You can often tackle these with common pantry staples. These methods are gentle and won’t damage your peeler.
1. Baking Soda Paste: The Gentle Giant
Baking soda is a mild abrasive and a natural deodorizer. Mixed with a little water, it creates a paste that can lift light rust.
What you’ll need:
- Baking soda
- Water
- A soft cloth or sponge
- An old toothbrush (optional)
How to do it:
- Make the paste: Mix about two tablespoons of baking soda with just enough water to form a thick paste. Think toothpaste consistency.
- Apply: Spread the paste generously over the rusted areas of your peeler.
- Let it sit: Allow the paste to sit for about 10-15 minutes. This gives it time to work on the rust.
- Scrub gently: Use a damp, soft cloth or sponge to gently scrub the rusted areas. For nooks and crannies, an old toothbrush works wonders.
- Rinse and dry: Rinse the peeler thoroughly with clean water. Immediately and completely dry it with a clean towel. Don’t let any moisture linger.
2. Lemon Juice and Salt: Zesty Rust Remover
The citric acid in lemon juice is surprisingly effective at dissolving rust. Salt acts as a mild abrasive.
What you’ll need:
- Lemon (cut in half)
- Salt (table salt or kosher salt works)
- A soft cloth or sponge
- An old toothbrush (optional)
How to do it:
- Sprinkle salt: Dip the cut side of the lemon half into a small pile of salt. You want a good coating of salt on the lemon’s surface.
- Scrub: Rub the salted lemon directly onto the rusted parts of the peeler. The salt provides scrubbing power, and the lemon juice works its magic.
- Let it sit: For slightly tougher spots, let the lemon juice and salt mixture sit on the rust for about 30 minutes.
- Scrub again: Use the lemon or a soft cloth/toothbrush to scrub away the loosened rust.
- Rinse and dry: Wash the peeler under running water and dry it completely.
3. White Vinegar: The Acidic Powerhouse
White vinegar is another acidic champion that can break down rust. It’s readily available and inexpensive.
What you’ll need:
- White vinegar
- A small bowl or container
- A soft cloth or sponge
- An old toothbrush (optional)
How to do it:
- Soak: Pour enough white vinegar into a small bowl to cover the rusted part of the peeler.
- Wait: Let the peeler soak for anywhere from 30 minutes to a few hours, depending on the severity of the rust. Check it periodically.
- Scrub: Remove the peeler from the vinegar. Use a soft cloth or old toothbrush to scrub away the rust. You should find it comes off much more easily.
- Rinse and dry: Rinse the peeler thoroughly under water and dry it immediately and completely.
Tackling Tougher Rust: Methods for Stubborn Spots
If the simple methods haven’t completely banished the rust, or if you have deeper pitting, you might need to step it up a notch. These methods are still safe for your peeler, but they require a bit more effort or a slightly stronger solution.
4. Potato and Dish Soap: A Surprisingly Effective Combo
This might sound strange, but the oxalic acid in potatoes can help loosen rust. Combined with dish soap, it offers a gentle yet effective cleaning action.
What you’ll need:
- A raw potato
- Liquid dish soap
- A soft cloth or scrub brush
How to do it:
- Cut the potato: Cut a raw potato in half.
- Add soap: Squirt a little dish soap onto the cut surface of the potato.
- Scrub: Press the rusted part of the peeler into the soapy potato and scrub in a circular motion. The potato acts as a holder for the soap and a gentle scrubber.
- Repeat: You might need to re-cut the potato or add more soap as you go. Continue scrubbing until the rust starts to lift.
- Rinse and dry: Wash the peeler with soap and water to remove any potato residue and dry it thoroughly.
5. Fine-Grit Sandpaper or Steel Wool: For Deeply Ingrained Rust
When rust is really clinging on, a bit of abrasion is necessary. You need to be careful here not to scratch the metal too much, so choose your abrasive wisely.
What you’ll need:
- Fine-grit sandpaper (220 grit or higher) OR fine-grade steel wool (e.g., #0000)
- Water (for lubrication)
- A soft cloth
How to do it:
- Lubricate: Dampen the rusted area of the peeler and the sandpaper/steel wool with a little water. This helps prevent scratching and makes the process smoother.
- Gentle Abrasion: Gently rub the rusted spots with the sandpaper or steel wool. Don’t apply excessive pressure. Your goal is to remove the rust, not to re-shape the peeler.
- Check Progress: Wipe away the rust particles with a damp cloth frequently to see how you’re doing.
- Focus on Rust: Concentrate only on the rusted areas.
- Rinse and Dry: Once the rust is gone, rinse the peeler thoroughly. Dry it immediately and completely. You can then use a bit of baking soda paste to polish it up if needed.
Important Note: If using steel wool, be sure to use a very fine grade (0000). Coarser steel wool can leave noticeable scratches. Always start with the least abrasive method that will work.
6. Commercial Rust Removers (Use with Extreme Caution!)
There are commercial rust removers available, often found in hardware stores. These are powerful chemicals designed for heavy-duty rust removal.
What you’ll need:
- Commercial rust remover product
- Gloves
- Eye protection
- Well-ventilated area
- Soft cloth
How to do it:
- Read Instructions: VERY IMPORTANT: Always read and strictly follow the manufacturer’s instructions on the product label.
- Safety First: Wear gloves and eye protection. Ensure you are in a well-ventilated area as these products can produce fumes.
- Apply: Apply the rust remover as directed, usually by dipping or brushing it onto the rusted area.
- Wait: Allow the product to work for the time specified.
- Scrub/Wipe: Use a soft cloth or brush to remove the loosened rust.
- Rinse THOROUGHLY: This is critical. Rinse the peeler multiple times under clean running water to remove all chemical residue. Any leftover chemicals can contaminate your food.
- Dry Completely: Dry the peeler immediately and thoroughly.
Caution: I generally advise against using strong chemical rust removers on kitchen utensils unless absolutely necessary and handled with extreme care. The risk of food contamination is higher. The methods above are usually sufficient for kitchen tools.
Keeping Your Peeler Rust-Free: Prevention is Key
Once you’ve successfully removed the rust, you’ll want to keep your peeler looking and functioning its best. Prevention is much easier than removal!
1. Immediate Drying After Washing
This is the single most important step. After you wash your peeler by hand (which is recommended), dry it thoroughly with a clean towel immediately. Don’t let it air dry.
2. Avoid the Dishwasher
While some modern kitchen gadgets boast dishwasher-safe credentials, the prolonged exposure to hot water and harsh detergents in a dishwasher can encourage rust. Hand washing and immediate drying is always the safest bet for peelers and knives. For guidance on keeping your knives in top condition, consider articles on maintaining sharpness and longevity, such as exploring the best whetstones for kitchen knives or how a good knife sharpener for Shun can help.
3. Proper Storage
Store your peeler in a dry place. A utensil holder on the counter or in a drawer is fine, as long as the drawer isn’t damp. If you store it with other metal items, ensure they are all dry.
Sometimes different materials can cause galvanic corrosion if moisture is present.
4. Occasional Oiling
For very sensitive metal components or if you live in a humid climate, a light coat of food-grade mineral oil after drying can provide an extra layer of protection. Apply with a paper towel and wipe off any excess. This is especially useful before storing a tool for an extended period.
5. Regular Use
Ironically, regularly using and washing your peeler can help prevent rust. Each wash cycle is an opportunity to dry it properly, and regular use means it’s less likely to sit around long enough to develop rust.
Conclusion: Bring Back the Shine, Safely
Seeing rust on your kitchen tools can be disheartening, but it’s a curable condition for most peelers. By using simple household items like baking soda, lemon, or vinegar, you can effectively remove rust and restore your peeler to its former glory. For tougher jobs, fine-grit abrasives are your friend, always used with care.
Remember, prevention is always better than cure. By following simple drying and storage habits, you can ensure your peeler remains a reliable, rust-free companion in your kitchen for years to come. A well-maintained peeler makes preparing everything from vegetables for a healthy blender for vegetable smoothies to garnishes for your favorite dishes a breeze.
Keep it sharp, keep it clean, and keep it rust-free!

Table of Contents