Learning how to make meringue by hand whisk feels impossible until you realize the foam tells you everything. The bubbles change size. The surface turns glossy.
The peaks stand up straight. Your whisk becomes a sensor not a tool. Most beginners quit too early or push too far because they watch the clock instead of the foam.
A standard large egg white weighs about 30 grams and expands to eight times its volume when beaten properly. The sugar ratio stays consistent at 50 grams per white for stable structure. Room temperature whites foam faster and hold more air than cold ones.
Let’s walk through each visual stage so you know exactly what to look for.
Quick Answer
Whisk room temperature egg whites in a clean bowl until foamy. Add cream of tartar. Stream in sugar slowly after soft peaks form.
Continue whisking until stiff glossy peaks hold a sharp tip. Use immediately for best results.
Why Making Meringue by Hand Is All About What You See and Feel
Machine mixers hide the transition points. You cannot feel the foam thicken through a motor. Hand whisking gives instant feedback on bubble size and stability.
The wires catch air differently at each stage. Your arm senses resistance changes before your eyes confirm them. This tactile loop is why professional pastry chefs still teach hand whisking first.
The foam progression follows physics not time. Temperature humidity and bowl material shift the timeline. A copper bowl stabilizes foam through copper ion bonding with conalbumin proteins.
Stainless steel works fine but offers no chemical advantage. Glass bowls slip more and hold less heat. The whisk shape matters too.
A balloon whisk with ten to twelve wires creates smaller bubbles faster than a French whisk with fewer thicker wires. Smaller bubbles mean finer texture and less weeping later. You will notice the sound change from a wet slap to a dry hiss as the foam stiffens.
That sound shift is your first reliable cue.
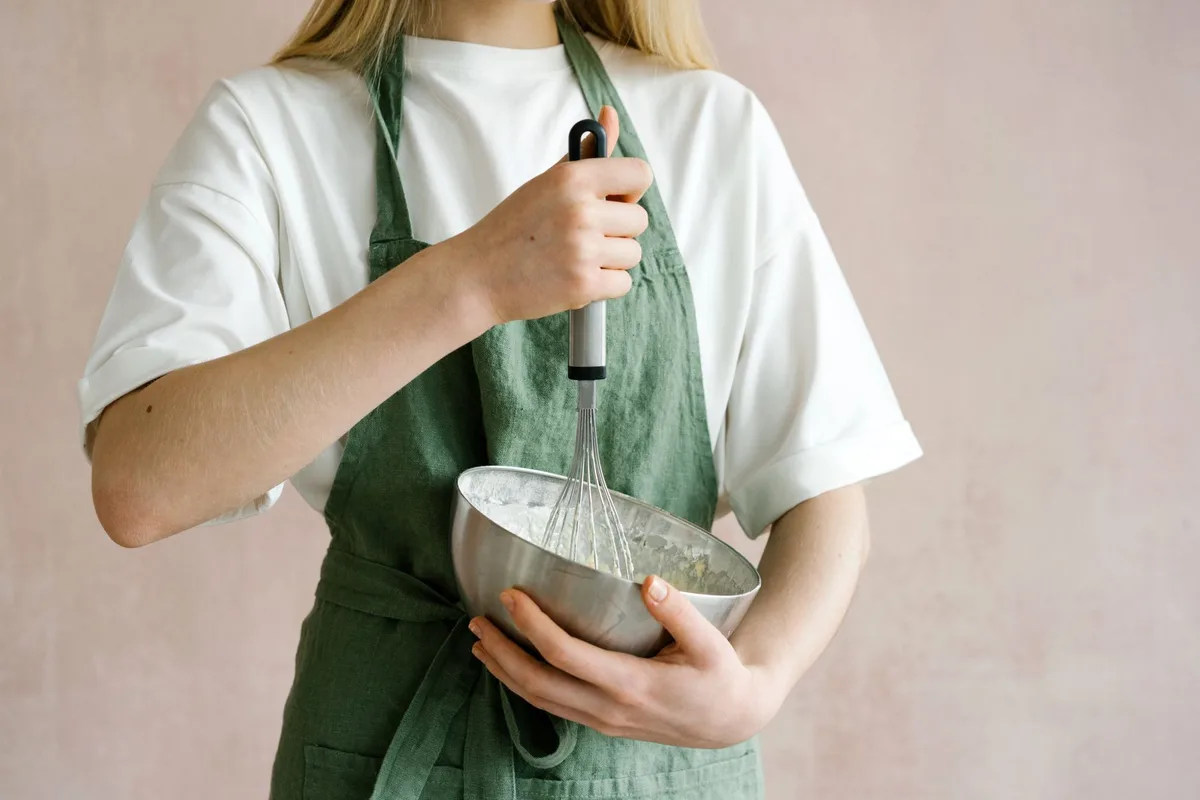
The Minimal Toolkit: Whisk, Bowl, and the Right Ingredients
You need five things. A clean stainless steel or copper bowl. A balloon whisk with at least ten wires.
Fresh egg whites at room temperature. Superfine sugar or caster sugar. Cream of tartar or lemon juice.
That is the complete list. No cream of tartar means less stable foam but it still works. Skip the acid and you risk overbeating faster.
Granulated sugar works if you pulse it in a food processor first. Large crystals dissolve slowly and leave grit. Powdered sugar contains cornstarch which changes the texture.
Do not use it for classic meringue. The bowl must be completely grease free. Any fat residue prevents foam formation.
Wash with hot soapy water then rinse with vinegar or lemon juice. Dry with a clean towel. Do not use a bowl that held oil based ingredients recently.
Plastic bowls retain microscopic oil films. Avoid them. A digital thermometer helps verify egg white temperature.
Target 20 to 22 degrees Celsius. Cold whites take twice as long to foam. Warm whites risk collapsing.
The whisk handle should feel comfortable for five minutes of continuous motion. A sealed handle prevents water ingress during washing.
| Tool or Ingredient | Specification | Why It Matters |
|---|---|---|
| Bowl | Stainless steel or copper 2.5 quart minimum | Non reactive clean surface room for expansion |
| Whisk | Balloon style 10 to 12 wires | Maximum aeration small bubble formation |
| Egg whites | Large 30g each room temperature | Optimal protein structure volume yield |
| Sugar | Superfine or caster 50g per white | Fast dissolution smooth texture |
| Acid | Cream of tartar 1/8 tsp per 2 whites | Stabilizes foam prevents overbeating |
Before You Whisk: Bowl Prep, Egg Separation, and Temperature
Separate eggs while cold. Cold yolks hold together better. Crack each egg over a small cup then transfer the white to the main bowl.
This catches yolk breaks before they contaminate the batch. One speck of yolk kills the foam. Let whites sit covered for thirty minutes.
Or place the bowl in a larger bowl of warm water for ten minutes. Stir gently to even the temperature. Do not microwave.
Uneven heating creates hot spots that cook proteins. While whites warm wipe the whisk and bowl with a vinegar dampened paper towel. This removes invisible residue.
Set up your sugar in a measuring cup with a pour spout. Have a small spoon ready for the acid. Position a trash bowl for eggshells.
Clear counter space for the finished meringue. You will not want to stop once you start. The foam waits for no one.
If the recipe calls for vanilla or salt add them with the acid. Salt strengthens protein bonds but too much delays foaming. A pinch per two whites is enough.
Vanilla adds flavor but alcohol content can weaken foam slightly. Add it at the very end if used.
The Foam Timeline: From Bubbles to Stiff Peaks in Visual Stages
The first minute produces large uneven bubbles. The liquid looks yellowish and watery. Keep whisking slow and steady.
Figure eight motions cover more surface than circles. At two minutes bubbles shrink and multiply. The foam turns opaque white.
Volume doubles. This is the foamy stage. No peaks form when you lift the whisk.
The foam slides off in sheets. Add the acid now. Sprinkle it evenly across the surface.
Whisk ten seconds to distribute. The foam tightens visibly. By three to four minutes soft peaks appear.
Lift the whisk. A peak forms but the tip curls over like a wave. The foam clings to the wires.
It looks matte not glossy. This is your sugar window. Do not add sugar before this point.
It weighs down the fragile structure. Do not wait past firm peaks. The foam becomes too tight to accept sugar evenly.
Firm peaks stand straight but the very tip nods slightly. The surface turns satiny. Stiff peaks stand tall with a sharp defined tip.
The foam is glossy and holds its shape when the bowl tilts. Overbeaten foam looks dry and chunky. It separates into curds and liquid.
You cannot fix it. Start over.
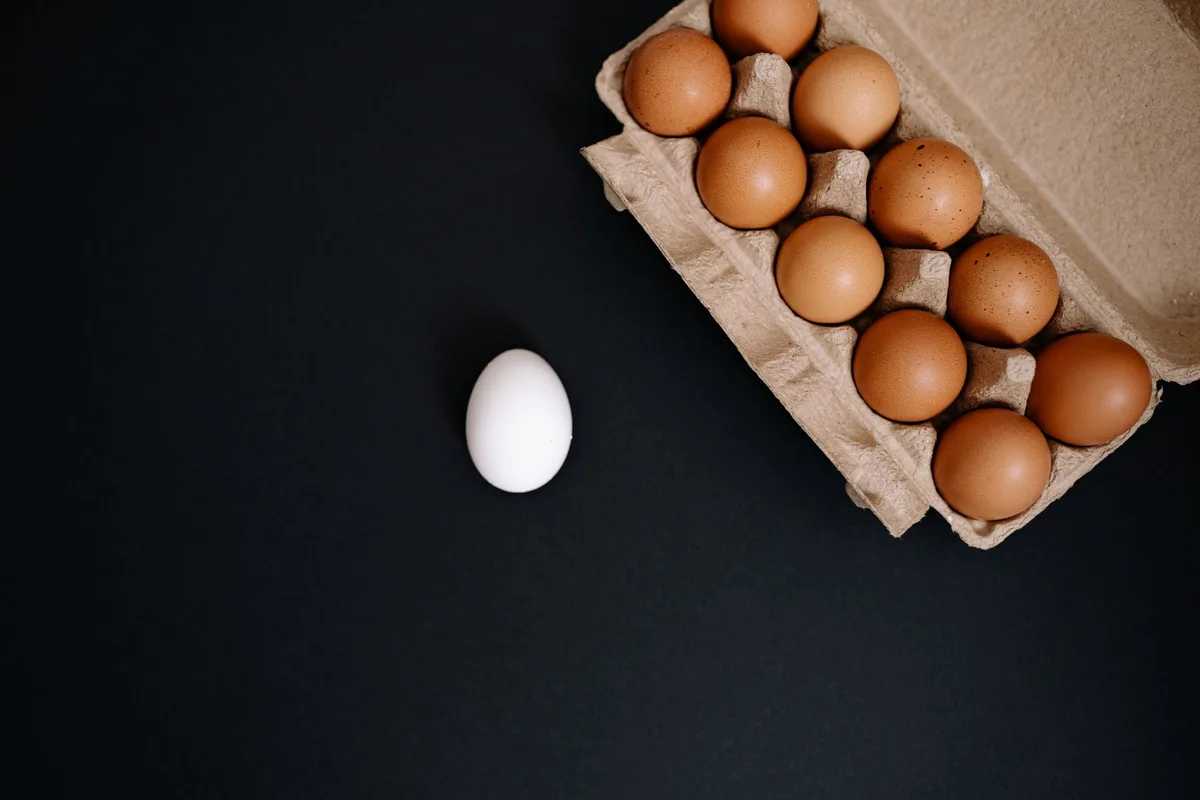
When and How to Add Sugar Without Deflating the Foam
Sugar stabilizes but it also deflates. The trick is slow addition during active whisking. Start streaming at soft peaks.
Pour a thin steady stream at the bowl edge not the center. Whisk continuously. Never stop.
Each addition needs five seconds to dissolve before the next. Rub a little foam between thumb and forefinger. It should feel completely smooth.
Grit means undissolved sugar. Keep whisking until smooth. The foam will deflate slightly then rebuild stronger.
Volume drops then rises higher than before. This is normal. Sugar draws water from proteins creating a syrup that reinforces bubble walls.
The gloss deepens. Peaks sharpen. Total sugar addition takes one to two minutes for four whites.
Rushing creates grainy meringue that weeps syrup later. If sugar crystallizes on the bowl sides scrape it in with a silicone spatula. Do not use a metal spoon.
It pops bubbles. Once all sugar is in whisk thirty seconds more. Test for stiff peaks.
The foam should hold a peak that does not bend. The tip may curl a fraction. That is perfect.
Stop whisking immediately. Every extra stroke risks overbeating.
The Peak Tests: Soft, Firm, Stiff — What Each Actually Looks Like
Lift the whisk straight up. Watch the peak form. Soft peaks curl at the tip like a breaking wave.
The foam clings to the wires but flows slowly back into the bowl. Firm peaks stand upright with just the very tip nodding. The surface looks satiny not wet.
Stiff peaks hold a sharp point that does not bend. The foam is glossy and forms distinct ridges where the wires passed. Tilt the bowl ninety degrees.
Stiff meringue stays put. Soft meringue slides. Overbeaten meringue breaks into dry chunks with liquid pooling underneath.
That liquid is syneresis. It means the protein network squeezed out water. You cannot reverse it.
The finger rub test confirms sugar dissolution. Press foam between thumb and forefinger. It should feel like smooth silk.
Any sandiness means keep whisking. The visual cues work better than any timer. Humidity altitude and bowl temperature shift the timeline by minutes.
Trust the foam not the clock.
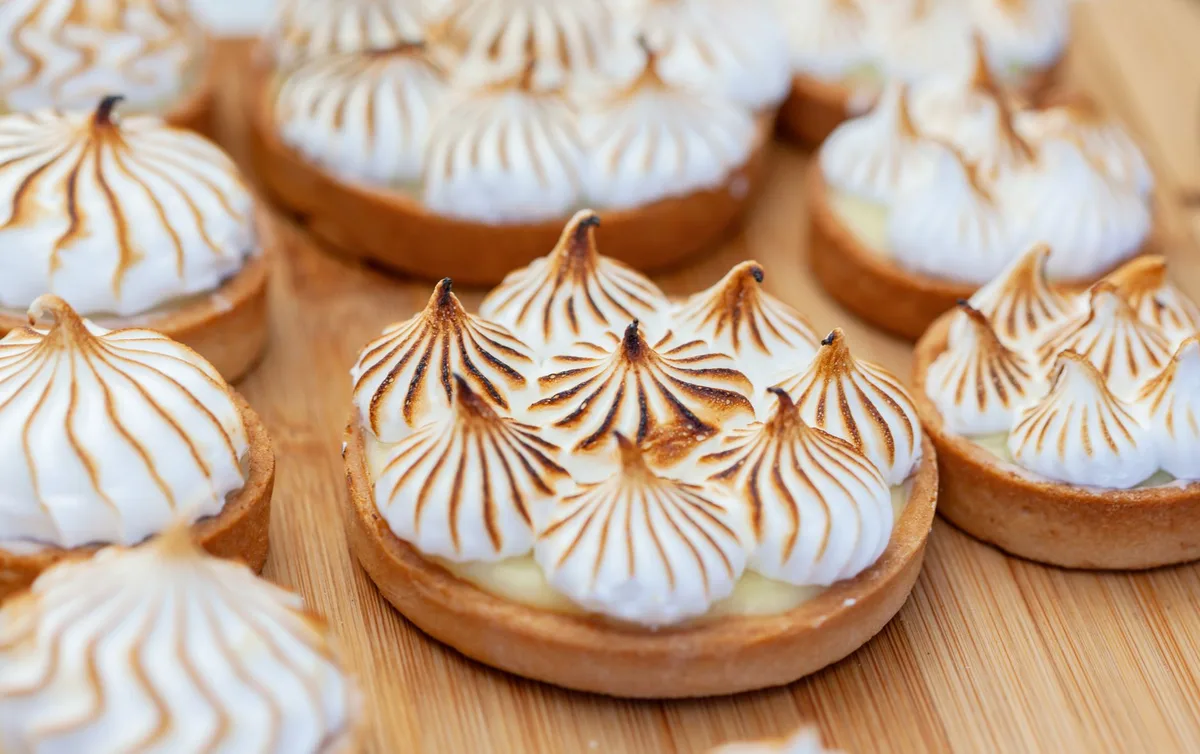
Common Visual Mistakes: Grainy, Weeping, Overbeaten, and Collapsed
Grainy meringue shows undissolved sugar crystals. It feels rough between fingers. The foam looks dull not glossy.
Fix it by whisking longer before the next sugar addition. Weeping appears as clear syrup on the baked surface. It happens when sugar absorbs atmospheric moisture or when foam structure is weak.
Add a teaspoon of cornstarch per four whites in humid climates. Overbeaten meringue looks dry and curdled. The peaks fracture instead of bending.
Liquid separates at the bowl bottom. Start over. No rescue exists.
Collapsed meringue deflates after peaking. Causes include yolk contamination fat residue or waiting too long before baking. Meringue must go from bowl to oven immediately.
It loses volume every minute it sits. A skin forms on the surface trapping air unevenly. Cracks appear during baking.
Low slow heat prevents cracking. High heat expands air too fast. The meringue splits.
Rotate trays halfway for even drying.
Humidity, Altitude, and Ingredient Swaps That Change the Outcome
Humidity above sixty percent makes meringue sticky. Sugar is hygroscopic. It pulls water from the air.
The foam never fully dries. Bake on dry days or use a dehumidifier. Add cornstarch as insurance.
At altitude above three thousand feet reduce sugar by ten percent. Lower atmospheric pressure expands bubbles faster. They burst before setting.
Increase oven temperature by fifteen degrees to set structure quicker. Aquafaba replaces egg whites for vegan meringue. Use the liquid from canned chickpeas.
Whisk three times longer. The foam is less stable. Add cream of tartar and xanthan gum.
Powdered egg whites work in emergencies. Rehydrate per package directions. The flavor is flat.
Fresh whites always win. Brown sugar adds molasses flavor but inhibits peak formation. Use half brown half white if you want color.
Honey or maple syrup create soft chewy meringue. Reduce oven temperature further. They brown fast.
Three Meringue Methods Compared: French, Swiss, Italian by Hand
French meringue is raw whites whipped with sugar. Simplest method. Least stable.
Best for folding into batters or piping cookies baked immediately. Swiss meringue heats whites and sugar over a bain marie to fifty five degrees Celsius then whisks off heat. Sugar dissolves completely.
Foam is denser and more stable. Great for buttercream bases and pavlovas. Italian meringue streams hot sugar syrup at one hundred eighteen degrees into whipping whites.
Most stable. Glossiest. Used for mousses and frostings.
Hardest by hand. You need two people or a steady pour technique. All three reach stiff peaks.
The difference is stability shelf life and texture. French dries crisp throughout. Swiss stays slightly chewy inside.
Italian stays marshmallow soft. Choose French for cookies. Swiss for pavlovas.
Italian for assembled desserts.
| Method | Sugar Stage | Stability | Best For | Hand Difficulty |
|---|---|---|---|---|
| French | Raw granulated | Low | Cookies folds batters | Easy |
| Swiss | Dissolved heated | Medium | Pavlovas buttercream | Moderate |
| Italian | Hot syrup | High | Mousses frostings | Hard |
Pro Techniques: Figure-Eight Motion, Copper Bowl Science, Acid Timing
The figure eight stroke covers maximum bowl surface. It pulls foam from the bottom up the sides. Circular strokes miss the edges.
Switch to a lifting motion at stiff peaks. Raise the whisk straight up each stroke. This aligns protein strands vertically.
Copper bowls release trace copper ions. They bind to conalbumin creating disulfide bridges. The foam becomes virtually unbreakable.
A silver bowl works similarly. Stainless steel offers no chemical help. Add acid at the foamy stage not the start.
Early acid tightens proteins too soon. Less volume. Late acid cannot fix overbeaten foam.
Cream of tartar is tartaric acid. Lemon juice works but adds water. Vinegar works but flavors faintly.
Use one eighth teaspoon per two whites. Whisk ten seconds after adding. The foam visibly tightens.
That is your cue to start sugar. Keep your elbow close to your body. Whisk from the shoulder not the wrist.
Less fatigue more control.
Safety Notes: Raw Egg Whites, Pasteurization, and Vulnerable Eaters
Raw egg whites carry salmonella risk. The FDA estimates one in twenty thousand eggs contains the bacteria. Pregnant people young children older adults and immunocompromised individuals should avoid raw meringue.
Use pasteurized shell eggs or liquid pasteurized whites for uncooked applications like mousse or pie topping. Pasteurized whites foam slightly less but still reach stiff peaks. Add an extra pinch of cream of tartar to compensate.
For baked meringue cookies or pavlovas the oven heat kills pathogens. Bake until the center reaches seventy one degrees Celsius. A probe thermometer confirms doneness.
Never taste raw batter. Wash hands and surfaces after handling raw eggs. Clean the whisk and bowl immediately with hot soapy water.
The USDA Food Safety and Inspection Service provides detailed egg handling guidelines at fsis.usda.gov.
Quick-Reference Cheat Sheet: Ratios, Times, and Visual Cues at a Glance
| Parameter | Standard | Visual Cue |
|---|---|---|
| Egg white weight | 30g large | Clear viscous liquid |
| Sugar per white | 50g superfine | Dissolves invisible in foam |
| Acid per 2 whites | 1/8 tsp cream of tartar | Foam tightens in 10 seconds |
| Target temperature | 20 to 22°C | Bowl feels neutral to touch |
| Whisking time 2 whites | 3 to 5 minutes | Stiff glossy sharp peaks |
| Whisking time 4 whites | 5 to 8 minutes | Same peak test |
| Bake temperature | 90 to 110°C | Dry not brown |
| Bake time cookies | 60 to 90 minutes | Lift off parchment clean |
| Bake time pavlova | 75 to 90 minutes | Crisp shell marshmallow center |
| Humidity limit | Below 60% | Add cornstarch if higher |
| Altitude adjustment | Above 3000ft | Reduce sugar 10% raise temp 15°C |
Print this table. Tape it to your cabinet. The numbers free you from guessing.
Frequently Asked Questions
Can I make meringue with a hand mixer instead of whisking by hand?
Yes. Use low speed for foamy stage then medium high. Watch closely.
Machines overbeat faster than hands.
Why did my meringue weep syrup after baking?
Undissolved sugar or high humidity. Rub foam between fingers before baking. It must feel perfectly smooth.
Can I use granulated sugar without a food processor?
You can but whisk longer after each addition. Test for grit. Large crystals dissolve slowly.
How long does hand whisked meringue hold its shape?
Use within ten minutes. It starts weeping after that. Pipe or spread immediately.
Is copper bowl necessary for good meringue?
No. Stainless steel works fine. Copper adds stability but technique matters more.
Can I freeze raw meringue for later?
Not recommended. Thawed meringue collapses. Bake first then freeze cookies airtight.

Table of Contents