If you’ve ever tried cooking a thin, delicate fish fillet and ended up with a dry, stuck, or broken mess, you’re not alone. Flounder is one of the trickiest fish to get right in a skillet, but once you understand the few simple rules, it becomes one of the fastest and most satisfying meals you can make. Learning how to cook flounder in a skillet is really about mastering heat control, the right pan, and knowing exactly when to stop cooking.
Per FDA guidelines, flounder is safely cooked when it reaches an internal temperature of 145°F, but honestly, the visual flake test is more practical for a fillet this thin. A properly cooked flounder is moist, tender, and lightly golden on the outside. Let’s walk through exactly how to get there every time.
Quick Answer
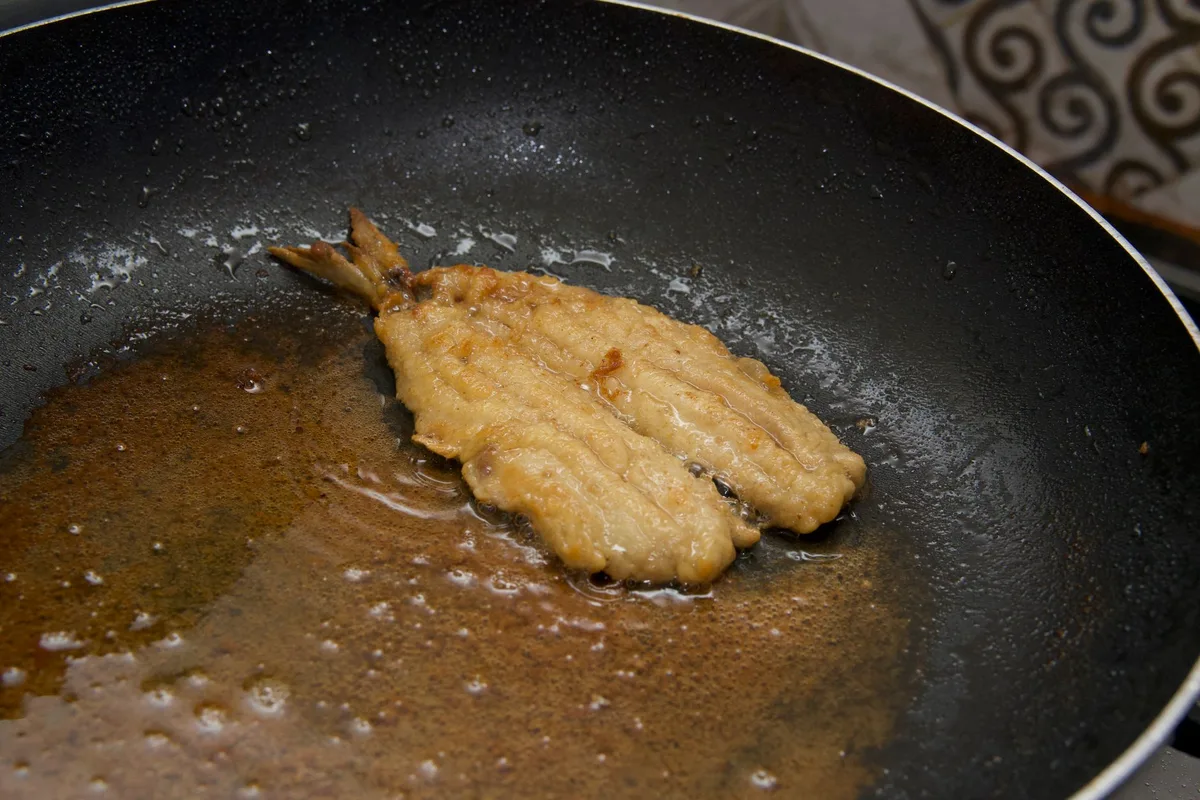
Heat a non-stick or cast iron skillet over medium-high heat. Add oil or butter. Pat your flounder fillet dry.
Season both sides with salt and pepper. Cook for 2 to 3 minutes per side. The fish is done when it flakes easily with a fork.
Serve immediately.
Why Cooking Flounder in a Skillet Is Tricky (and Totally Worth It)
Flounder is a flatfish with very thin, delicate fillets. The average fillet is only a quarter to a half inch thick. That means it cooks fast, sometimes in under five minutes total.
The margin between perfectly cooked and overcooked is razor thin.
The biggest challenge is that thin fillets cook unevenly. The edges cook faster than the center. The bottom that touches the pan cooks faster than the top.
If you’re not careful, you end up with dry, tough edges and a center that’s either underdone or overcooked.
Another common issue is sticking. Delicate fish skin and flesh can grab onto hot metal and tear apart when you try to flip. That’s frustrating, especially when you’ve spent money on good fish.
But here’s the good news. Once you understand the right pan, the right heat, and the right technique, cooking flounder becomes a five-minute skill that feels like a cheat code for weeknight dinners. It’s mild, it’s lean, and it pairs beautifully with simple lemon, butter, and herbs.
As of 2026, flounder remains one of the most affordable and widely available wild-caught white fish at most grocery stores and fish markets.
The Right Pan Makes All the Difference
Your choice of skillet directly affects whether your flounder turns out golden and intact or stuck and broken. Three main options work, and each has trade-offs.
Non-Stick Skillet
This is the easiest option for beginners. Non-stick surfaces release food reliably, so flipping a thin fillet is much less stressful. You can use less oil, and cleanup is fast.
But there’s a catch. Non-stick pans can’t handle high heat well. Most are rated for medium heat at most.
If you crank it too high, the coating can degrade. That means you might not get the deep golden crust you want.
Best for: anyone who values ease and reliability over maximum browning.
Cast Iron Skillet
Cast iron holds heat beautifully and creates a superior crust. Once it’s hot, it stays hot, even when you add a cold fillet. That sear is hard to beat.
The downside is that cast iron is sticky unless it’s well seasoned. A brand new or poorly maintained cast iron pan will grab onto your fish and tear it. You also need more oil to prevent sticking.
Best for: experienced cooks who want the best crust and don’t mind the extra care.
Stainless Steel Skillet
Stainless steel gives you excellent heat control and a good sear, but it’s the most demanding. Fish sticks aggressively unless the pan is hot enough and you use enough fat. You also need to let the fish release naturally, which takes patience.
Best for: cooks who already know their pan’s hot spots and how to use the “release test.”
Here’s a quick comparison:
| Skillet Type | Best Crust | Ease of Use | Sticking Risk | Best For |
|---|---|---|---|---|
| Non-stick | Moderate | High | Low | Beginners, quick meals |
| Cast iron | Excellent | Medium | Medium (if well seasoned) | Crispy crust lovers |
| Stainless steel | Good | Low | High initially | Experienced cooks |
Fresh vs. Frozen: What to Look For at the Store
The quality of your flounder matters more than the cooking method. Fresh flounder should smell like the ocean, not fishy or ammonia-like. The flesh should be firm and moist, not mushy or separating at the edges.
Frozen flounder is a perfectly fine option, especially if you don’t live near a coast. Look for individually quick-frozen (IQF) fillets. These freeze each fillet separately so you can take out only what you need.
Avoid bags where the fillets are frozen into a solid block, which usually means they thaw unevenly.
Thaw frozen flounder in the refrigerator overnight. Never thaw at room temperature. That’s a food safety risk per USDA guidelines.
If you’re in a hurry, place the sealed fillet in a bowl of cold water for about 30 minutes. Change the water halfway through.
One more tip. Whether fresh or frozen, pat the fillet dry with paper towels before cooking. Excess moisture is the enemy of a good sear.
Wet fish steams instead of sears, and you end up with pale, soggy fillets.
Step-by-Step: How to Cook Flounder in a Skillet
Let’s break this down into clear, repeatable steps. Follow these, and you’ll get consistent results.
Pat Dry and Season
Start with a clean, dry fillet. Use paper towels to gently pat both sides until no visible moisture remains. This step is non-negotiable for a good crust.
Season both sides with kosher salt and freshly ground black pepper. Keep it simple. Flounder has a mild, sweet flavor that doesn’t need heavy spices.
A light dusting is all you need.
Dredge for a Crispy Crust (Optional)
If you want a golden, crispy exterior, a light dusting of all-purpose flour works wonders. Place a few tablespoons of flour on a plate. Gently press each side of the fillet into the flour.
Shake off any excess. You want a thin, even coating, not a thick paste.
This step is optional. If you’re cooking skin-on flounder, you can skip the flour and let the skin crisp up on its own. For skinless fillets, the flour helps create that nice crust and also protects the delicate flesh from direct heat.
Get the Pan Hot Enough
Place your skillet over medium-high heat. Add enough oil to coat the bottom, about one to two tablespoons. Wait until the oil shimmers.
That’s your visual cue that it’s hot enough.
If you’re using butter, add it right before the fish. Butter burns at high heat, so you want to use it more as a finishing fat or combine it with a high-smoke-point oil like canola or avocado oil.
Cook the First Side Without Moving It
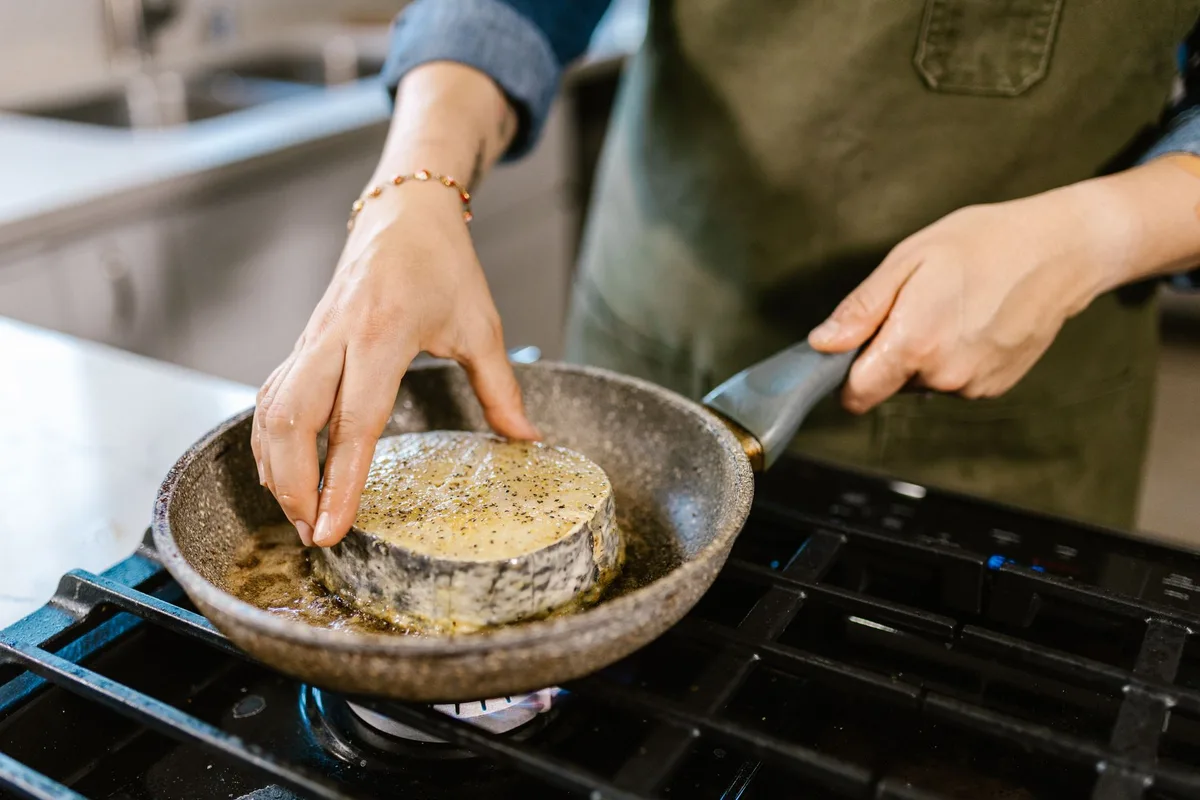
Place the fillet in the pan, laying it away from you to avoid oil splatter. Let it cook undisturbed for two to three minutes. Do not poke, slide, or peek.
The biggest mistake people make is moving the fish too early. The fillet will release from the pan naturally once the crust is set. If you try to flip it and it resists, it’s not ready.
Give it another 30 seconds.
You’ll know it’s ready to flip when the edges turn opaque and the bottom is golden brown. Use a thin, flexible fish spatula to slide under the fillet. Flip gently and confidently.
Flip Gently and Finish Fast
Cook the second side for one to two minutes. The second side cooks faster because the pan is already hot and the fillet is partially cooked.
Remove the fish from the pan as soon as it’s opaque throughout and flakes easily. A minute too long and it goes from moist to dry. When in doubt, pull it off early.
Residual heat will finish the cooking.
The Flake Test: How to Know It’s Done
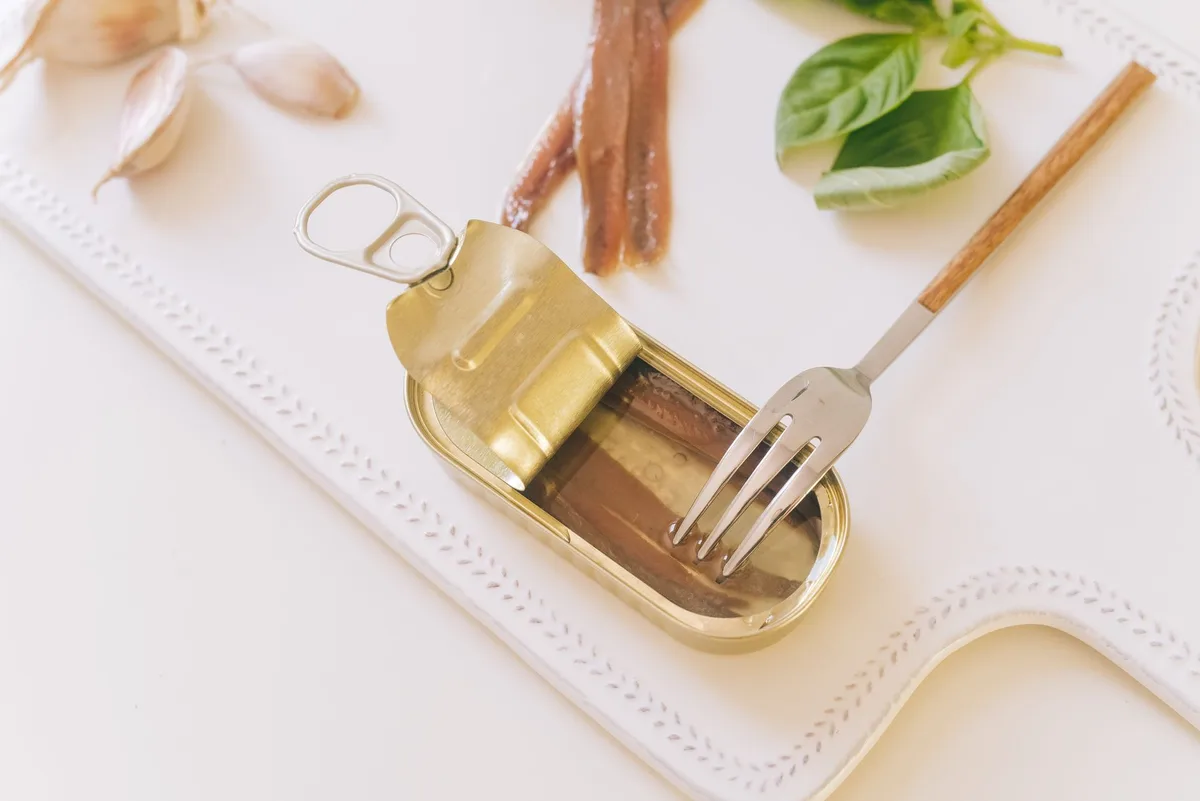
Because flounder fillets are so thin, using a thermometer is tricky. You can check internal temperature, but the probe often pokes through the fillet or gives a false reading. The flake test is more reliable.
Here’s how to do it. Insert a fork at the thickest part of the fillet. Gently twist.
The flesh should separate into clean, distinct flakes. The center should be opaque, not translucent or glassy. If it still looks raw or jelly-like, give it another 30 seconds.
Another visual cue: the fillet will change from translucent to fully white or off-white. The edges will be opaque and slightly firm. The whole fillet should look cooked through, not darker or lighter in patches.
The flake test works for any white fish, but it’s especially useful for thin fillets like flounder, sole, and tilapia. Trust what you see, not just the timer.
Common Mistakes That Ruin Flounder
Even experienced cooks mess up flounder. The good news is that each common mistake has a simple fix. Here are the three biggest ones and how to avoid them.
Sticking to the Pan
This is the most frequent complaint. You go to flip the fillet, and half of it stays glued to the pan. The fix is almost always the same: the pan wasn’t hot enough, or you moved the fish too early.
When a fillet hits a properly heated pan, a crust forms almost instantly. That crust is what releases from the surface. If the pan is too cool, the fish cooks slowly and bonds to the metal.
Another cause is moisture. Wet fish sticks. That’s why patting the fillet dry is so important.
Even a thin layer of water creates steam that prevents the crust from forming.
If you’re using a stainless steel pan, give the fish time to release. It will let go on its own when the crust is ready. Trying to force it off tears the flesh.
Overcooking Into Dryness
Flounder’s thinness works against you here. A minute too long, and the fillet goes from tender to dry and stringy. The protein tightens up and squeezes out moisture.
The fix is simple. Cook the first side until golden, about 2 to 3 minutes. Flip and cook the second side for just 1 to 2 minutes.
Then take it off the heat. Residual heat continues cooking the fillet for another 30 seconds or so.
If you’re unsure, undercook slightly. You can always put it back in the pan for 30 seconds. You cannot undo dry fish.
The Fish Falls Apart When You Flip
Flounder is delicate. It breaks apart easily. The main cause is trying to flip too early or using the wrong tool.
A thin, flexible fish spatula makes a huge difference. It slides under the fillet without tearing it. A wide metal spatula works too.
Avoid a thick, slotted turner that pushes through the flesh.
Also, let the fillet cook long enough on the first side. A properly set crust holds the fillet together. If it’s still pale and soft, it’s not ready to flip.
If you’re cooking skin-on flounder, the skin acts as a natural binder. It holds the fillet together during the flip. That’s one reason many cooks prefer skin-on fillets.
Best Oils and Fats for Pan-Seared Flounder
The fat you use affects both flavor and cooking performance. Here’s a breakdown of the best options.
| Fat | Smoke Point | Flavor | Best For |
|---|---|---|---|
| Avocado oil | 520°F | Neutral | High heat searing |
| Canola oil | 400°F | Neutral | Everyday cooking |
| Grapeseed oil | 420°F | Neutral | Light crust |
| Butter | 350°F | Rich, nutty | Finishing, low heat |
| Clarified butter (ghee) | 485°F | Nutty, rich | High heat with butter flavor |
For a standard pan-sear, avocado oil or canola oil works well. They handle medium-high heat without burning. That gives you a clean, golden crust with no off flavors.
If you want butter flavor without the burn risk, use clarified butter or ghee. The milk solids have been removed, so it can handle higher heat. It’s a great middle ground.
Avoid olive oil for high heat searing. Extra virgin olive oil has a smoke point around 375°F. It burns before the pan is hot enough to sear properly.
Save it for finishing or low heat cooking.
Butter or Oil: When to Use Each
This is a common question, and the answer depends on what you want from the final dish.
Use oil when you want a clean, crisp crust. Oil alone gives you a neutral base that lets the fish’s natural flavor shine. It’s also the safest option for high heat.
You can crank the pan to medium-high without worrying about burning.
Use butter when you want rich, nutty flavor. The milk solids in butter brown and create a deeper taste. But butter burns at a lower temperature.
That means you need to keep the heat moderate.
The best of both worlds? Use a combination. Start with a tablespoon of oil in the pan.
Add a pat of butter right before the fish goes in. The oil raises the smoke point of the whole mixture. The butter adds flavor without burning.
This is a common technique in restaurant kitchens.
Another option is to cook the fish in oil and finish with butter. Sear the fillet in oil. In the last minute, add a tablespoon of butter and let it melt and bubble around the fish.
Spoon it over the top. That gives you a perfect sear with a butter finish.
Non-Stick, Cast Iron, or Stainless Steel: Which Works Best?
We covered the basics of each pan earlier. Now let’s talk about how to choose based on your specific situation.
If you’re cooking flounder for the first time, go with non-stick. It’s the most forgiving. You’ll get a clean flip with less stress.
The trade-off is a slightly less pronounced crust. But a perfectly cooked fillet with a moderate crust beats a torn, stuck fillet every time.
If you want the best crust and you’re comfortable with a little sticking, use cast iron. Make sure it’s well seasoned. Preheat it slowly over medium heat for a few minutes before adding oil.
Cast iron holds heat so well that the fillet gets an even, deep golden sear.
If you’re cooking multiple batches, stainless steel is your friend. It’s easy to wipe out and reuse between batches. Cast iron and non-stick take longer to cool down and reset.
Stainless steel also gives you better control if you’re making a pan sauce afterward.
Here’s a quick decision guide:
- First time cooking fish? Use non-stick.
- Want the crispiest skin? Use cast iron.
- Making a pan sauce after? Use stainless steel.
- Cooking just one fillet? Any pan works.
- Cooking four fillets back to back? Use stainless steel.
What to Serve With Skillet Flounder
Flounder is mild and lean. It pairs well with light, fresh sides that don’t overpower it. The goal is to complement, not compete.
A simple green salad with lemon vinaigrette works perfectly. The acidity cuts through the richness of the butter or oil. Add some cherry tomatoes and cucumber for texture.
Steamed or roasted vegetables are another great choice. Asparagus, green beans, or zucchini all work. Roast them in the oven while the fish cooks.
Everything finishes around the same time.
For a starch, go with something light. Rice pilaf, couscous, or quinoa are good options. Avoid heavy mashed potatoes or creamy pastas.
They can overwhelm the delicate fish.
The most classic pairing is flounder with lemon and parsley. A squeeze of fresh lemon juice right before serving brightens the whole dish. A sprinkle of chopped parsley adds freshness.
If you want to stretch the meal, serve the flounder over a bed of sautéed spinach or arugula. The heat from the fish wilts the greens slightly. It’s a one-plate meal that looks impressive with minimal effort.
A Quick Lemon Butter Sauce in the Same Pan
You don’t need a separate pan for sauce. After removing the cooked flounder, leave the pan on low heat. The browned bits and residual fat are pure flavor.
Add a tablespoon of butter. Let it melt and sizzle. Squeeze in half a lemon.
Add a splash of white wine or chicken stock if you have it. Stir for 30 seconds.
Pour the sauce over the fish right away. That’s it. A two minute pan sauce that tastes like you spent all day on it.
How to Cook Flounder From Frozen (Without a Mess)
Cooking frozen flounder is possible, but you need to adjust. The biggest risk is uneven cooking. The outside cooks while the inside stays raw.
The best method is to thaw first. But if you’re in a rush, here’s the shortcut. Increase the cooking time by about 50 percent.
Cook the first side for 4 minutes, not 2. The inside will still be cold when the outside is done.
A better approach is to thaw in cold water for 30 minutes. Then pat dry and cook normally. This takes almost no effort and gives you much better results.
Never cook a frozen fillet in a non-stick pan at high heat. The ice crystals create steam that ruins the crust. The fish will steam instead of sear.
Frequently Asked Questions
Can I use olive oil to cook flounder in a skillet?
You can, but it’s not ideal. Extra virgin olive oil has a low smoke point around 375°F. It will burn before the pan is hot enough for a good sear.
Use avocado oil, canola oil, or ghee instead.
Should I cook flounder skin side first?
Yes, if you’re cooking skin-on fillets. Place the skin side down first. Let it cook until the skin is crispy, about 3 minutes.
Then flip and finish the flesh side. The skin protects the delicate meat.
How do I know when flounder is done without a thermometer?
Use the flake test. Insert a fork at the thickest part and twist gently. The flesh should separate into clean, distinct flakes.
The center should be opaque, not translucent or glassy.
Can I cook flounder in a cast iron skillet without it sticking?
Yes, if the pan is well seasoned and hot enough. Preheat the cast iron over medium heat for 5 minutes. Add oil and let it shimmer.
Pat the fish completely dry. Let it cook undisturbed until the crust releases naturally.
What’s the best oil for crispy flounder?
Avocado oil or canola oil. Both have high smoke points and neutral flavors. They give you a clean, golden crust without burning.
Avoid butter alone for high heat searing.
How long should I cook flounder per side?
Cook the first side for 2 to 3 minutes over medium-high heat. Cook the second side for 1 to 2 minutes. Total cook time is 3 to 5 minutes for a standard fillet.
Thicker fillets may need 30 seconds more per side.

Table of Contents