Your dehumidifier runs hard, pulls moisture all day, and yet your home still feels damp. That’s usually the coil’s fault. Dust, lint, and grime build up over time, insulating the fins and choking off airflow.
A dirty coil can’t absorb heat efficiently, which means your unit runs longer, uses more electricity, and struggles to hit your target humidity level. The fix is straightforward, clean the coil yourself. It takes under an hour, costs almost nothing, and brings your machine back to peak performance.
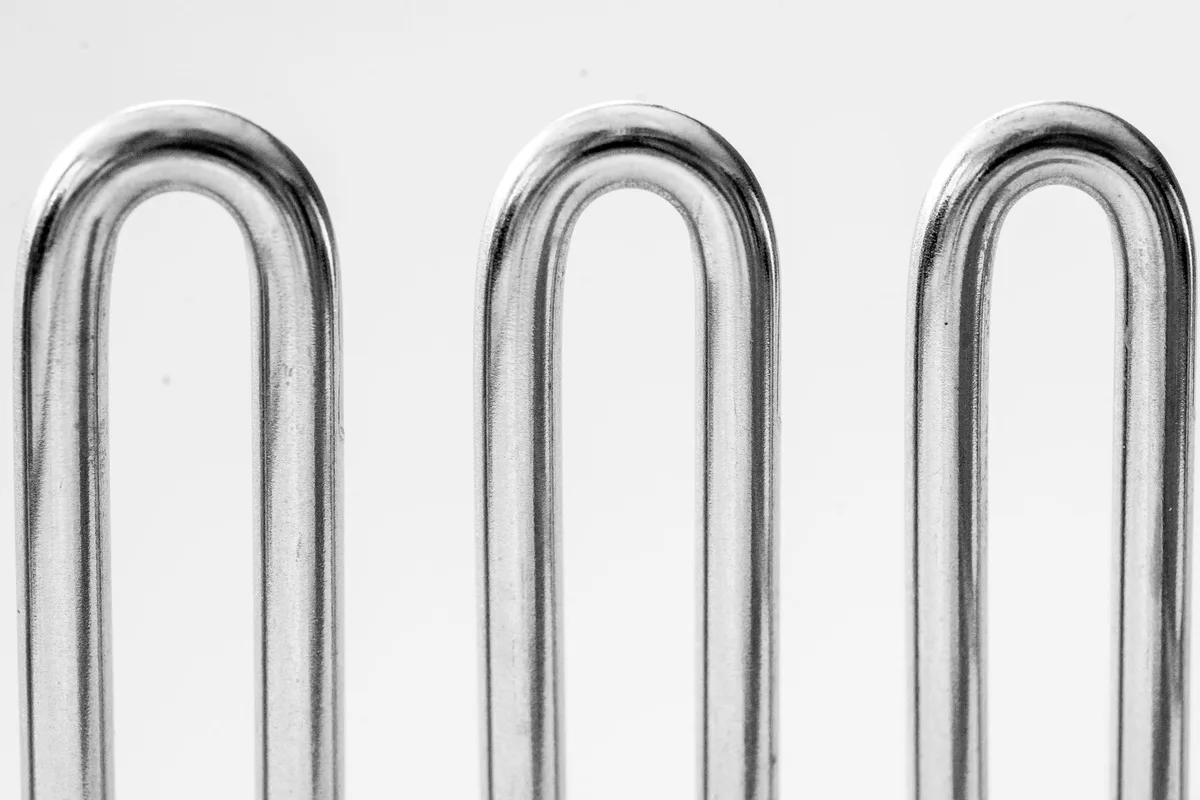
Image source: Pexels / Linda Gschwentner (Pexels License)
This guide walks you through everything you need to know: why coil cleaning matters, what supplies to grab, how to safely access the coil, step-by-step cleaning methods for light and heavy buildup, and simple habits that keep the coil running clean for months. Skip this chore once, and efficiency drops. Do it regularly, and your dehumidifier will quietly do its job while your energy bills stay down.
Why Your Dehumidifier Coil Needs Regular Cleaning
The evaporator coil sits at the heart of your dehumidifier. Cold refrigerant runs through it, and warm, humid air blows across those thin metal fins. Moisture condenses onto the surface and drips into the collection tank.
That condensation acts like a magnet for dust and airborne particles. Over weeks and months, a fuzzy mat forms. That mat traps more moisture, insulates the coil, and starves the system of the airflow it needs.
The results show up fast. Your unit cycles on and off frequently without reaching set humidity. Ice may form on the fins during longer runs.
Water can back up into the pan instead of draining properly. And because the compressor works harder to push cold through a clogged coil, your electricity bill creeps upward. The U.S.
Department of Energy recommends maintaining a relative humidity between 30% and 50% indoors to reduce mold growth and improve comfort . A clean coil is the simplest way to hit that target without rewiring anything.
Condenser coils matter too, especially on older models that use them. They reject heat drawn from the room, and when they get coated in dust, heat exchange slows down. Cleaning both sets of coils stretches compressor life and keeps energy consumption in check.
Most homeowners skip this maintenance entirely. Some only think about coils when the unit stops cooling properly. Regular cleaning prevents those emergencies before they start.
You don’t need special certifications or fancy tools. A soft brush, some gentle cleaner, and basic hand tools are enough. In many cases, you can clean the coil while the unit stays on the floor.
If the build-up is light, a dry brush run once every few weeks does the trick. Heavy grime calls for a deeper clean every three to six months, depending on how dusty your space tends to be. Pets, smokers, and homes near busy roads all accelerate buildup, so check your coils more often if any of those apply to you.
Tools and Supplies You’ll Need
Grab a few things before you start. Most households already have the basics, and the rest cost almost nothing at a hardware store.
Essential tools:
- Soft-bristled coil brush or a dedicated evaporator coil brush. These are narrow and flexible enough to slide between fins without bending them.
- A vacuum cleaner with a brush attachment. A shop vac works better than a household upright because it handles the dust volume without clogging.
- Needle-nose pliers or small screwdrivers, depending on your model’s fasteners.
- A spray bottle filled with distilled water. Tap water leaves mineral deposits over time.
- A soft microfiber cloth for wiping accessible surfaces.
Cleaning solutions:
- A mix of one part white vinegar to three parts water for general grime. Vinegar cuts through light mineral scale and kills mild surface mold without harsh fumes.
- Commercial coil cleaner if you’re dealing with heavy oil or grease. Pick a no-rinse foam formula whenever possible. It clings to vertical fins and breaks down dirt without demanding a pressure wash.
- Mild dish soap and warm water as a backup option. A few drops in a bucket works for spot cleaning when you can’t find vinegar.
Safety gear:
- Work gloves to protect your hands from sharp fins and dust.
- Safety glasses if you’re cleaning overhead or using spray chemicals.
- A dust mask when vacuuming thick accumulation. Fine particles stay airborne long after the brush moves.
Avoid compressed air cans unless the label explicitly says they’re safe for HVAC coils. High-pressure bursts can bend delicate fins inward and restrict airflow permanently. Keep a fin comb on hand just in case.
Bending happens sometimes during cleaning, and a few careful passes restore spacing without buying new parts.
How to Access and Remove the Coil Panel
Start by unplugging the unit. Never reach inside a live dehumidifier. Turn the power off at the wall, then give the cord a firm tug to confirm it’s disconnected.
Some units store a battery backup for control boards, but that won’t power the compressor. Still, cutting power is the right first move every time.
Locate the access panel. Most portable dehumidifiers hide the coil behind a rear or side grille. Look for screws along the edges, sometimes tucked under rubber feet or plastic caps.
Use the appropriate screwdriver, Phillips heads dominate, but a few models use hex or tri-point fasteners. Keep screws organized on a small magnet tray or in a labeled envelope. Losing one little screw becomes a frustration later when you’re trying to replace the panel.
Image source: Pexels / Khunkorn Laowisit (Pexels License)
Remove the panel gently. Some clips hold the grille in place alongside screws. Work around the perimeter with your fingers or a flat tool wrapped in tape to avoid scratching the housing.
Once loose, lift the panel away and set it somewhere clean. Take a quick photo with your phone before everything comes apart. The picture helps when you reassemble later, especially on models with multiple wire harnesses or oddly shaped brackets.
Check whether your coil assembly includes a fan shroud or protective cage. Many manufacturers wrap the coil in a plastic frame to prevent accidental fin damage. If yours has one, remove it now by loosening the mounting screws.
Label each wire connector if anything plugs into the fan motor. A piece of masking tape with a marker note prevents misconnection during reassembly.
Peek at the coil before you touch it. Note how heavily loaded it is. Light surface dust looks like a pale gray film.
Heavy buildup appears as a dense, matted layer that hides the metal beneath. This visual assessment tells you which cleaning method to choose and whether a deep soak or a gentle brush pass is the smarter call. Don’t rush past this step.
Knowing the dirt level upfront saves time later.
Step-by-Step Guide to Cleaning the Coil
Begin with the dry phase. Run the vacuum brush attachment across the coil surface, moving from top to bottom. Hold the nozzle close enough to pull loose dust but not so close that you press the bristles into the fins.
Work in overlapping strokes along the entire face. Flip the coil if your model allows safe access from both sides. Vacuum the drain pan and the area around the coil housing while you’re at it, that dust will settle back down otherwise.
Switch to the brush phase next. Take the coil brush and sweep it along the length of the fins, following their direction. Most evaporator coils have fins that run vertically, so brush up and down.
Never scrape across the fin tips unless the brush is specifically designed for cross-fin work. Bending fins closes the air channels and reduces heat transfer capacity. Light pressure does the job.
Let the soft bristles lift trapped particles rather than forcing them out.
If the brush alone isn’t enough, mist the coil lightly with the vinegar-water solution. Spray from about twelve inches away so droplets distribute evenly without soaking surrounding components. Wait two minutes for the solution to penetrate the grime.
Then go back over the surface with the brush, working gently in one direction. The moisture loosens stubborn particles, and the brush lifts them free. Wipe away residue with a damp microfiber cloth.
For fin-only models that lack deep internal access, focus on the exposed face. Brush outward toward you, letting debris fall away from the core. Collect fallen dust with the vacuum afterward.
Don’t spray heavily around electrical connections or the fan motor. A controlled mist near those areas is fine; a soaking spray invites trouble.
Recheck the coil after brushing. Hold it up to a bright light if possible. Light should pass through the fin gaps evenly.
Dark shadows mean remaining blockage. Repeat the mist-and-brush cycle on stubborn spots. A second round usually removes whatever the first pass missed.
Once the coil looks clean, vacuum the surrounding cabinet interior. Dust settles on the fan blades, the drain pan, and the air intake grille during brushing. Wipe those surfaces with the microfiber cloth.
Leave everything open and dry for ten to fifteen minutes before reinstalling the panel. Moisture trapped inside promotes mold growth faster than a damp coil ever could.
Deep Cleaning Methods for Heavy Buildup
When dust has turned into a solid mat, light brushing won’t cut it. That compacted layer insulates the coil like a winter coat. You need a different approach to break it loose without damaging fragile fins.
Start with a no-rinse foam coil cleaner. Shake the can well, then spray a generous coat over the entire coil face. The foam expands into the fin passages and clings long enough to dissolve baked-on grime.
Follow the product instructions for dwell time, usually five to fifteen minutes depending on the formula. Watch the foam drip slightly as it works. That’s normal and shows it’s penetrating.
After the dwell period, use the brush again. This time work in both directions: vertical strokes along the fins first, then gentle horizontal passes across the tips if the manufacturer approves cross-fin cleaning. The loosened gunk should come away in clumps.
Vacuum as you go to keep the debris from settling elsewhere inside the cabinet.
If foam cleaner doesn’t move everything, try a diluted enamel and fixture cleaner. Mix one tablespoon per quart of warm water. Apply with a spray bottle or a soft sponge, avoiding electrical components.
Let it sit for three minutes, then brush and vacuum thoroughly. Rinse lightly with distilled water from a spray bottle, and dry immediately with a clean cloth. This method tackles mineral deposits and organic films that vinegar alone can’t remove.
For extreme cases where decades of neglect created a brick-like coating, consider removing the coil assembly entirely. Consult your owner’s manual first. Some models allow full extraction with a few additional screws, while others seal the coil permanently inside the chassis.
If removal is safe and recommended by the manufacturer, take it outside and rinse gently with low-pressure garden hose water. Point the spray perpendicular to the fins so water flows straight through instead of bending them. Low pressure only.
High-pressure nozzles destroy coil geometry in seconds.
Allow the removed coil to air-dry completely before reinstalling. Place it upright in a shaded area for several hours. Check that water isn’t pooling in the fin gaps.
Use compressed air only if you regulate the pressure below thirty psi and sweep the stream parallel to the fins. When in doubt, let gravity and airflow finish the drying.
Image source: Pexels / Anna Shvets (Pexels License)
Once the coil is clean and dry, inspect the fins closely. Straighten any bent ones with a fin comb. Run the comb lightly across the surface, lifting bent fins back into alignment.
Replace damaged fins that can’t be corrected, because airflow through narrowed channels creates turbulence and reduces efficiency. A fin comb costs around ten dollars and pays for itself in restored performance.
Reassembling and Testing Your Dehumidifier
Put everything back in reverse order. Slide the fan shroud or protective cage back into position and tighten its screws finger-tight first, then give a final quarter-turn with the screwdriver. Avoid overtightening, which strips plastic threads or cracks the housing.
Reconnect any wire harnesses you detached, matching colors or labels to the photo you took earlier. Tug each connector gently to confirm it seats fully.
Replace the access panel and secure all fasteners. Double-check that no screws remain loose in the tray or on the work surface. Every missing fastener means another teardown later.
Plug the unit back in and turn it on. Set the humidity target to your usual setting, typically forty-five percent for comfortable indoor air. Listen for the fan starting smoothly and the compressor engaging within a minute.
Feel airflow at the outlet grille. Strong, steady airflow confirms the coil isn’t blocking passage.
Run the dehumidifier for at least thirty minutes before declaring success. Watch the humidity reading drop. If it climbs instead, check for blockages or reinstalled panels that might be restricting intake.
Verify the drain path is clear and water collects properly in the tank. A quick inspection of the coil face through the opening (if possible) reassures you that nothing shifted during reassembly.
Monitor the unit over the next twenty-four hours. Note whether it cycles normally or runs continuously without reaching setpoint. Continuous operation after a fresh cleaning usually points to a sensor issue or a sealed-system problem, not a cleaning mistake.
But if the unit seems weaker than before, revisit the coil area for residual obstructions or accidentally bent fins.
Preventive Maintenance Tips
Clean coils stay clean longer when you add a few simple habits to your routine. Start with the air filter. Most modern dehumidifiers include a washable front grille filter.
Remove it monthly, vacuum both sides, and rinse with warm water if it looks grimy. Let it dry completely before sliding it back. A clogged filter forces more air through fewer paths, pushing dust deeper into the coil.
Position your unit away from walls and furniture. Maintain at least six inches of clearance on all sides for proper air circulation. Good airflow carries particulates past the coil instead of letting them settle directly onto the fins.
Rotate the unit’s location seasonally if you move it between rooms. Each space collects different dust profiles, carpet fibers in bedrooms, pet dander in living areas, construction dust near renovations. Cleaning frequency should match the environment.
A basement unit near a workshop needs attention more often than a bedroom closet model in a quiet house.
Run the dehumidifier on auto mode rather than continuous duty during moderate humidity periods. Continuous operation circulates more air through the coil, which deposits more dust proportionally. Auto cycling gives the coil brief breathing room between cycles and reduces overall particulate loading.
Inspect the coil visually every three months. Shine a flashlight across the fin surface from an angle. Shadows and dark patches reveal accumulating dust before it becomes a performance problem.
Early detection means a quick brush pass instead of a full deep clean later.
Replace worn or damaged air filters promptly. A frayed filter lets larger particles bypass it and land directly on the coil. Even inexpensive replacement filters pay for themselves in avoided compressor strain and lower repair costs.
Keep the area around the dehumidifier swept and vacuumed regularly. Floor dust rises on warm air currents generated by the unit’s exhaust. Less floor dust means less airborne dust settling on the intake and coil.
It’s a small habit with outsized long-term benefits.
Frequently Asked Questions
How often should I clean my dehumidifier coil?
Light cleaning every four to six weeks during active use seasons. Deep cleaning every three to six months depending on dust exposure. Homes with pets, smokers, or nearby construction need more frequent attention.
Can I use water to clean the coil?
Yes, but only distilled or demineralized water. Tap water leaves mineral deposits that attract more dust. Apply water sparingly with a spray bottle, never soak the coil, and dry thoroughly before restarting the unit.
Will cleaning the coil void my warranty?
Generally no. Routine cleaning is considered standard homeowner maintenance. Always check your specific warranty terms, and avoid using abrasive tools or high-pressure water that cause physical damage.
Manufacturer-approved cleaning methods keep coverage intact.
What causes ice to form on the coil?
Restricted airflow is the most common culprit. Dirty coils, clogged filters, and bent fins all reduce air movement across the evaporator. Low refrigerant charge and malfunctioning fans contribute too.
Clean the coil and filter first. If ice returns after cleaning, call a qualified technician to check the sealed system.
How do I know if the coil is beyond saving?
Severe corrosion, crushed fins that won’t straighten, or persistent poor performance after thorough cleaning signal replacement. Coil damage from excessive pressure washing or harsh chemicals also warrants a professional evaluation. In those cases, replacing the coil assembly or the entire unit may be more economical than repeated repairs.
Keeping your dehumidifier coil clean is one of those maintenance tasks you forget until something breaks. The good news is the fix is easy, inexpensive, and entirely within your reach. Brush away dust, rinse lightly when needed, and reassemble carefully.
Your unit will run quieter, your electricity bill will stay flatter, and your indoor air will feel noticeably fresher. Make coil cleaning part of your seasonal routine, and your dehumidifier rewards you with reliable performance year after year.

Table of Contents