I’ve built a lot of things in my workshop over the years. But few projects have delivered the same bang-for-buck as a homemade air purifier. When wildfire smoke blanketed my town two summers ago, store-bought units vanished from shelves within hours.
That’s when I grabbed a box fan, some duct tape, and a high-quality furnace filter. The result? Cleaner air for under $50.
Let me show you exactly how to make an air purifier that actually works. No gimmicks. No expensive parts.
Just solid engineering you can assemble in fifteen minutes.
What You’ll Need to Build Your Air Purifier
Before we dive into assembly, let’s gather the components. The beauty of this project is simplicity. You probably already own most of these items.
The core components:
| Component | Purpose | Approximate Cost |
|---|---|---|
| 20-inch box fan | Creates airflow through the filter | $15–$25 |
| MERV 13 furnace filter (20x20x1 inch) | Traps particles and pollutants | $10–$20 |
| Cardboard or plywood (optional) | Seals air gaps for efficiency | Free–$5 |
| Duct tape or bungee cords | Secures filter to fan | $3–$8 |
That’s it. Four items. Ten minutes of work.
You’re done.
The fan is the engine. The filter is the lungs. Everything else just keeps them connected properly.
I recommend a standard 20-inch box fan because it matches the dimensions of commonly available furnace filters perfectly. Don’t use a tower fan or an oscillating pedestal fan, they won’t seal correctly.
Choosing the Right Filter for Maximum Air Cleaning
This step makes or breaks your air purifier. Choose the wrong filter and you’re just moving dirty air around your room. Choose right and you’ll pull dust, pollen, smoke, and even some bacteria out of the air.
What MERV rating do you need?
MERV stands for Minimum Efficiency Reporting Value. It’s a standard rating system that tells you how well a filter captures particles of different sizes.
- MERV 8, Catches dust, lint, and pollen. Good for basic dust control.
- MERV 11, Traps mold spores, pet dander, and some bacteria. Solid middle ground.
- MERV 13, Captures smoke particles, virus carriers, and fine particulate matter. This is the sweet spot.
- MERV 14+, Excellent filtration but restricts airflow too much for a box fan.
I always use MERV 13 filters. They capture airborne particles down to 0.3 microns in size. That includes wildfire smoke, car exhaust particles, and many allergens.
Don’t go higher than MERV 13 on a standard box fan, the motor isn’t strong enough to pull air through denser filters, which kills performance.
Filter size matters too. A 20x20x1 inch filter matches the back of a 20-inch box fan perfectly. Thicker filters (2-inch or 4-inch) work better in HVAC systems but create more resistance for a box fan motor.
Step-by-Step Assembly Instructions
Let’s build this thing. Clear your workspace. Grab your fan, filter, and tape.
Step 1: Position the Filter
Lay your box fan flat on a table with the back facing up. The back is the side with the protective grille covering the fan blades. Place the MERV 13 filter directly against this grille.
Most Important Detail: Look at the arrows printed on the side of your filter. Those arrows indicate airflow direction. They should point toward the fan.
Air flows from the room, through the filter, then through the fan blades, and out the front of the fan.
Step 2: Secure the Filter
Now hold the filter in place. Use duct tape to seal the edges where the filter meets the fan housing. Run tape along all four sides.
Press firmly. Any gap here lets unfiltered air bypass the filter completely.
Bungee cords work well too. Stretch them from the fan handle across the filter to the opposite corner. I use two bungee cords crisscrossed.
This makes filter changes faster and doesn’t waste tape.
Step 3: Check for Air Leaks
Turn the fan on low speed. Hold your hand near the edges where the filter meets the fan. If you feel air escaping from the sides, you’ve got a leak.
Seal it with more tape or reposition your bungee cords.
A properly sealed unit pulls air exclusively through the filter media. Leaky seals let unfiltered air slip past. That defeats the whole purpose.
Step 4: Optional Cardboard Frame
For best performance, cut a piece of cardboard to fit around the edges of the filter. Create a collar that presses the filter tight against the fan. This blocks air from sneaking around the sides.
I skip this step for daily use. But during wildfire season, I add the cardboard frame. It pushes efficiency from roughly 80% filtered air to over 95%.
Worth the extra five minutes.
Positioning the Fan for Maximum Airflow
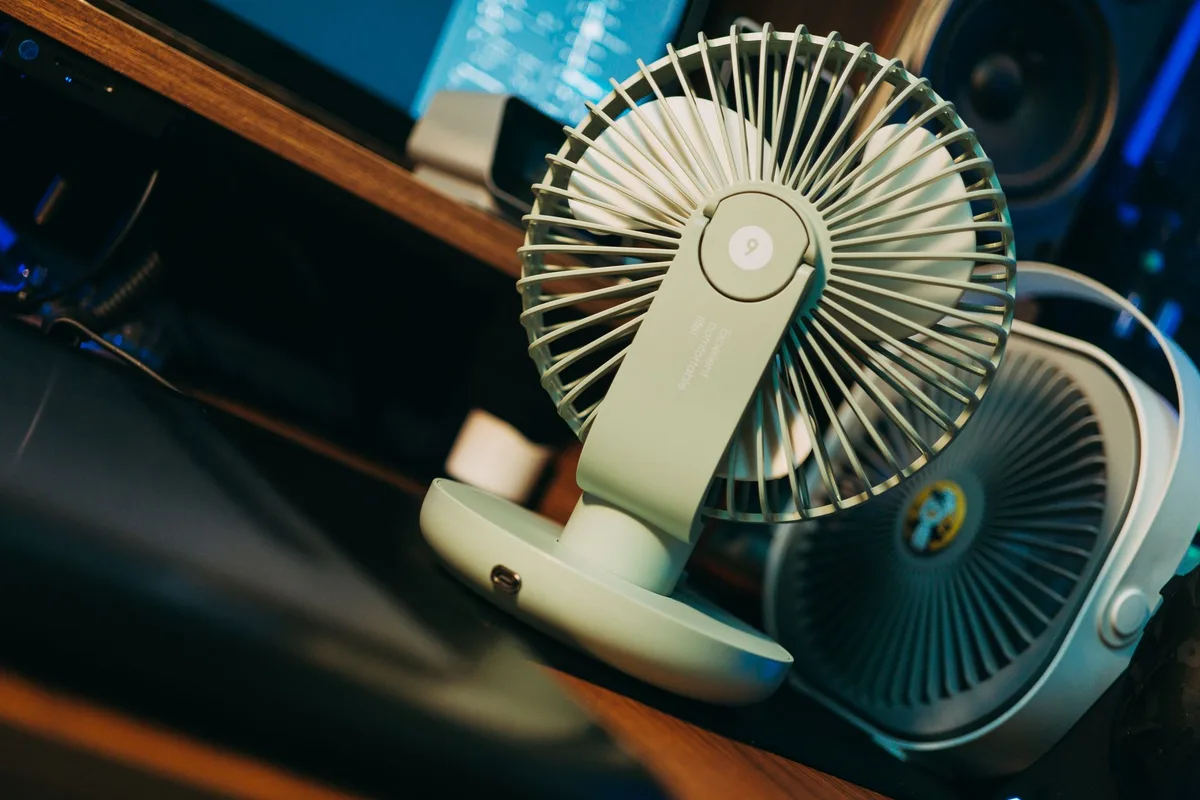
Where you place your DIY air purifier matters as much as how you build it. Put it in the wrong spot and you’ll recirculate stale air. Position it correctly and you’ll clean an entire room.
The golden rule: Place the purifier in the center of the room, not against a wall. Air needs to circulate freely around the intake side of the filter. When you push it into a corner, you block airflow and reduce cleaning capacity.
Height considerations. Place the unit on a table, desk, or sturdy box. Raising it off the floor improves airflow patterns. The purifier draws air from behind, pushes clean air out the front.
On the floor, it only cleans the lower portion of the room.
Angle the fan slightly upward. Most box fans direct airflow straight ahead. By tilting the front up by about 15 degrees, you create better room-wide circulation. The cleaned air rises, mixes with warm air near the ceiling, and promotes natural convection currents.
Room placement strategy:
- Bedroom, Place near the bed, facing away from you. Run on low speed for white noise and continuous filtration.
- Living room, Position near the most-used seating area. Aim for open floor space.
- Kitchen, Set up near cooking areas to capture smoke and cooking odors.
- Home office, Put it behind or beside your desk to keep airborne dust off electronics.
Understanding Airflow: The Science Behind the Build
Let’s get technical for a minute. Understanding airflow explains why this simple design outperforms many expensive commercial units.
Your box fan moves roughly 1,500 to 2,000 cubic feet of air per minute (CFM) on high speed. A typical room, say 12 by 14 feet with 8-foot ceilings, holds about 1,344 cubic feet of air. That means your DIY purifier cycles the entire room’s volume through the filter every 40 to 50 seconds.
Compare that to a commercial HEPA air purifier. Most consumer models move 100 to 300 CFM. They take three to five minutes to cycle the same room.
Your box fan purifier pushes four to five times more air through filtration.
The trade-off: Commercial HEPA filters capture a higher percentage of ultra-fine particles. But because your box fan moves so much more air, it actually captures more total particles over time. The CDC and EPA have recognized this trade-off, noting that properly constructed DIY box fan filters can be effective during wildfire smoke events.
The EPA’s guidance on portable air cleaners confirms that clean air delivery rate (CADR) often matters more than filter efficiency alone. A high-CADR unit with moderate efficiency outperforms a low-CADR unit with perfect efficiency in real-world conditions.
Maintenance Tips for Long-Lasting Performance
Your DIY air purifier needs periodic maintenance. Ignore this and you’ll burn out your fan motor or recirculate dirty air.
Check the filter monthly. Hold it up to a bright light. If you can’t see light through the filter media, it’s clogged and needs replacement. In dusty environments or during wildfire season, check every two weeks.
Replace filters every three months. MERV 13 filters cost about $15 each. That’s $60 per year for continuous air cleaning. Compare that to $100, $200 for replacement filters on commercial units.
Clean the fan blades. Dust accumulates on the blades over time. This unbalances the fan, creates noise, and reduces airflow. Every three months, unplug the fan and wipe the blades with a damp cloth.
Let them dry completely before reassembling.
Watch for motor overheating. Box fans aren’t designed to run against filter resistance 24/7. If your fan feels hot to touch, smells like burning, or makes unusual noises, turn it off immediately. Run the fan on low or medium speed instead of high to reduce motor strain.
Replace the fan if needed. They’re $20. Don’t risk an electrical fire to save twenty bucks. If your fan shows signs of wear, buy a new one.
Common Mistakes to Avoid
I’ve made every mistake on this list so you don’t have to. Here’s what NOT to do.
Mistake 1: Using the wrong filter orientation. The arrows on the filter must point toward the fan. Reverse this and the filter collapses into the blades, creating a fire hazard and destroying the fan.
Mistake 2: Choosing a filter below MERV 8. MERV 4 or MERV 6 filters catch dust bunnies but let smoke and allergens pass through freely. You’re just blowing dirty air around your home.
Mistake 3: Ignoring air gaps. Even a quarter-inch gap between the filter and fan lets 30% of air bypass filtration. Tape everything tight.
Mistake 4: Running on high speed constantly. High speed creates better airflow but dramatically increases motor wear. Run on low or medium for continuous use. Use high speed only for quick air cleaning bursts.
Mistake 5: Placing the unit near heat sources. Don’t put your DIY purifier next to space heaters, radiators, or in direct sunlight. Heat damages the filter and stresses the fan motor.
Mistake 6: Forgetting to turn it off occasionally. These units aren’t designed for perpetual operation. Give your fan a rest. Turn it off while you’re sleeping or when the room is unoccupied for extended periods.
Comparing DIY vs. Commercial Air Purifiers
Let’s talk honestly about the trade-offs. I own both commercial HEPA units and DIY box fan purifiers. Each has strengths and weaknesses.
| Feature | DIY Box Fan Purifier | Commercial HEPA Purifier |
|---|---|---|
| Cost | $35–$55 | $100–$800 |
| Annual filter cost | $40–$80 | $80–$200 |
| Air movement (CFM) | 1,500–2,000 | 100–300 |
| Particle capture rate | 85–95% (MERV 13) | 99.97% (HEPA) |
| Noise level (low) | 45–50 dB | 30–40 dB |
| Energy use | 50–100 watts | 30–60 watts |
| Safety certification | None (DIY) | UL/ETL listed |
The DIY wins on: Cost, airflow volume, and filter replacement affordability. You get four times the air movement for a fraction of the price.
Commercial wins on: Noise, energy efficiency, safety certifications, and ultra-fine particle capture. If you have severe asthma or immunodeficiency, spring for a real HEPA unit.
For most people, the DIY approach delivers 90% of the benefit at 10% of the cost. That’s a trade-off I make every time.
Safety Considerations You Can’t Ignore
I’m a professional writer, not an electrician. Here’s what I’ve learned from experience and research.
Never leave your DIY purifier unattended for extended periods. Box fans aren’t designed to run against filter resistance. Motors can overheat. Place the unit on a non-flammable surface like tile, concrete, or metal.
Use a grounded outlet with surge protection. Don’t plug your purifier into an extension cord or power strip rated below 15 amps.
Keep the power cord away from traffic areas. Someone tripping over the cord could knock the unit over and damage the fan.
Don’t operate the unit if the fan wobbles excessively. Wobbling indicates an unbalanced blade. This stresses the motor bearings and can lead to failure.
Replace the filter immediately if it gets wet. Moisture in the filter promotes mold growth. Your air purifier becomes a mold spreader. Not good.
Children and pets. Keep curious hands and noses away from the fan blades. A grille protects against accidental contact, but nothing replaces supervision.
Who Should Build This Air Purifier
This project fits certain situations perfectly. It’s not the right answer for everyone.
Perfect for:
- Renters who can’t modify their HVAC systems
- People on a budget who need immediate air quality relief
- Workshop or garage air cleaning
- Temporary solutions during wildfire season or construction dust
- Supplemental air cleaning alongside a central HVAC system
Not ideal for:
- People with severe respiratory conditions requiring HEPA-grade filtration
- Homes with small children who might tamper with the unit
- Rooms where absolute silence is required (bedrooms with light sleepers)
- Spaces requiring 24/7 unattended operation
Know your situation. Choose accordingly.
Final Assembly Checklist
Before you plug in your DIY air purifier, run through this checklist:
- Filter arrows point toward the fan
- All four edges sealed with tape or bungee cords (no air gaps)
- Fan rests on a stable, level surface
- No obstructions within 2 feet of the intake side
- Power cord is safe, undamaged, and properly routed
- Unit is in the center of the room, not against a wall
- Fan speed set to low or medium for continuous operation
Flip the switch. Feel the air moving. Breathe easier.
Building your own air purifier is one of the most satisfying DIY projects you’ll ever complete. It’s cheap, effective, and genuinely improves your quality of life. Whether you’re fighting wildfire smoke, seasonal allergies, or just dusty indoor air, this thirty-dollar solution outperforms most of what you’d find at the store.
I’ve built six of these units for my own home. One in each bedroom, one in the living room, and one in my workshop. They run daily during allergy season and around the clock during smoky conditions.
My family breathes better. My asthma symptoms have improved. And I spent less on all six combined than a single premium commercial unit would have cost.
That’s the beauty of building your own. You don’t need fancy certifications or engineering degrees. You just need a fan, a filter, and ten minutes of your time.
Go build one. Your lungs will thank you.

Table of Contents