Learning how to sift flour with a whisk solves a common kitchen gap. Many home bakers own a balloon whisk but no tamis or hand-crank sifter. The whisk can aerate flour and blend dry ingredients in one motion.
It cannot break stubborn lumps the way a fine mesh does.
King Arthur Baking lists all-purpose flour at 120 grams per cup as of 2026. A 10-inch wide shallow bowl gives enough room for three cups without spill. The lift-flick-rotate cycle adds roughly 15 percent volume in 20 seconds.
Let’s look at why the setup matters more than the whisk alone.
Quick Answer
Whisk-sifting aerates flour using a balloon whisk in a wide shallow bowl. Lift the whisk up, flick the wrist outward, rotate the bowl. Repeat for 20 to 30 seconds per two cups.
This adds air and blends leaveners. It does not remove large clumps.
Why Whisk-Sifting Looks Different Than You Expect
Most people stir flour in a deep bowl. That packs the flour down. A whisk needs space to lift particles upward.
The wide shallow bowl changes the physics. Flour falls back through the wires instead of compressing against the sides.
The balloon whisk shape matters. Twelve to sixteen thin wires create more lift than a flat whisk. The wires flex and spring back.
That snap pulls air into the flour cloud. A stiff French whisk cannot do this.
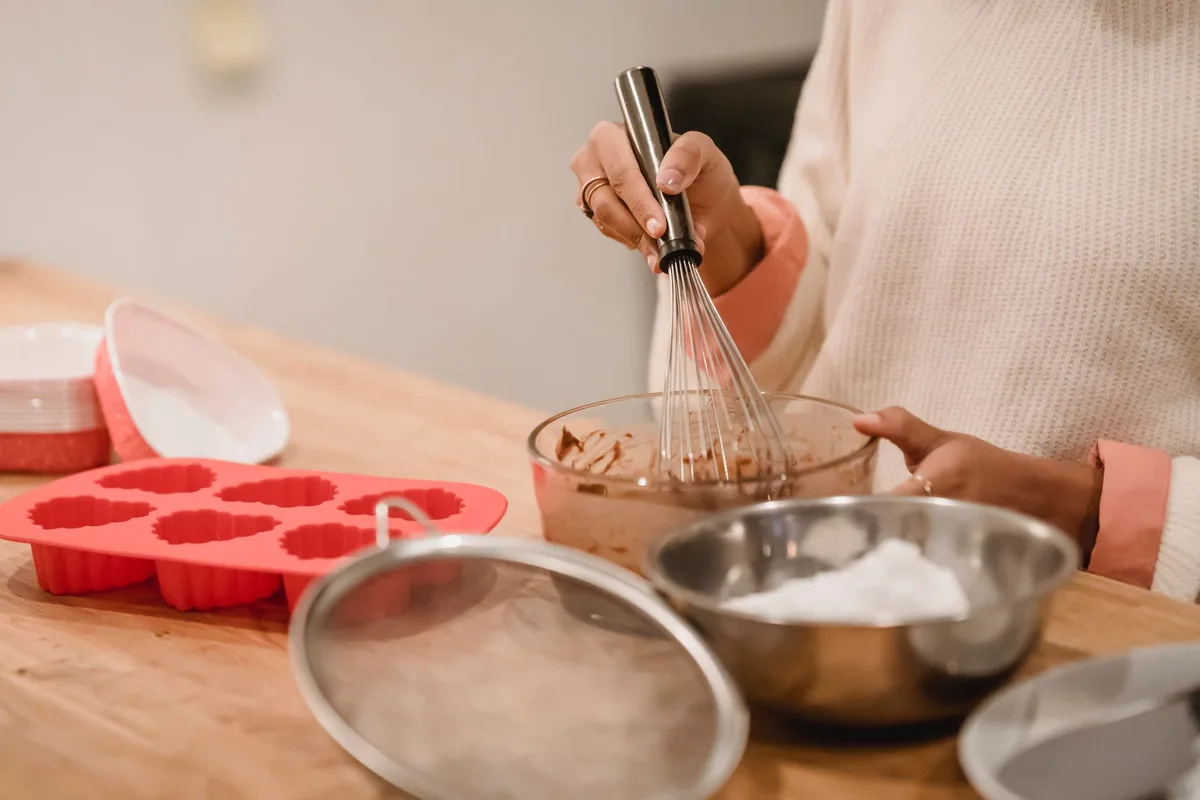
Cake flour benefits most. Its fine particles clump from static. The whisk breaks surface tension.
Bread flour has larger granules. It aerates faster but settles quicker. All-purpose flour sits in the middle.
You will see the flour turn pale and fluffy. That visual cue means air is trapped between particles. The volume rises about one-fifth.
Settling starts within 60 seconds. Move fast to the wet ingredients.
The Right Tools: Bowl Shape, Whisk Type, and Flour Choice
The bowl is the first decision. Depth kills the motion. A 10-inch diameter bowl with 3-inch depth works for three cups.
Deeper bowls trap flour at the bottom. The whisk never reaches it.
| Bowl Width | Max Flour Volume | Depth Limit |
|---|---|---|
| 8 inch | 1.5 cups | 2.5 inch |
| 10 inch | 3 cups | 3 inch |
| 12 inch | 5 cups | 3.5 inch |
Whisk wire count drives aeration. Twelve wires is the minimum. Sixteen wires is ideal.
More wires mean smaller gaps. Flour passes through in thinner sheets. That creates more surface area for air.
Stainless steel 18/8 resists corrosion. Sealed handles prevent water ingress. Wood handles swell and crack in dishwashers.
The CIA recommends sealed stainless for professional use.
Flour type changes the result. Cake flour at 100 mesh clumps hardest. It needs the full 30 seconds.
All-purpose at 80 mesh takes 20 seconds. Bread flour at 70 mesh takes 15 seconds. Whole wheat flour has bran that snags wires.
Whisk-sifting whole wheat is not effective.
Measure by weight. One cup of all-purpose flour weighs 120 grams. Scooping packs 150 grams into the same cup.
That extra mass slows the whisk. The aeration percent drops.
Step-by-Step: Lift, Flick, Rotate — What Each Motion Actually Does
Start with measured flour in the bowl. Add baking powder salt spices on top. Do not pre-mix.
The whisk will blend them.
Grip the whisk handle near the base. Thumb on top. Fingers wrapped.
This gives wrist control. A choked-up grip reduces leverage.
Lift straight up. Pull the whisk through the flour column. Do not stir sideways.
Sideways motion pushes flour to the walls. The lift creates a flour fountain.
At the top flick the wrist outward. The whisk wires snap. That snap throws flour sideways into the air.
The particles separate. Air fills the gaps.
Rotate the bowl a quarter turn. The next lift hits fresh flour. Repeat lift flick rotate.
Keep a steady rhythm. Two seconds per cycle.
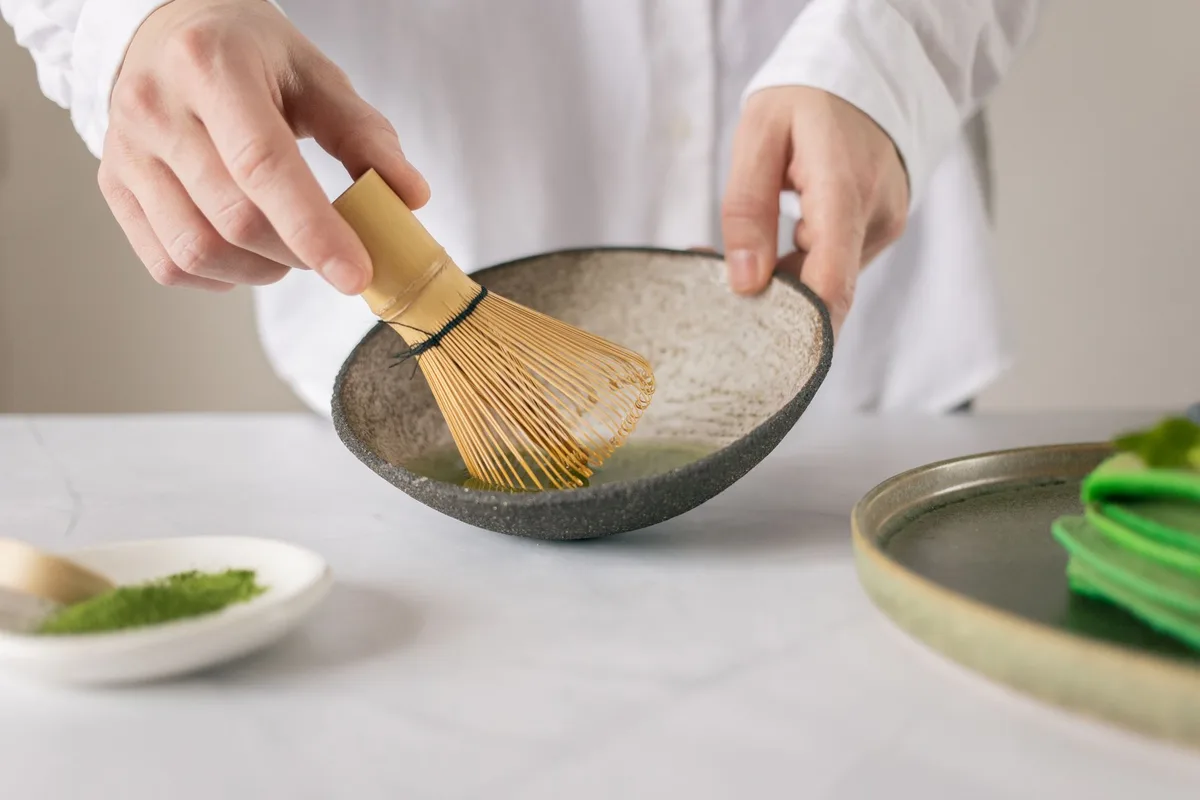
Count 15 cycles for two cups of all-purpose flour. That takes about 30 seconds. Stop when the flour looks uniformly pale.
No dark streaks of leavener should remain.
Press the back of a spoon against the bowl wall. If it leaves a clean line the flour is aerated. If you see dense patches whisk five more cycles.
Visual Cues: How to Tell When It’s Aerated Enough
Color change is the first signal. Fresh flour looks slightly yellow. Aerated flour looks bright white.
The difference is subtle but clear in good light.
Volume rises up the bowl sides. Two cups becomes roughly 2.3 cups. The surface becomes soft and mounded.
A gentle shake of the bowl makes it settle like snow.
Texture test. Pinch a small amount between thumb and forefinger. It should feel like cool silk.
No grit. No cool damp spots. Damp spots mean clumps remain.
Leavener distribution. Sprinkle a pinch of baking powder on top before whisking. After whisking the white should be uniform.
No white specks visible.
Time limit. Aerated flour settles fast. Ten percent volume loss per minute.
Use it within two minutes. If you wait longer whisk again briefly.
Common Visual Mistakes: Clumps, Spills, and Settling
Clumps happen with humid flour. The whisk wires brush over them. They stay intact.
A fine-mesh sieve catches these. The whisk cannot.
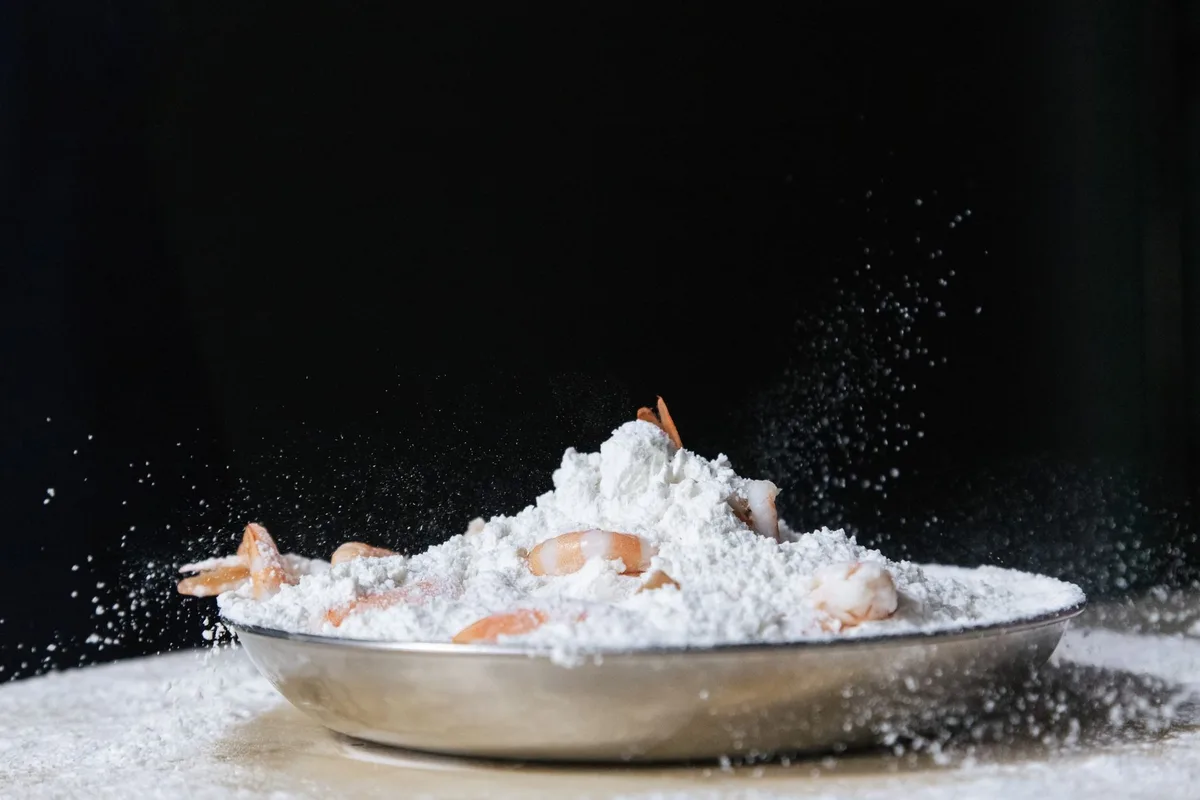
Spills come from aggressive flicks in a narrow bowl. Flour flies over the rim. The fix is a wider bowl or gentler flick.
Keep the flick inside the bowl diameter.
Settling tricks the eye. The bowl looks full. Tap the counter.
The flour drops 15 percent. You just lost your aeration. Weigh again if the recipe is sensitive.
Static cling. Flour coats the whisk wires. It does not fall back into the bowl.
Tap the whisk handle against the bowl rim. The vibration releases the coating.
Uneven leavener. Baking soda is denser than flour. It sinks.
Whisk longer if you see specks. Thirty seconds minimum for recipes with both soda and powder.
Wrong whisk. A flat whisk or coil whisk pushes flour. It does not lift.
Use only a balloon whisk. The wire balloon shape is non-negotiable.
Whisk vs. Sieve vs. Tamis: Side-by-Side Performance
A fine-mesh sieve removes every lump. The tamis does the same with more control. The whisk only aerates.
This table shows the trade-offs.
| Task | Balloon Whisk | Fine-Mesh Sieve | Tamis |
|---|---|---|---|
| Lump removal | Poor | Excellent | Excellent |
| Aeration volume | +15 to 20% | +10% | +12% |
| Leavener blending | Good | Fair | Good |
| Speed (2 cups) | 30 sec | 45 sec | 60 sec |
| Cleanup | One tool | Two tools | Two tools |
| Static control | Poor | Good | Good |
The sieve wins for cake flour. The tamis wins for large batches. The whisk wins for pancakes and quick breads where speed matters more than perfection.
Professional kitchens keep all three. Home bakers usually pick one. If you bake sponge cakes weekly buy a tamis.
If you make biscuits monthly the whisk is enough.
When Whisk-Sifting Works — And When It Fails
Whisk-sifting works for recipes that tolerate minor lumps. Pancakes waffles muffins quick breads. The batter hydration breaks small clumps during mixing.
It fails for genoise angel food chiffon. These need uniform particle suspension. A single lump creates a tunnel in the crumb.
The whisk cannot guarantee that uniformity.
It fails for high-humidity flour. Clumps become dough balls. The whisk wires smear them into streaks.
Sift humid flour through a sieve first then whisk for aeration.
It fails for blended dry mixes with cocoa powder. Cocoa is hydrophobic. It clumps instantly.
The whisk cannot wet it. Use a sieve or whisk cocoa with sugar first.
It fails for volumes over three cups. Wrist fatigue degrades the motion. The last cup gets half the aeration.
Split large batches or use a sieve.
Pro Tips: Weight, Humidity, and the Two-Step Method
Weigh flour every time. Volume measures vary 25 percent. Weight gives repeatable aeration. 120 grams per cup all-purpose. 100 grams per cup cake flour. 130 grams per cup bread flour.
Humidity above 60 percent changes flour behavior. Particles stick. Static increases.
Store flour in airtight containers. Add a food-safe desiccant packet for long storage.
The two-step method combines tools. Sift through a fine-mesh sieve into the wide bowl. Then whisk for 15 seconds.
You get lump removal plus maximum aeration. This is what pastry chefs do.
Chill the whisk and bowl for butter-based doughs. Cold tools keep butter firm. Warm tools melt butter into the flour.
That changes the lamination.
Add a pinch of rice flour to the whisk wires. It reduces static cling. The rice flour falls into the mix harmlessly.
This trick comes from commercial bakery lines.
Quick Reference: Motion, Timing, and Bowl Specs
| Flour Type | Weight per Cup | Whisk Time | Bowl Min Width | Wire Count |
|---|---|---|---|---|
| Cake | 100 g | 30 sec | 10 in | 16 |
| All-Purpose | 120 g | 20 sec | 10 in | 12-16 |
| Bread | 130 g | 15 sec | 10 in | 12 |
| Whole Wheat | 120 g | Not recommended | — | — |
Motion checklist. Lift vertical. Flick wrist outward.
Rotate bowl quarter turn. Two seconds per cycle. Stop when color turns bright white.
Settling timer. Use aerated flour within two minutes. After two minutes whisk five quick cycles to restore volume.
Do not re-sift settled flour without re-weighing.
Cleanup. Tap whisk against bowl rim. Rinse under hot water.
No soap needed for flour. Dry immediately to prevent water spots on stainless.
Frequently Asked Questions
Can I use a fork instead of a whisk?
A fork cannot aerate flour effectively. The tines are too few and too rigid. They push flour rather than lift it.
Volume gain is under five percent.
Does whisk-sifting replace sifting for all recipes?
No. Delicate sponge cakes and macarons require a fine-mesh sieve or tamis. Whisk-sifting leaves micro-clumps that ruin those textures.
How do I fix flour that clumped in humid weather?
Spread flour on a parchment sheet. Air-dry two hours at room temperature. Break clumps by hand.
Then whisk-sift or sieve.
What whisk size works best?
An 8-inch balloon whisk handles up to two cups. A 10-inch whisk handles three to four cups. Larger whisks tire the wrist faster.
Can I whisk-sift powdered sugar?
Yes. Powdered sugar aerates well. Use the same lift-flick-rotate motion.
Watch for flying sugar, flick more gently.
Is a hand-crank sifter better than a whisk?
For volume over four cups yes. The crank processes flour faster with less effort. For small batches the whisk is faster overall because cleanup is instant.

Table of Contents