Clean dry rims, use matching lids, press air out, lock seals, test for leaks.
If you have ever found soggy cereal or stale coffee, you know the pain. I’ve spent years in test kitchens and labs learning how to seal air-tight containers properly. This guide will show you what works, what fails, and how to get a strong, safe seal every time. Stick with me and you’ll master how to seal air-tight containers properly for food, gear, and more.
What “air-tight” really means and why it matters
Air-tight means outside air cannot get in, and inside air cannot get out. A true seal blocks oxygen, moisture, odors, and pests. It also slows oxidation. That keeps food crisp and oils fresh. Lab tests link oxygen exposure to rancidity and staling. Even a hairline gap can ruin that barrier. When you learn how to seal air-tight containers properly, you protect flavor, texture, and shelf life.
:max_bytes(150000):strip_icc()/sea-coffee-canisters-lead-afton-cyrus-01-8f20d82f70ef40a1b79e6aa9ee25f627.jpeg)
Tools and materials you need
You do not need fancy gear for a good seal. But the right tools help a lot.
- Matching containers and lids that fit snug and square
- Jars with gaskets, silicone rings, or O-rings
- Resealable bags, Mylar bags, or stand-up pouches
- Vacuum sealer or hand pump (optional, very helpful)
- Heat sealer or flat iron for bag seams
- Isopropyl alcohol and lint-free cloths to clean rims
- Food-safe oxygen absorbers and desiccant packs (as needed)
- Labels, a marker, and tamper bands for long-term storage
Keep this kit in one bin. It makes it easy to practice how to seal air-tight containers properly in a repeatable way.

Step-by-step: how to seal air-tight containers properly
Use these steps for plastic tubs, jars, and bags. Adjust to fit your container.
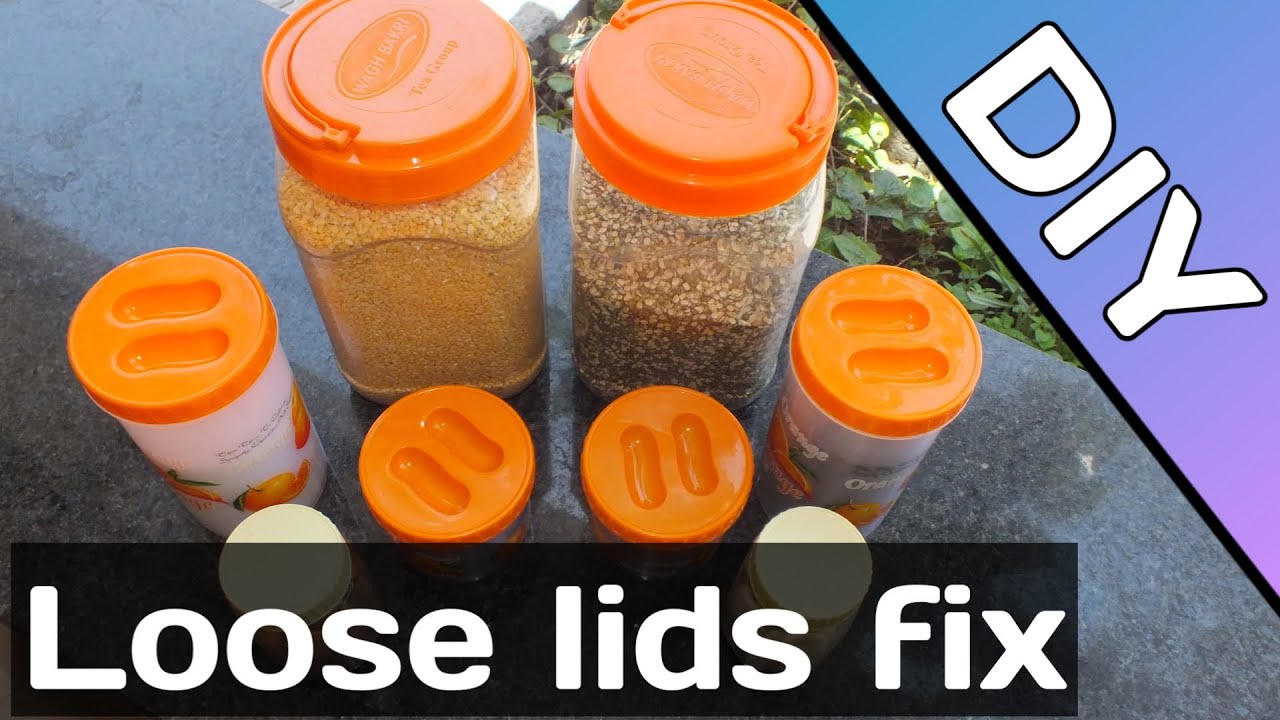
- Choose the right container and lid. Check that they are the same brand or system. Mismatched parts leak.
- Inspect the rim and gasket. Look for warps, nicks, or crumbs. A smooth, even edge is key.
- Clean and dry contact surfaces. Wipe with alcohol, then dry well. Water under a gasket breaks the seal.
- Fill and leave headspace. Leave 5 to 20 percent empty space. Crowding can force gaps.
- Remove extra air. Press air out by hand. Use a straw to draw air from bags. Or use a vacuum sealer.
- Align and seat the lid. Press from the center out. Make sure corners and snaps click.
- Tighten to “fingertip tight.” For jars, twist until the band just grips, then add a small nudge. Do not over-tighten.
- Heat seal bags. Set the sealer to the right heat. Seal once, shift 5 mm, and seal again for a backup seam.
- Add a secondary seal. Use tamper tape, a shrink band, or a gasket lube if the maker suggests it.
- Label and date. Add the contents and storage notes. This saves time later.
- Leak test. Gently squeeze a bag. For jars, invert for 30 seconds. Look for bubbles or drips. Fix and reseal if needed.
- Store right. Keep in a cool, dark, dry place. Avoid heat and sunlight.
Personal tip: When I pack ground coffee, I press the bag flat, pull a quick vacuum, and add a second seam. The aroma stays bold for weeks. This routine is at the heart of how to seal air-tight containers properly and keep quality high.
:max_bytes(150000):strip_icc()/ses-glass-food-storage-containers-test-oxo-good-grips-smart-seal-12-piece-set-katherine-gallagher-001-74ce4a77f21b41809d171c3972e7062e.jpeg)
Methods by container type
Mason jars and canning-style jars
- Check the flat lid for dents. Warm the lid to soften the compound.
- Wipe the jar rim. Fill, leave headspace, and wipe again.
- Apply the lid and ring to fingertip tight. For vacuum storage (not canning), use a jar sealer with a hand pump.
- For hot-pack canning, follow tested time and headspace charts from trusted guides.
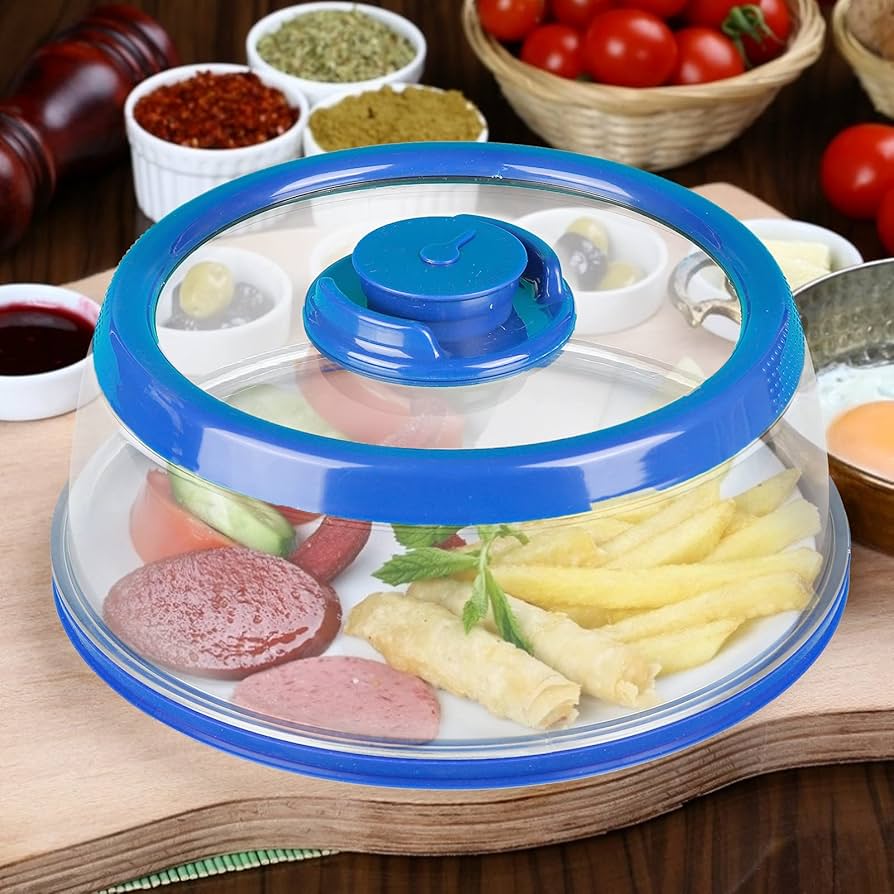
Plastic food containers with snap lids
- Inspect the silicone ring. Remove and wash it. Dry fully.
- Seat the ring back in its groove. Press corners in sequence. Listen for the full set of clicks.
Mylar bags for long storage
- Add the food, then an oxygen absorber. Push air out by hand.
- Heat seal near the edge. Seal again just below the first seam.
Zip-top bags
- Close 90 percent of the zip. Press air from the open corner.
- Use the water displacement trick. Lower the bag into water to push air up, then zip shut.
Buckets with gamma lids
- Seat the adapter ring with a mallet. Snap it all the way around.
- Grease the O-ring lightly with food-safe lube. Screw the lid until snug.
Cosmetics, chemicals, and lab vials
- Use PTFE-lined caps for solvents. Hand-tighten, then a small torque with a capper as rated.
- Avoid over-torque. It warps caps and ruins the seal.
If you want to master how to seal air-tight containers properly across all these types, focus on clean contact, correct headspace, and even pressure.

Advanced sealing options
- Vacuum sealing. Removes most air. Great for meat, cheese, and bulk dry goods.
- Inert gas flush. Add nitrogen or CO2 to push out oxygen for coffee and nuts.
- Oxygen absorbers. Use in Mylar with dry foods under 10 percent moisture.
- Desiccants. Control moisture in snacks, herbs, and electronics.
- Induction seals. Foil seals on bottles add a tamper and vapor barrier.
- Ultrasonic or impulse seals. Strong, repeatable seams for pouches.
Note safety limits. Do not use oxygen absorbers with moist foods. That can support botulism. Know your product and choose the right path for how to seal air-tight containers properly without risk.

Testing seal integrity
You cannot see air. So test your seals.
- Visual check. Look for lifted corners and wrinkled seams.
- Bubble test. Submerge a closed bag edge in water. Press gently. Bubbles mean leaks.
- Vacuum gauge or pump-down test. Watch for loss over 24 hours.
- Tilt and hold. Place jars on their side for one minute. No seepage means good.
- Smell test. Strong odors outside the container hint at a gas path.
Run a 24-hour check after sealing. If you learn how to seal air-tight containers properly and test each batch, your failure rate drops fast.
Safety, hygiene, and cross-contamination
Good seals start with clean hands and tools. Food safety groups advise washing containers with hot, soapy water. Rinse and dry fully. Avoid scented soaps that leave residue. Keep allergens in dedicated bins and tools. Store raw and ready-to-eat foods apart. For hot-fill or canning, follow tested time and temperature tables. Plastic has heat limits. Check ratings so you do not warp lids or leach chemicals. This care is part of how to seal air-tight containers properly and safely.

Storage conditions to preserve seal
Heat and cold make air expand and shrink. That can stress a seal. Keep containers out of sun and away from ovens or heaters. Avoid stacking heavy bins on soft lids. Use shelf risers for airflow. Do not freeze glass jars that lack freezer-safe marks. A solid seal is only as strong as the way you store it. Apply these habits every time you think about how to seal air-tight containers properly.

Quick answers to common sealing problems
Why is my lid popping up?
The rim may be oily or wet. Clean and dry the contact area, then reseat the gasket and close again.
My bag seals but still goes stale. Why?
The film may be thin or pinholed. Double-seal, cool the seam, and switch to thicker Mylar or add oxygen absorbers.
Do I need a vacuum sealer?
No. You can press air out by hand and use a straw or water method. A vacuum sealer is faster and more repeatable when you want to learn how to seal air-tight containers properly at scale.
Frequently Asked Questions
How tight should I screw a jar lid?
Tighten to fingertip tight, then add a small nudge. Over-tightening can warp the lid and cause leaks.
Can I reuse lids and gaskets?
You can reuse many screw bands and silicone gaskets if they are clean and not cracked. Flat canning lids for water-bath pressure canning are single-use.
Are oxygen absorbers safe for all foods?
No. Use them only with dry foods like grains, beans, and jerky. Do not use with moist foods.
How do I know if my seal failed?
Check for lifted tabs, odors, or crumbs under the gasket. If you see bubbles in a water test, reseal or repackage.
What is the best way to learn how to seal air-tight containers properly?
Start with clean, dry rims and simple bags. Practice pressing out air and making double seams. Move to jars and vacuum tools as you build skill.
Conclusion
A strong seal is not magic. It is a simple routine done well. Clean surfaces, the right lid, steady pressure, and a quick test keep air and moisture out. With practice, you will know how to seal air-tight containers properly for any food or gear you store.
Try one method today on something you use often, like coffee or snacks. Note what worked, then tweak and repeat. Want more tips like this? Subscribe, share your results, or drop a question in the comments.

Table of Contents