Shut off water, remove old faucet, mount new one, connect lines, test leaks.
You can swap a faucet in an afternoon with simple tools and a calm plan. If you want a clear, no-nonsense guide on how to install new faucet in bathroom sink, you’re in the right place. I’ve installed dozens for clients and in my own homes. I’ll walk you through each step, share pro tricks, and help you avoid the messy mistakes that cause drips and damage.
What to Know Before You Start
Success starts with sizing and matching the faucet to your sink. Check the sink holes under the faucet area. Count how many holes there are and measure the spread. It will be single-hole, 4-inch centerset, or 8-inch widespread.
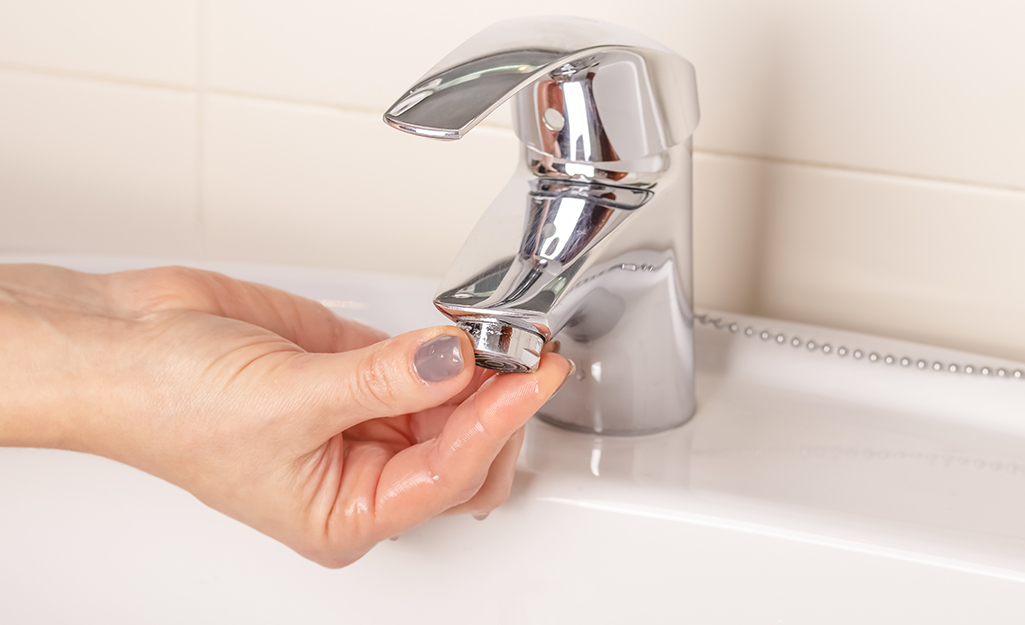
Know your faucet style. Single-handle faucets are simple and fast. Widespread faucets look premium but need more space. Many come with a deck plate (escutcheon) to cover extra holes. If you are learning how to install new faucet in bathroom sink, match the faucet to your sink hole layout first.
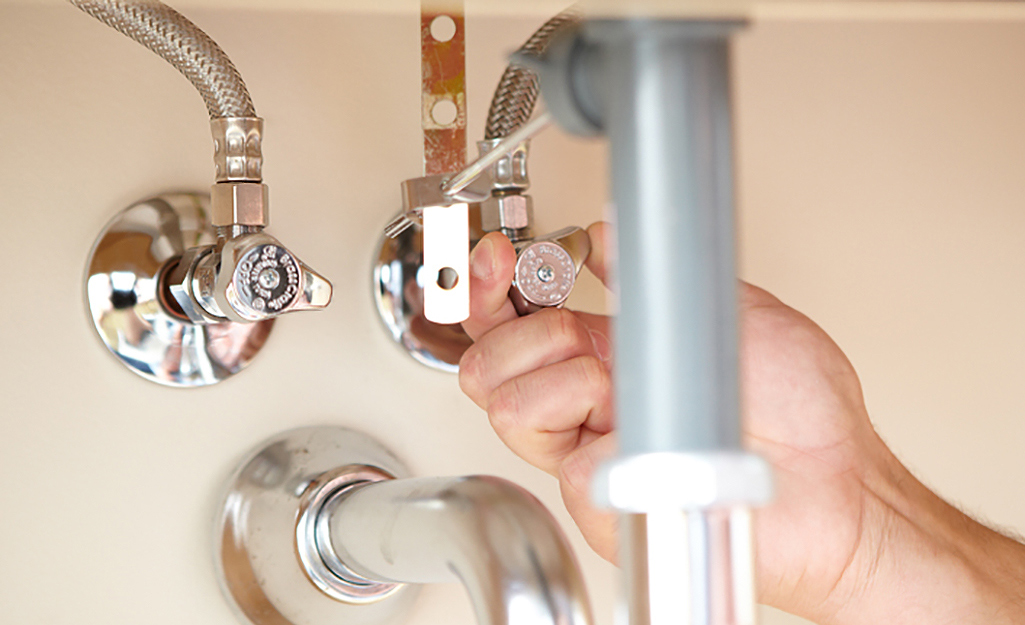
Confirm your shutoff valves under the sink. Make sure they turn easily. If they do not, plan to replace them. Angle stops are cheap and prevent a big headache.
Tools and Materials You’ll Need
Gather everything before you start. It keeps you out from under the sink less.
- Adjustable wrench for nuts and supply lines
- Basin wrench for hard-to-reach faucet nuts
- Bucket and towels for small water spills
- Plumber’s putty or 100% silicone for seals (follow faucet manual)
- Thread seal tape for threaded connections if needed
- New braided supply lines, usually 3/8 inch to faucet
- Putty knife to scrape old sealant
- Flashlight or headlamp to see behind the sink
- Cleaning wipes or alcohol for surface prep
- Optional penetrating oil for stuck nuts
- New pop-up drain assembly if included with the faucet
For how to install new faucet in bathroom sink projects, having a basin wrench and fresh supply lines saves time and stops leaks later.

Safety, Prep, and Setup
Turn off both shutoff valves under the sink. Open the faucet to relieve pressure. Place a bucket under the P-trap and supply lines. This catches drips and old water.
Clear the cabinet. Lay an old towel inside. Put on gloves and eye protection. Before you start how to install new faucet in bathroom sink, take a quick phone photo of the old setup. It helps during reassembly.
Have good light. A headlamp frees both hands. Keep small parts in a dish, so nothing rolls away.
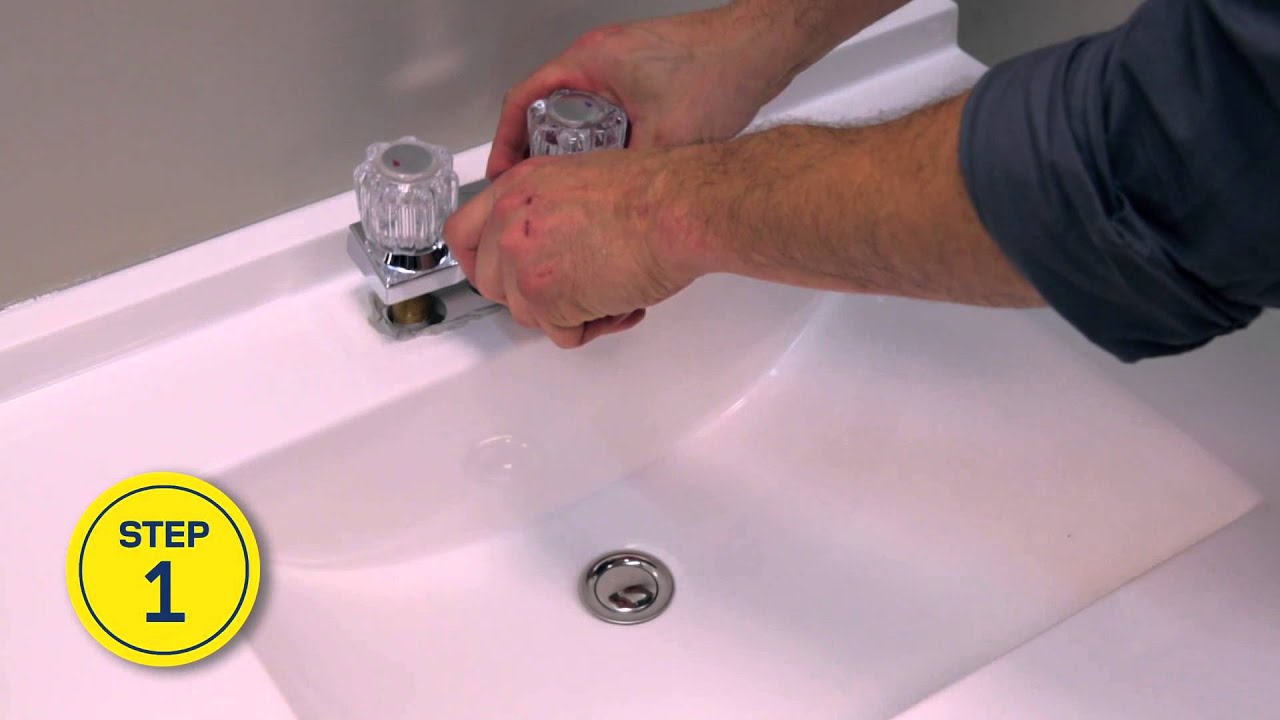
Remove the Old Faucet Step-by-Step
- Close the valves and open the faucet. Confirm the water is off.
- Disconnect the supply lines from the shutoff valves. Use the wrench. Catch drips in the bucket.
- Loosen the supply lines from the faucet tails. If they are stuck, add a drop of penetrating oil and wait a minute.
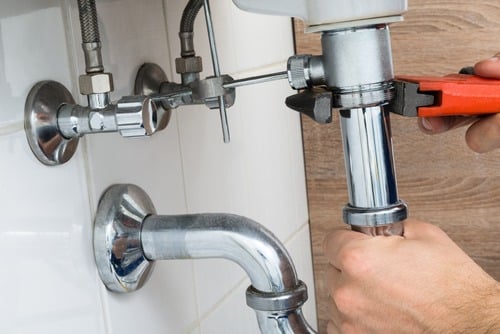
- From under the sink, remove the mounting nuts. A basin wrench makes this easy in tight spots.
- Lift the old faucet out from the top. Scrape old putty or silicone with a plastic putty knife. Clean the deck with alcohol.
- Remove the old drain if you are replacing it. Loosen the P-trap slip nuts, pull the trap down, and unscrew the old drain body.
Personal tip: On one job, a corroded locknut would not budge. I warmed it with a hair dryer for 30 seconds, hit it with penetrating oil, and used the basin wrench for leverage. It cracked loose without harming the sink. Good prep here makes how to install new faucet in bathroom sink go far smoother.
Install the New Faucet Step-by-Step
Here is how to install new faucet in bathroom sink, step by step. Check the faucet manual first. Some brands use gaskets, others want putty or silicone.
- Dry fit the faucet. Set it on the sink holes with the gasket or a thin ring of putty. Press down to seat it.
- From below, thread on the mounting nuts by hand. Use the basin wrench to snug them. Align the faucet straight before final tightening.
- Connect new braided supply lines to the faucet tails. Hand-tighten, then a quarter turn with the wrench. Do not over-tighten.
- Attach supply lines to the shutoff valves. Use thread seal tape only on male threaded connections if the fitting calls for it. Compression fittings usually do not need tape.
- Install the drain assembly. Roll a thin ring of plumber’s putty under the drain flange, drop it in from the top, and thread the drain body from below. Wipe excess putty.
- Add the pop-up rod and pivot arm. Adjust the rod so the stopper seals and lifts cleanly.
- Reattach the P-trap. Hand-tighten slip nuts. The trap should be level and not strained.
Tighten all connections snug, not brutal. Over-tightening crushes gaskets and causes slow leaks later.

Test, Troubleshoot, and Fine-Tune
After you finish how to install new faucet in bathroom sink, open both shutoff valves slowly. Watch every joint while the water flows. Look for weeps, not just drips.
Run hot and cold. If the flow is weak, unscrew the aerator and flush out debris. Check the pop-up for a good seal. If the drain gurgles, make sure the P-trap is aligned and the vent is clear.
If a connection weeps, close the valve and give it a gentle quarter turn. If it still leaks, re-seat the washer or reapply tape if it is a threaded joint.

Cost, Time, and Skill Level
Most DIY installs take 60 to 120 minutes. Add 30 minutes for a full drain swap. Beginners can do this with patience and the right tools.
Typical costs:
- Faucet: $60 to $250 for quality models
- Supply lines: $10 to $25 per pair
- Plumber’s putty or silicone: $5 to $10
- New angle stops (if needed): $10 to $20 each
If you wonder how to install new faucet in bathroom sink on a budget, reuse the drain only if it is in great shape and matches the finish. For very old valves or heavy corrosion, call a pro. Also check local code for vacuum breakers and backflow rules in some areas.
Maintenance and Longevity Tips
Knowing how to install new faucet in bathroom sink is half the job. Keeping it tight and clean is the other half. Wipe water spots and soap scum often. Avoid harsh cleaners that strip finishes.
Once a year, clean the aerator. Unscrew it, rinse grit, and soak in vinegar for 15 minutes if needed. Replace supply lines every 5 to 10 years as a safety habit.
If a handle loosens, snug the set screw with the right hex key. Do not force it. If the drain slows, clear hair from the pop-up arm before reaching for heavy chemicals.

Common Mistakes to Avoid and Pro Tricks
Many people learning how to install new faucet in bathroom sink run into the same snags. You can skip them with a few habits.
- Not cleaning the deck. Any old putty or grit under the base leads to leaks. Clean it smooth.
- Over-tightening supply lines. Hand-tight plus a small turn is enough. Crushing ferrules causes weeps.
- Skipping new lines. Reusing old, stiff lines is a gamble. New braided lines are cheap insurance.
- Ignoring alignment. Center the faucet before you tighten. A crooked spout will bug you every day.
- Forgetting to flush. Remove the aerator and run water for 30 seconds to clear debris.
Pro tricks:
- Use a towel as a “sling” under the faucet when tightening. It protects the finish if the tool slips.
- Mark the faucet centerline with painter’s tape on the sink for fast alignment.
- Warm stubborn nuts with a hair dryer, then use penetrating oil. Wait a minute, then loosen.
Frequently Asked Questions
Do I need plumber’s putty or silicone under the faucet base?
Follow the faucet manual. Many modern faucets include a gasket that seals alone; if not, a thin ring of putty or a small bead of silicone works.
Can I learn how to install new faucet in bathroom sink without special tools?
Yes. An adjustable wrench can work, but a basin wrench makes tight spaces much easier. It is a small, low-cost tool that saves time and knuckles.
Should I replace the drain when I replace the faucet?
If the new faucet includes a matching drain, replace it for a clean seal and a perfect finish match. Old drains often have worn gaskets.
Why is my new faucet’s water flow weak?
Debris can lodge in the aerator or the supply lines during install. Remove the aerator, flush the lines, and reinstall it.
How tight should I make the supply line connections?
Snug plus a quarter turn is a good rule. If it leaks, tighten a tiny bit more; if it still leaks, re-seat the washer or re-tape the threads.
What if my shutoff valves will not turn?
Do not force them. Try gentle back-and-forth. If they still stick, replace the valves before proceeding to avoid a future flood.
Can I reuse my old supply lines?
You can, but it is not wise. New braided lines are cheap and reduce leak risk.
Conclusion
You now have a clear path from shutoff to shiny finish. Plan the layout, prep the space, take your time on each connection, and test with care. A calm hour today saves calls and cleanups later.
Roll up your sleeves and tackle your sink this weekend. If a step feels tricky, bookmark this guide, share it with a friend, or drop a question in the comments so we can help you finish strong.

Table of Contents