Installing an over-the-range microwave can seem daunting, but with the right preparation and tools, it’s a manageable DIY project. This guide breaks down the process step-by-step, ensuring you get your new appliance safely and securely mounted. We’ll cover everything from initial checks to final hookups, making sure you’re ready to cook with convenience.
Getting Started: What You Need Before You Install
Before you even touch a screwdriver, it’s crucial to prepare. This isn’t just about gathering tools; it’s about safety, electrical readiness, and ensuring your space is suitable for the new microwave.
Assessing Your Installation Site
The space above your range is designed for a reason. Most over-the-range (OTR) microwaves are specifically built to fit over standard-sized stovetops. Check the dimensions of your new microwave against the existing space.
You’ll need adequate clearance for both the width and depth.
- Cabinetry: The cabinets above your range must be sturdy enough to support the weight of the microwave. Look for solid wood or high-quality plywood. Particleboard might not hold up over time.
- Ventilation: OTR microwaves often have integrated ventilation systems. Determine if you’ll be venting outwards through a wall or the roof, or if you’ll be recirculating air back into the kitchen using a filter. This decision impacts the materials you’ll need.
- Electrical Outlet: Standard OTR microwaves require a dedicated 120-volt, 15- or 20-amp grounded electrical outlet. It should be located within reach of the microwave’s power cord, typically installed in the cabinet above. If you don’t have a suitable outlet, you’ll need an electrician to install one. Safety first: never try to bypass proper electrical connections.
Essential Tools and Materials
Having the right gear makes the job smoother and safer.
Tools You’ll Need:
- Tape measure
- Stud finder
- Pencil
- Drill with various drill bits (including a larger one for potential vent holes)
- Screwdriver set (Phillips and flathead)
- Wrench or socket set
- Level
- Safety glasses
- Work gloves
- Utility knife
- Wire strippers and crimpers (if applicable)
- Voltage tester (for electrical safety)
- Possibly a reciprocating saw or jigsaw (if modifying cabinetry or creating vent openings)
Materials You Might Need:
- Mounting template (usually included with the microwave)
- Mounting hardware (screws, bolts; often included, but check your manual)
- Ventilation ducting (if venting externally)
- Duct tape or appropriate sealant for vent connections
- Electrical wire nuts (if making splices, though unlikely for a standard plug-in)
- Wall anchors (if not mounting directly into studs)
Step-by-Step Installation Guide
Now that you’re prepared, let’s get to work. Remember, if at any point you feel unsure, especially with electrical work, it’s best to call a professional.
1. Safety First: Turn Off Power!
This is non-negotiable. Before you do anything involving electrical components or near existing wiring, locate your home’s circuit breaker panel. Find the breaker that controls the outlet for the range hood or the electrical circuit you’ll be working on.
Flip it to the OFF position. Use a voltage tester at the outlet to confirm the power is indeed off. Don’t rely solely on the breaker label; err on the side of caution.
2. Remove the Old Unit (If Applicable)
If you have an old over-the-range microwave or a standard range hood, you’ll need to remove it first.
- Unplug it: Make sure it’s unplugged from the outlet.
- Disconnect wiring: If it’s hardwired, you’ll need to access the junction box, usually located inside the microwave. Turn off power at the breaker before touching any wires. Using wire nuts, disconnect the wires.
- Support the unit: OTR microwaves are heavy. Have someone help you support it as you remove the mounting screws. They’re typically mounted to the underside of the cabinet and/or to wall studs.
- Lower it carefully: Once all screws are out, gently lower the unit, keeping it balanced.
3. Prepare the Mounting Location
This is where the template comes in handy.
- Locate Studs: Use a stud finder to locate the wall studs behind the cabinets where the microwave will mount. Mark them with your pencil. The mounting bracket will ideally be secured to these studs for maximum stability.
- Position the Template: Hold the manufacturer’s mounting template against the wall, aligning it where the back of the microwave will sit. Ensure it’s level. The template will show you where to drill holes for mounting screws and, if necessary, for venting.
- Mark Screw Holes: Mark all the screw hole locations on the wall according to the template. For the vent hole (if you’re venting externally), mark its location clearly.
- Drill Pilot Holes: Drill pilot holes at the marked screw locations. The size of the pilot hole should correspond to the size of the screws you’ll be using. If you’re not hitting studs at all screw locations, you may need to install robust wall anchors.
- Cut Vent Hole (If Needed): If you’re venting externally, use a jigsaw or reciprocating saw to carefully cut the hole for your ventilation duct. Make sure the hole is the correct diameter for your ductwork. Smooth any rough edges with a utility knife.
4. Install the Mounting Bracket
The mounting bracket is the backbone of your installation.
- Align Bracket: Position the mounting bracket over the pilot holes you’ve drilled. Ensure any “up” arrows or indicators are pointing the correct way as per the template and your microwave’s manual.
- Secure the Bracket: Drive lag screws or appropriate bolts through the bracket into the wall studs. If you are using wall anchors, install them now and then secure the bracket. Use a level to ensure the bracket is perfectly horizontal.
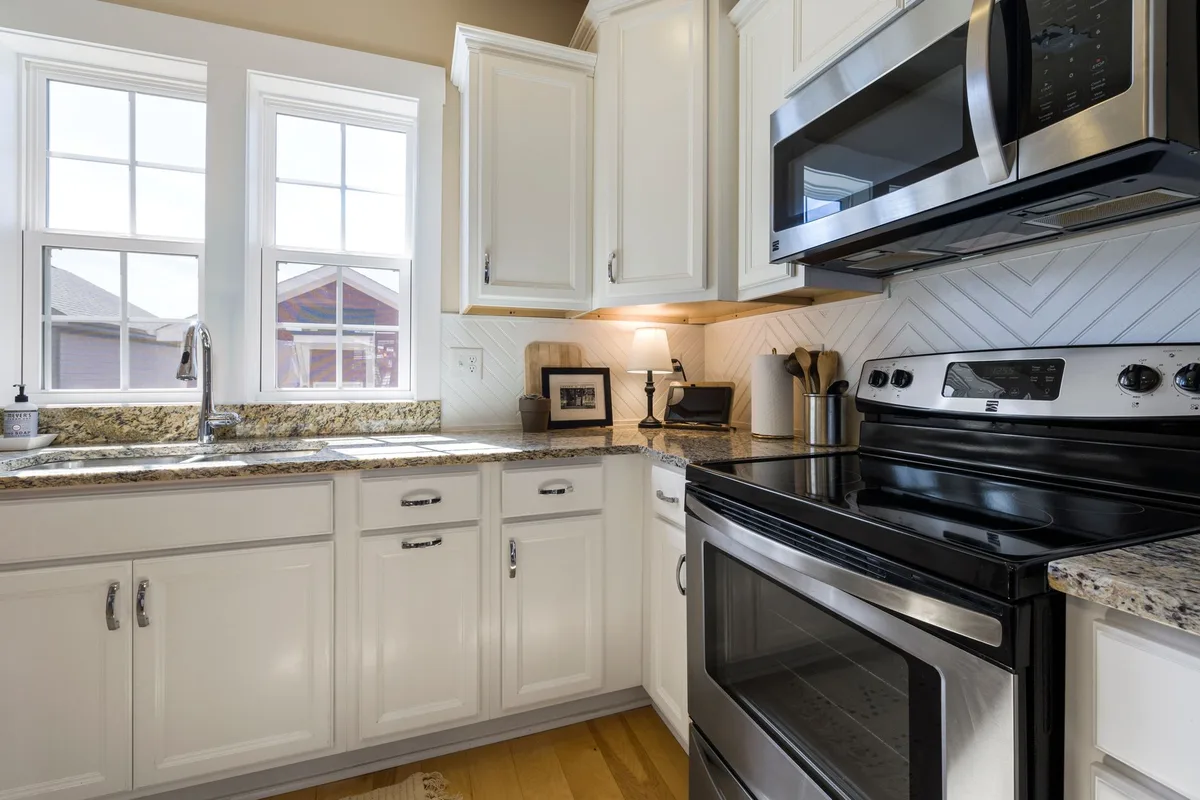
Image source: Pexels / Curtis Adams (Pexels License)
This bracket needs to be incredibly secure, as it will bear the full weight of the microwave, plus the weight of food and dishes inside.
5. Connect Ventilation (If External)
If you’re venting your microwave outside, now is the time to connect the ductwork to the rear of the microwave and run it towards your exterior vent.
- Attach Duct to Microwave: Most microwaves have a knockout panel on the back or side for ventilation. Remove this panel according to the manufacturer’s instructions. Attach your ductwork connector to the microwave’s vent outlet.
- Run Ductwork: Carefully route the ducting from the microwave to the hole you cut in the wall or ceiling. Use appropriate elbows and connectors to navigate turns.
- Seal Connections: Secure all duct connections with screws or clamps and seal them with strong duct tape or a suitable sealant to prevent air leaks. This is important for efficiency and preventing heat/moisture damage. Check that the exterior vent flap opens and closes freely.
6. Wire the Microwave
Most OTR microwaves come with a plug that goes into a standard outlet. However, some models are hardwired, and older installations might require this.
- For Plug-in Models: Gently guide the power cord through the designated opening in the mounting bracket or cabinet. Make sure there’s enough slack for it to reach the outlet without being strained.
- For Hardwired Models: Access the junction box on the microwave. Typically, you’ll connect the house wiring (black to black, white to white, green/bare to green/bare) using wire nuts. Double-check your microwave’s manual for specific wiring diagrams. Confirm power is still OFF at the breaker. If you’re not comfortable with electrical wiring, hire an electrician.
7. Mount the Microwave
This is often the trickiest part due to the weight and awkwardness.
- Get Help: Seriously, enlist a helper for this. It’s difficult and potentially dangerous to lift and maneuver a heavy appliance alone.
- Lift and Guide: Lift the microwave to the mounting bracket. Guide the top edge of the microwave onto the bracket first.
- Secure to Wall and Bracket: Most microwaves have securing screws that go through the back of the unit into the wall studs or mounting bracket. Some also have mounting points underneath the unit that secure to the bracket. Follow your manual’s instructions precisely for aligning and tightening these screws.
- Check Stability: Once secured, gently push and pull on the microwave to ensure it’s completely stable and doesn’t wobble.
8. Venting – Recirculating Air Models
If your microwave recirculates air, it doesn’t vent outside. It uses a charcoal filter and fan system to clean the air.
- Install Filter: These filters are usually located at the top front of the microwave. You’ll typically unclip or unscrew a cover to access them. Install the charcoal filter according to the manufacturer’s instructions. These filters are not washable and need periodic replacement, usually every 6-12 months.
- No External Holes Needed: You won’t need to cut any holes in walls or ceilings for recirculating models.
9. Final Checks and Power Up
You’re almost there!
- Double-Check All Connections: Ensure all screws are tight, ductwork is secure (if applicable), and nothing is loose.
- Plug It In / Restore Power: If it’s a plug-in model, plug it into the outlet. If it was hardwired, ensure all connections are insulated and the junction box cover is on. Go back to your breaker panel and flip the circuit breaker back to the ON position.
- Test the Microwave: Open the door and try running it for a minute. Check the light and the turntable. Test the fan and the vent system (if applicable) by turning them on. Listen for any unusual noises.
Frequently Asked Questions About OTR Microwave Installation
We’ve covered the core installation, but some common questions pop up.
How high should an over-the-range microwave be mounted?
The ideal height ensures comfortable use and adequate clearance. For most standard 30-inch ranges, the bottom of the microwave should be 54 to 60 inches from the floor. This provides about 18 to 24 inches of clearance between the stovetop and the microwave, which is generally enough space to cook without the microwave overheating or being too low for pots.
Always consult your specific range and microwave manuals for recommended clearances, as they can vary.
Can I install a microwave that vents externally if my old one didn’t?
Yes, you can. If your previous unit recirculated air, you’ll need to plan for cutting a hole through an exterior wall or your roof to accommodate the ductwork. You’ll also need to ensure the mounting bracket and cabinet can support the new unit and its blower.
This might require adding structural reinforcement or consulting with a contractor.
What if I have a narrower or wider range?
OTR microwaves come in standard 30-inch widths that fit most ranges. If you have a smaller cooktop (e.g., 24 inches) or a larger range (e.g., 36 inches), you might need to look for specific compact or professional-style OTR units that accommodate those dimensions, or consider a microwave that’s installed separately, like a countertop model. Custom cabinetry adjustments might also be necessary.
Do I need an electrician to install an OTR microwave?
If your existing outlet isn’t up to code, isn’t properly grounded, or if you need a new outlet installed, then yes, you absolutely need a qualified electrician. For most standard OTR microwaves that simply plug into an existing, suitable outlet, you can likely manage the electrical connection yourself after ensuring power is off. However, if your microwave is hardwired or if you have any doubts about the electrical system, always err on the side of caution and call a pro.
Safety is paramount, and avoiding electrical shock or fire hazards is worth the expense.
How do I know if my cabinets are strong enough?
Good quality cabinets made of solid wood or sturdy plywood are generally strong enough to hold an OTR microwave. Particleboard or composite wood cabinets can sag or fail over time, especially with the added weight and vibrations. If you’re unsure about your cabinetry’s strength, inspect them for any signs of bowing or damage.
Reinforcing them with extra bracing or wood panels secured to the wall studs might be necessary.
Conclusion
Installing an over-the-range microwave yourself can be a rewarding project, saving you money and giving you a great sense of accomplishment. By carefully following these steps, prioritizing safety, and using the right tools, you can successfully integrate this convenient appliance into your kitchen. Remember to always refer to the specific installation manual that came with your microwave, as models can have slight variations.
Happy cooking!

Table of Contents