
There’s nothing worse than firing up your dehumidifier and getting silence. The unit just sits there. You press the button, check the settings, and still nothing happens.
Don’t throw it in the trash yet. In most cases, a dehumidifier that won’t turn on has a fixable cause. It might be something stupidly simple, a tripped outlet or a full water tank, or it could be a worn-out part inside the machine.
Either way, you can probably sort it out yourself.
This guide walks you through every likely reason your dehumidifier won’t start, from the quickest checks to the trickier electrical problems. We’ll test the major components, show you how to spot failure signs, and tell you exactly when to call a pro. Grab a multimeter if you have one.
Let’s get your unit running again.
Quick Troubleshooting Steps Before You Open Anything
Before we rip apart the internals, rule out the dumb stuff. I’ve seen people replace perfectly good capacitors because they skipped the obvious checks. Do these first, and you might be done in five minutes.
Check the power source. Make sure the plug is fully seated in the outlet. Give the cord a firm tug to confirm it’s making contact. If you’re using a power strip, bypass it and plug directly into the wall.
Power strips fail constantly, especially older ones in damp basements. Test the outlet with another device, a lamp works fine. If the lamp doesn’t light up, you’ve got a GFCI trip or a blown breaker upstream.
Reset the GFCI or flip the breaker, then try again.
Verify the drain bucket is properly seated. Most dehumidifiers have a float switch in the water reservoir. If the bucket isn’t pushed all the way in, the switch stays open and the compressor won’t engage. Pull the bucket out, inspect it for cracks, and slide it back in until it clicks.
Do the same if you’ve removed the bucket recently and set it down slightly off-position.
Check the humidity setting. Some users accidentally bump the humidistat dial down to the lowest setting or turn it completely off. Set it to your desired level, usually around 45, 50% for most living spaces, and see if the unit kicks on.
Make sure the unit isn’t in defrost mode. If your dehumidifier is running in a cold space (below about 65°F / 18°C), it may enter an automatic defrost cycle. The compressor and fan pause while the evaporator coil thaws. This normally resolves itself within 10, 30 minutes.
If the unit seems stuck in defrost mode, unplug it for two minutes, then plug it back in and try again.
If none of these quick checks work, move on to the deeper diagnosis.
Common Cause: Tripped Safety Switches and Blocked Vents
Dehumidifiers are packed with safety features. The drain pan float switch is the big one, but there are others that can quietly kill power to the compressor.
The full-tank shut-off switch. When the water collection bucket reaches capacity, a small float rises and opens a circuit that cuts power to the compressor and fan. This prevents overflow. If the switch gets stuck in the “full” position, from mineral buildup, a warped bucket, or debris, the unit will refuse to start even when the bucket is empty.
Remove the bucket and inspect the switch mechanism. Clean any gunk off the float arm and the contact point with a cotton swab and a bit of rubbing alcohol. If the switch looks cracked or melted, you’ll need to replace it.
The drain-plug bypass. Some models have a manual override for connecting a continuous drain hose. A small plastic plug sits in a port near the bucket. If that plug is missing or loose, the internal switch may think the bucket is absent and shut everything down.
Check that the plug is present and snug.
Airflow blockage. Dust-clogged filters or coils force the compressor to work harder, which can trigger thermal overload protection. Locate the air intake grille and remove the filter if your model has one. Wash it with warm water, let it dry completely, and reinstall.
Inspect the evaporator coil behind the filter, if it’s caked with dust, gently brush it clean with a soft coil brush. Don’t bend the fins. Poor airflow alone rarely prevents startup, but combined with an aging compressor it can push the unit over the edge.
Electrical Diagnosis: Testing the Start Capacitor
This is where things get real. A failing start capacitor is one of the most common reasons a dehumidifier won’t turn on, or turns on but the compressor hums and dies. When the capacitor weakens, it can’t deliver the torque needed to spin the compressor motor.
The fan might still run on high settings, but the heart of the unit goes silent.
How to Access the Capacitor
Unplug the dehumidifier first. Wait at least five minutes for any residual charge to dissipate. Remove the back or side panel, usually four to six screws or a couple of clips.
The capacitor sits near the compressor, tucked in a metal bracket or plastic holder. It looks like a small cylinder, typically black or grey, with two or three spade terminals on top. Note its rating, you’ll see microfarads (µF) printed on the side, like “5+5 MFD” or “35 µF.”
Visual Inspection
Before testing, look at the capacitor. A healthy one is smooth and solid. A bad one often shows clear physical signs: the top may be domed or bulging upward instead of flat, there might be dark scorch marks near the terminals, or you could see residue leaking from the case.
Any of these mean replace it immediately. Don’t bother testing, it’s done.
Testing with a Multimeter
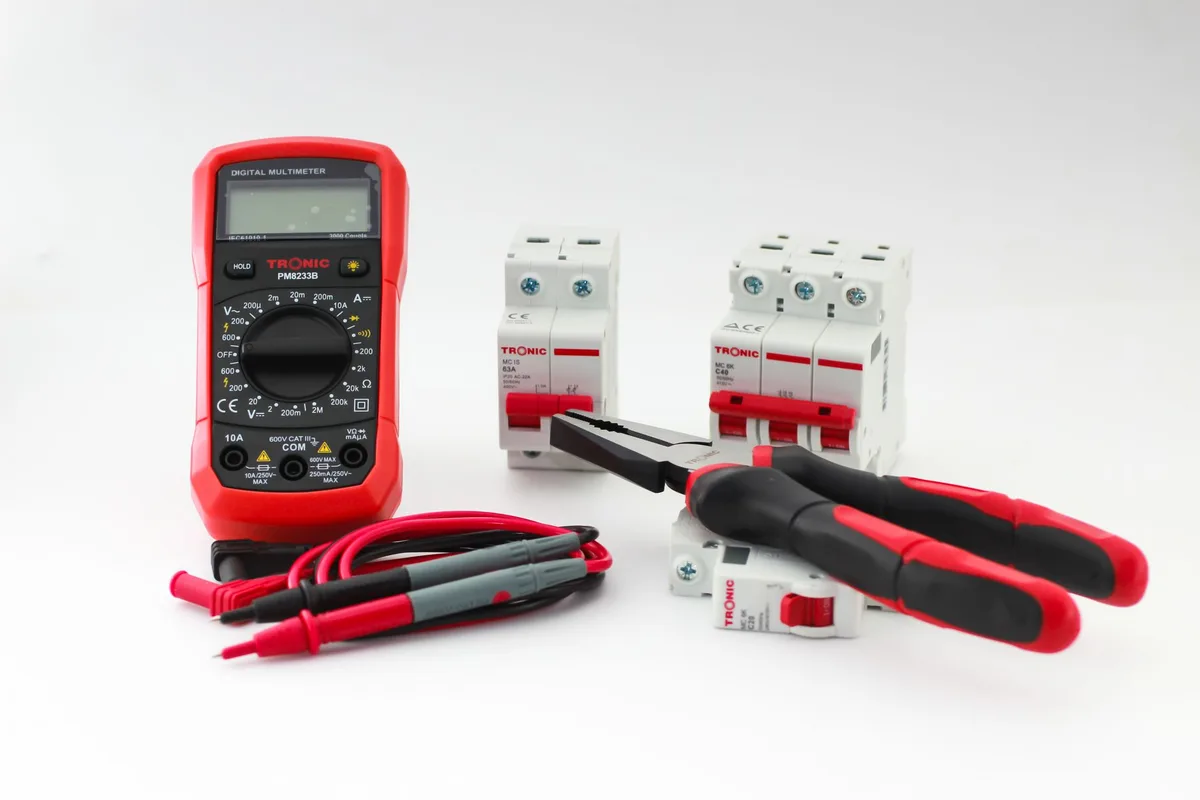
Set your multimeter to the capacitance measurement function (look for the “F” or “µF” symbol). If your meter has a dedicated capacitance port, plug the leads in there. Otherwise, use the standard voltage/ohm jacks, just know the reading may be less precise.
Desone both terminals on the capacitor with an insulated screwdriver to safely discharge it one final time. Then touch each multimeter probe to one terminal. Swap probes and read again.
Take the average of the two readings, capacitors read differently depending on polarity orientation in some meters.
Compare your result to the rated value printed on the casing. A reading within ±10% of the rated µF is acceptable. Anything outside that range means the capacitor is degraded.
For example, if your capacitor is rated at 35 µF and you’re reading 28 µF or lower, replace it. You can pick up a universal replacement capacitor at most hardware stores or online for $8 to $20, way cheaper than a new dehumidifier.
What If the Capacitor Tests Fine?
Don’t discard it from suspicion entirely. Capacitors can appear okay on a bench test but fail under load. If everything else checks out and you’re comfortable with it, swap in a known-good capacitor as a trial.
It’s a cheap insurance policy before moving on to harder-to-diagnose problems.
Control Board and Wiring Checks
When the capacitor tests good and the basic checks pass, the problem often lives on the control board. Modern dehumidifiers use a printed circuit board (PCB) to manage the compressor, fan, humidistat, and display. A fault here kills power at the source.
PCB Visual Inspection
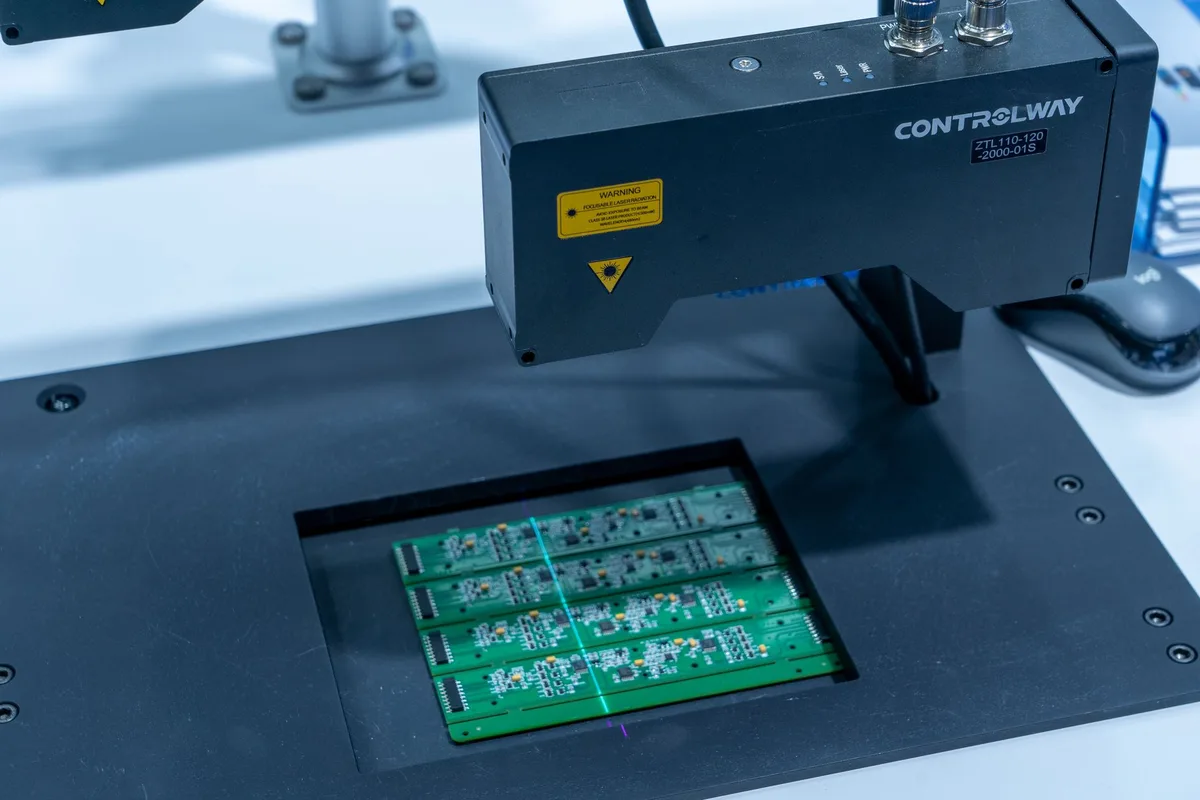
Remove the control board from its mounting brackets. Hold it up to a bright light and scan the surface carefully. Look for these red flags:
- Burnt traces. Dark or black lines running along the copper pathways mean the board took a power surge or had a short circuit. These usually can’t be repaired reliably.
- Swollen or leaking capacitors. The PCB has several small electrolytic capacitors soldered directly onto it. If any of them are bulging at the top or oozing fluid, that’s a failure point.
- Cracked solder joints. Check the pins where connectors plug into the board. Repeated thermal cycling from heat and cold can crack solder over time, creating intermittent connections.
- Corrosion or moisture damage. White or green crusty deposits on the board surface indicate moisture intrusion. This is common in units installed in very damp environments without proper sealing.
- Blown fuses. Some boards include a small glass or ceramic fuse. Remove it and test for continuity. No continuity means the fuse is blown, which usually signals a deeper short elsewhere in the circuit.
Checking for Voltage at the Board
If you have a multimeter and feel comfortable working with live circuits, you can trace whether power is actually reaching the control board. Plug the unit in and carefully remove the outer cover again. Set your multimeter to AC volts.
With the unit switched on, probe the main power input terminals on the PCB. You should read close to 120V (in North America) or 230V (in Europe/UK).
No voltage at the board input means the problem is upstream, likely a bad power cord, a failed wall switch, or an internal thermal fuse that blew. Missing voltage at a specific component output (like the compressor wire) points to a board-level failure on that particular circuit path.
Testing the Control Panel and Humidistat
Sometimes the board is fine, but the interface that talks to it isn’t sending commands. The humidistat is essentially a variable resistor, as ambient humidity rises, resistance drops and triggers the compressor. Test it by disconnecting the wires and measuring resistance across the terminals with your multimeter set to ohms.
Rotate the dial slowly. Resistance should change smoothly. If you see infinite resistance (open circuit) or zero resistance at any point, the humidistat is faulty.
Similarly, check the power button and any other switches on the front panel for continuity when pressed. A worn touchpad or membrane switch can feel responsive but actually make no electrical connection.
Professional Sources on Home Humidity and Appliance Safety
Maintaining the right indoor humidity level, roughly 30% to 50%, is key to preventing mold growth and keeping your home comfortable, according to environmental health guidelines from reputable sources like the U.S. Environmental Protection Agency (EPA). When your dehumidifier fails, addressing the root cause promptly helps protect both your living space and your health.
Working with appliance internals also carries inherent risks. The Occupational Safety and Health Administration (OSHA) provides guidance on safe electrical troubleshooting practices that apply to home appliance repair. Always prioritize disconnecting power before opening any unit, and never work on live circuits unless you’re trained and using proper protective equipment.
Compressor and Fan Motor Issues
If the control board is delivering power but the compressor still won’t engage, the issue likely sits with the compressor itself or the fan motor that supports it.
The Compressor
Compressors don’t fail often, but when they do, the symptoms are telling. A dead compressor produces absolutely no sound, no hum, no vibration, nothing. It’s a hard electrical failure, usually from a burned-out winding or a seized mechanical component.
Test continuity through the compressor windings with your multimeter on the ohms setting. Disconnect the compressor leads first, then probe the terminals. You should read a low resistance value, typically between 2 and 5 ohms for a residential dehumidifier compressor.
Infinite resistance means an open winding; the compressor is dead. A reading very close to zero could indicate a short circuit. Either way, the compressor needs replacement, and honestly, replacing just the compressor is rarely cost-effective compared to buying a new unit.
A partially failing compressor sometimes gives a faint hum before dying completely. If you hear a low buzz from the back of the unit when you press power but the compressor doesn’t start, it may still be salvageable. Give it a gentle nudge, carefully insert a non-conductive tool through the access panel and lightly rotate the compressor shaft by hand.
Sometimes a partially seized bearing frees up enough to restart. But if it doesn’t run freely after this, the bearings are shot and replacement is the only option.
The Fan Motor
The condenser and evaporator fans play supporting roles, but a failed fan motor can prevent startup too. Many units have interlock logic: if the fan isn’t spinning, the compressor stays disabled to prevent overheating. Check the fan blades for free rotation by hand, they should turn smoothly with no grinding or wobble.
Test the fan motor windings for continuity the same way you tested the compressor. Fan motors typically read higher resistance than compressors, often in the 20 to 100-ohm range depending on size. No continuity means the motor is electrically dead.
You can often find replacement fan motors for $15 to $40 online, matching the original by frame size and shaft diameter.
Inspect the fan motor capacitor as well, some units share a dual-run capacitor between the compressor and fan. If that capacitor is shared, a single bad capacitor could knock out both components. Refer to your model’s wiring diagram to confirm whether the capacitor serves one motor or both.
When to Call a Professional vs. DIY
Here’s my honest take on what’s worth tackling yourself and what should go to a certified technician:
DIY-friendly repairs:
- Reseating the drain bucket and cleaning the float switch
- Replacing a failed start capacitor
- Cleaning or replacing the air filter
- Clearing blocked air vents and coils
- Testing and replacing a bad humidistat
- Swapping out a faulty fan motor
Call a pro:
- Blown PCB with visible damage, board-level electronics repair requires specialized knowledge
- Compressor replacement, it involves refrigerant handling, which is regulated and requires certification
- Suspected internal wiring short or electrical fire damage
- Units under warranty, opening the case usually voids coverage, but a qualified technician can diagnose and repair without voiding it
- Any situation where you feel uncertain about working with mains voltage
Refrigerant work in particular is illegal for unlicensed individuals in many jurisdictions. Don’t attempt it. Not only is it against the law, but mishandling refrigerant is dangerous to your health and the environment.
Frequently Asked Questions
Why does my dehumidifier turn on but the compressor won’t start?
This is the classic symptom of a bad start capacitor. The control board powers the fan, so you hear it running, but the compressor can’t draw enough torque to begin cycling. Test and replace the capacitor, it’s the cheapest and most common fix for this exact behavior.
My dehumidifier was working fine and suddenly stopped. What happened?
Sudden failure usually points to an electrical component giving out rather than gradual wear. The capacitor is the usual suspect, they have a finite lifespan and fail unpredictably. A tripped GFCI outlet or a momentary power surge can also cause abrupt shutdowns.
Check the outlet first, then the capacitor, then the control board.
Can a dehumidifier that won’t turn on be fixed with a reset?
Sometimes. Unplugging the unit for five full minutes and plugging it back in resets the control board’s logic. This clears temporary glitches caused by power fluctuations or sensor misreads.
If the problem returns repeatedly after resets, you’re dealing with a hardware fault, not a software hiccup.
How long do dehumidifier capacitors last?
Typically five to ten years, depending on operating conditions. Heat and humidity accelerate capacitor degradation. Units running continuously in hot basements will see shorter lifespans.
If your dehumidifier is approaching that age range and starts showing intermittent operation, replacing the capacitor preemptively is a smart move.
Is it worth repairing an old dehumidifier?
Consider the age, the repair cost, and the replacement price. A capacitor costs $10 to $20. A fan motor runs $15 to $40.
Combined with your time, that’s well under $100 total. A comparable new dehumidifier runs $200 to $500+. If the unit is less than eight years old and the rest of the internals look healthy, repair makes financial sense.
If it’s ten-plus years old and the compressor is gone, start shopping for a replacement.
Bottom Line
A dehumidifier that won’t turn on is frustrating, but it’s almost always fixable. Start with the simplest explanations, power, bucket placement, settings, before reaching for a multimeter. The start capacitor is the most common internal culprit and the easiest part to replace.
Move methodically from there: inspect the control board, test the fan motor, and check the compressor last since that’s the most expensive part and the strongest signal that it may be time to upgrade.
Keep your maintenance schedule tight. A clean filter and clear airflow path extend the life of every component inside the unit. Replace worn capacitors before they fail completely.
And always prioritize safety, disconnect power, discharge stored energy, and call in a professional when the job exceeds your comfort zone. Your basement (and your lungs) will thank you.

Table of Contents