Let’s get one thing straight right now. You do not need a fancy grill or a sous-vide machine to cook a steak that rivals your favorite steakhouse. In fact, the tool you need is probably already sitting in your kitchen, buried under a pile of muffin tins.
I am talking about the humble Dutch oven.
That heavy, cast-iron pot isn’t just for braising pot roast or baking crusty bread. It is a legitimate, high-heat weapon for searing steak. It traps heat like a furnace, delivers a crust that shatters, and locks in all the juicy goodness you crave.
If you want to learn how to cook a steak in a Dutch oven until it’s perfect, you’ve found the right guide.
I’m going to walk you through every single step. No fluff, no weird techniques. Just the science-backed, chef-approved method for cooking a steak indoors that tastes like it came off a live-fire grill.
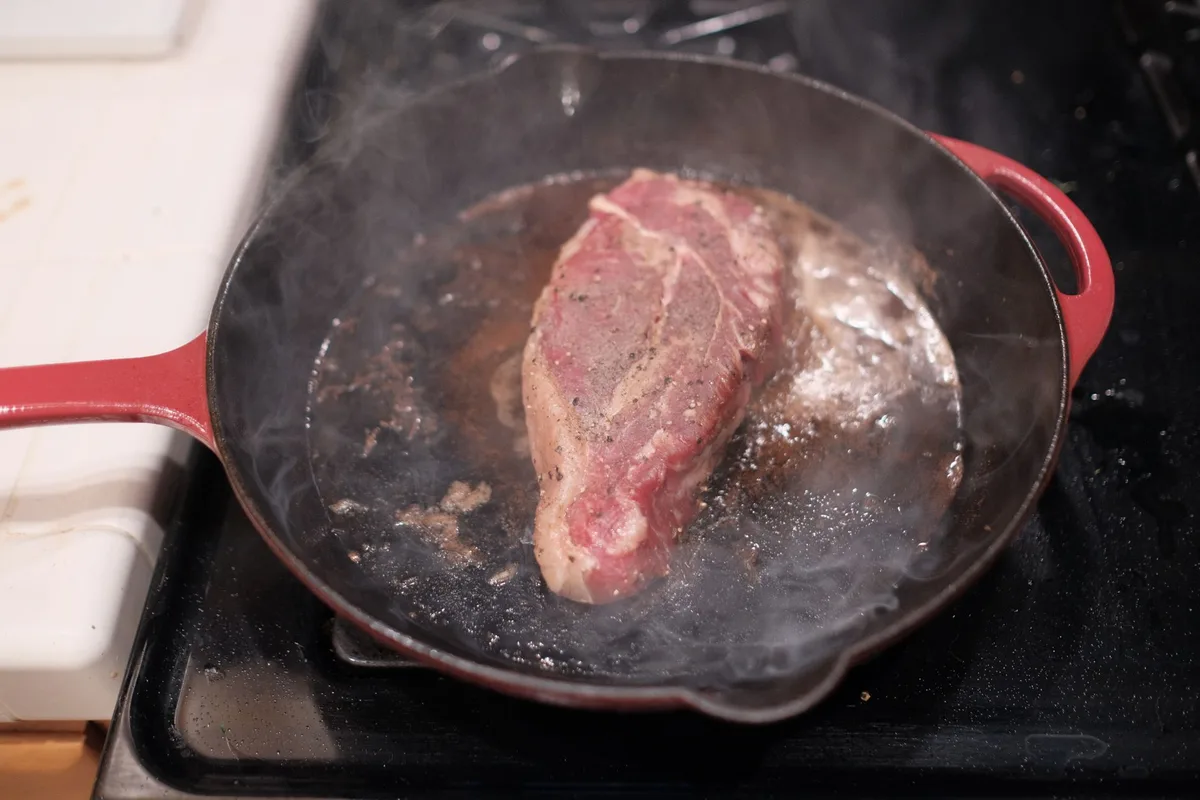
Image source: Pexels / Deane Bayas (Pexels License)
Why a Dutch Oven Works So Well for Steak
Before we get our hands dirty, let’s talk about why this method works. It all comes down to physics and material science.
A Dutch oven is thick. It’s usually made of cast iron, either bare or enamel-coated. That thickness gives it massive heat retention.
When you preheat a Dutch oven on your stovetop, you’re essentially filling a giant thermal battery. When you drop a cold steak onto that surface, the pan temperature doesn’t plummet.
On a thin skillet, the temperature drops the second food hits it. That causes the steak to steam rather than sear. A Dutch oven, however, stays screaming hot.
It maintains a consistent searing temperature that turns the surface of the meat into a crispy, brown, deeply flavorful crust through the Maillard reaction.
This doesn’t just taste good. It creates a barrier that locks in the natural juices, keeping the inside of the steak tender and moist.
The Maillard Reaction Explained
The Maillard reaction is the chemical process that happens when amino acids and reducing sugars react under heat. It’s what gives browned food its complex, savory flavor. Your goal with any steak is to maximize this reaction on the surface without overcooking the middle.
A Dutch oven makes this easier because it delivers intense, even heat that drys the surface quickly.
Heat Retention vs. Heat Control
The downside to a Dutch oven? Heat control can be tricky. Once it’s hot, it stays hot.
It doesn’t respond quickly to temperature dial changes like a thin pan does. But that’s fine. For a steak, you want brutal, consistent heat.
We’ll manage the timing instead of fighting the temperature.
Choosing the Right Steak for Dutch Oven Cooking
Not all steaks are created equal. While you can cook almost any cut in a Dutch oven, some shine brighter than others.
Best Cuts: Bone-In vs. Boneless
- Ribeye: This is my go-to. It has tons of marbling (intramuscular fat) which means it stays juicy and rich. The fat also bastes the meat as it renders.
- New York Strip: Leaner than a ribeye but still tender. It gives you a nice, beefy flavor with less waste.
- Filet Mignon: The most tender cut, but the leanest. Because there’s less fat, it’s easier to overcook. You need to be precise with your temperature.
- Bone-In Cuts: They look impressive and add a bit of flavor, but they cook slightly slower and unevenly at the edges. You need an extra minute or two of cook time.
Thickness Matters
For this method, buy a thick steak. I can’t emphasize this enough. Look for steaks that are at least 1.5 inches thick, ideally closer to 2 inches.
Thin steaks (under 1 inch) will overcook before you get a crust. The Dutch oven gets so hot that a thin cut turns gray in the time it takes to blink. Going thick is your insurance policy for a perfect medium-rare.
Step-by-Step: How to Cook a Steak in a Dutch Oven
Alright, let’s get to the main event. Here is the exact process I use every time. Follow this, and you will nail it.
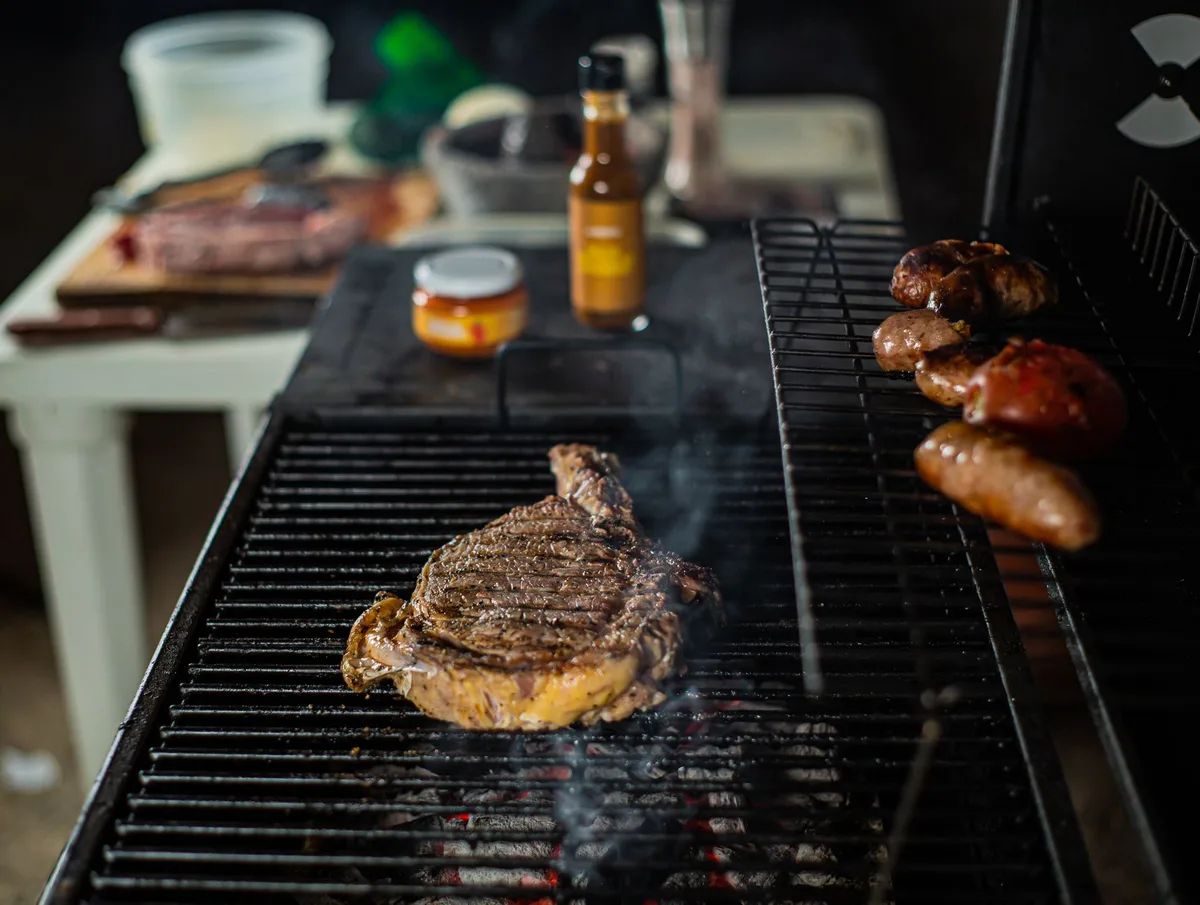
Image source: Pexels / Andrés Góngora (Pexels License)
Step 1: Dry That Steak
Moisture is the enemy of a crust. If the steak is wet, the energy from the pan goes into evaporating water before it can brown the meat. You basically poach the surface before you sear it.
Pat the steak dry with paper towels. Change the towels and pat it dry again. Do this even if the steak looks dry.
You want a tacky, dry surface.
Step 2: Season Like You Mean It
This step is non-negotiable. Season the steak heavily with kosher salt and fresh cracked black pepper. Don’t be shy.
A lot of the salt will fall off during cooking anyway.
You have two options here:
- Season immediately: If you’re short on time, do this right before cooking.
- Season overnight: This is better. Salting the steak and leaving it uncovered in the fridge overnight dries the surface further and seasons the meat all the way through. This is how you imitate a dry-aged effect.
Step 3: Preheat the Dutch Oven
Place your Dutch oven on the stovetop over high heat. Let it sit there for a solid 5 to 7 minutes. I know it feels like an eternity, but cast iron needs time to absorb heat.
Here’s a test: flick a drop of water onto the surface. If it dances and sizzles immediately, it’s ready. If it just sits there in a puddle and steams, wait two more minutes.
Add a high-smoke-point oil. Avocado oil is my top choice. Canola or grapeseed oil work well too.
Add just enough to coat the bottom. When the oil starts shimmering and slightly smoking, we go to the next step.
Step 4: The Sear
Lay the steak in the Dutch oven, laying it away from you to avoid splatter burns. It should hiss loudly. That is the sound of success.
Here’s the rule for the first sear: Do not touch it. Leave it alone for 2 to 3 minutes. You want it to develop a crust that releases easily. If you try to flip it and it sticks, it isn’t ready.
Using tongs, flip the steak. I know it’s tempting to press down on the steak to increase contact. Don’t.
That squeezes out the juices.
Step 5: Add the Aromatics and Butter
Once both sides have a beautiful crust, reduce the heat to medium-low. Add a few cloves of smashed garlic, a sprig of fresh rosemary, and a few sprigs of thyme to the pot.
Drop in about 2 tablespoons of unsalted butter. Once the butter melts into a froth, tilt the Dutch oven slightly and use a spoon to continuously baste the steak with that hot, herby butter. Do this for 1 to 2 minutes.
It adds an insane layer of flavor.
Step 6: Temperature Check (Crucial)
This is where the magic happens. Stop guessing. You need a reliable instant-read thermometer.
Here are your target temps:
| Doneness | Internal Temp | Notes |
|---|---|---|
| Rare | 120°F | Cool red center |
| Medium-Rare | 130°F | Warm red center. This is the sweet spot. |
| Medium | 140°F | Pink center, slightly brown edges |
| Medium-Well | 150°F | Mostly brown, slight pink hint |
| Well Done | 160°F+ | No pink, fully cooked |
Take the steak out of the Dutch oven 5°F BEFORE your target temperature. Why? Because of carryover cooking. The residual heat continues to cook the steak while it rests.
If you pull it at 125°F, it will rise to about 130°F while resting, giving you a perfect medium-rare.
Step 7: The Rest
This is arguably as important as the sear. Place the steak on a cutting board. Tent it loosely with a piece of aluminum foil.
Let it rest for 8 to 10 minutes.
Rested meat holds onto its juices. If you cut into it immediately, the fluids will run out, leaving you with a dry steak. Resting allows the muscle fibers to relax and reabsorb the liquid.
Step 8: Slice and Serve
After resting, place the steak on a cutting board. Slice against the grain, which shortens the muscle fibers and makes each bite easier to chew.
Pour the leftover butter and juices from the Dutch oven over the sliced steak. This is liquid gold. Don’t waste it.
The Reverse Sear Method (For Thick Cuts)
If your steak is thicker than 2 inches, I strongly recommend the reverse sear. It’s a two-stage method that gives you more control over doneness.
Stage 1: Low and Slow
Preheat your oven to 275°F. Season your steak generously. Place it on a wire rack set over a baking sheet.
Cook it in the oven until it reaches about 115°F to 120°F for medium-rare. This slowly brings the interior up to temperature without overcooking the outside.
Stage 2: The Hot Sear
This is where the Dutch oven comes in. After the steak comes out of the oven, heat the Dutch oven on your stovetop with your high-smoke-point oil until it’s ripping hot. Sear the steak for 45 to 60 seconds per side.
Because the interior is already at your target doneness, you only need that short sear to build the crust. Pat the surface dry before searing to ensure maximum browning.
Common Mistakes to Avoid
Even experienced cooks mess up a steak sometimes. Here are the most common pitfalls so you can sidestep them.
Starting With a Cold Steak
You often hear “bring your steak to room temperature.” While it helps, it takes a long time for a thick steak to come up to temp. More importantly, do not cook a steak that is straight from the fridge. The outside will burn before the center thaws.
Leave it on the counter for at least 20 to 30 minutes.
Not Preheating Enough
This is the #1 mistake. If you don’t preheat the Dutch oven enough, you won’t get a sear. Be patient.
Waiting 7 minutes isn’t that long.
Crowding the Pan
If you are cooking multiple steaks, cook them one or two at a time depending on the size. If the Dutch oven is crowded, the temperature plummets and the steaks steam instead of searing.
Overcooking
Again, buy a thermometer. It is the single best investment you can make for cooking meat. You can thank me later.
How to Clean Your Dutch Oven After
Steak leaves behind a lot of delicious, burned-on bits. Cleaning is easy, but you need to do it correctly to protect the pot.
- Let the Dutch oven cool down completely.
- Use a wooden or plastic scraper to remove any large pieces.
- Wash with hot water and a mild soap. (Modern dish soap is fine for enameled cast iron; for bare cast iron, soap is generally okay if you re-season right after, but it’s better to use coarse salt and water to scrub).
- Dry it immediately with a towel so it doesn’t rust.
- For bare cast iron, rub a very light layer of vegetable oil over the whole surface in a paper towel to maintain the seasoning.
Avoid putting a hot Dutch oven under cold water. It can cause catastrophic cracking or warping.
Why This Method Beats a Skillet
Let’s compare a Dutch oven to a standard stainless or non-stick skillet.
- Skillet: Can struggle to maintain heat. The pan often cools too quickly when you add a cold steak, resulting in a weak sear.
- Dutch Oven: High walls contain splatter (your stovetop stays clean). The thick walls and base offer superior heat mass. It also lets you bake bread and braise stews, making it a multi-tasker.
A heavy stainless steel pan works okay, but for the best crust without burning the butter, the Dutch oven wins.
The Best Wood and Tools to Use
While I already mentioned using tongs, avoid metal tongs with sharp edges on enameled Dutch ovens, they can chip the surface. Use silicone-tipped tongs or a wooden spatula. A fish spatula is great for flipping delicate steaks.
What About the Smoke?
Let’s be realistic. Searing a steak at high heat produces smoke. Your kitchen will smell delicious, but your smoke detector might go off.
Mitigation tactics:
- Turn on your kitchen exhaust fan.
- Open a window.
- Use a high-smoke-point oil, like avocado oil, to minimize burning.
Don’t use olive oil or butter for the initial sear. They burn at high temperatures, which creates off-flavors and bitter smoke. Save the butter for the basting step at the end, when you’ve lowered the heat.
Tips for Perfecting Flavor
Beyond salt and pepper, you can customize your crust.
- Dry Rub: Mix smoked paprika, garlic powder, onion powder, and a touch of brown sugar. Apply it before the sear.
- Compound Butter: Mix softened butter with minced herbs and a splash of Worcestershire sauce. Slather it on the steak right after it comes out of the pot.
- Searing in Ghee: Ghee (clarified butter) has a higher smoke point than regular butter. You can use it for the initial sear, which adds a nutty flavor without burning.
Pairing Sides and Sauces
A perfect steak needs a good side. Since the Dutch oven is busy, keep it simple.
- Simple Salad: Arugula with lemon and parmesan cuts through the richness.
- Roasted Potatoes: Toss them in the oven while the steak rests.
- Sauce: A classic Peppercorn sauce or a simple red wine reduction is a wonderful addition.
Final Tips For That Perfect Crust
Remember these three things: Pat dry, preheat thoroughly, and don’t crowd.
You now possess the knowledge to cook a steak in a Dutch oven like a professional. This method is reliable, forgiving, and produces an outstanding result every single time.
The heavy cast-iron pot transforms from a soup vessel into the ultimate steak searing station. You control the heat, control the timing, and reward yourself with a meal far superior to anything you can order from a diner.
Frequently Asked Questions
Do I need to use a cast iron Dutch oven?
Yes, ideally. Thick iron walls are essential for heat retention. Enameled cast iron works beautifully too.
How much oil should I use?
Just enough to lightly coat the bottom. You want a thin film, not a deep fry.
Can I cook a frozen steak in a Dutch oven?
It’s not recommended. You’ll overcook the outside before the center thaws. Always thaw completely in the refrigerator first.
How do I know when the Dutch oven is hot enough?
Sprinkle a few drops of water. They should dance and sizzle on contact. Use medium-high to high heat, it usually takes 5-7 minutes.
What if my steak sticks to the pot?
It’s not ready. Try again in 30 seconds. It should release naturally when the crust forms.
Can I use this method for lamb chops?
Absolutely. The same tips apply.
Now, heat up that pot, grab a good steak, and get cooking. You’ll be amazed at what this simple tool can do.

Table of Contents