You’ve carved your pumpkin, scraped out all that slippery orange pulp, and now you’re staring at a pile of wet white seeds. Learning how to toast pumpkin seeds in a skillet is the fastest way to turn that mess into a crisp, salty snack in under 10 minutes. It’s a method that requires almost no cleanup and gives you direct control over the heat.
Once you master the visual cues, you’ll never bother with the oven again.
Per USDA data, a one-ounce serving of pumpkin seeds delivers 8 grams of protein and nearly 5 grams of fiber. Stovetop toasting preserves those nutrients better than deep frying, and it uses a fraction of the energy. But the real trick is knowing which skillet to grab and exactly when to pull the seeds off the heat.
Quick Answer
Heat a dry skillet over medium heat. Add a single layer of pumpkin seeds. Stir constantly for 4 to 7 minutes.
Seeds are done when golden and popping. Remove immediately and season.
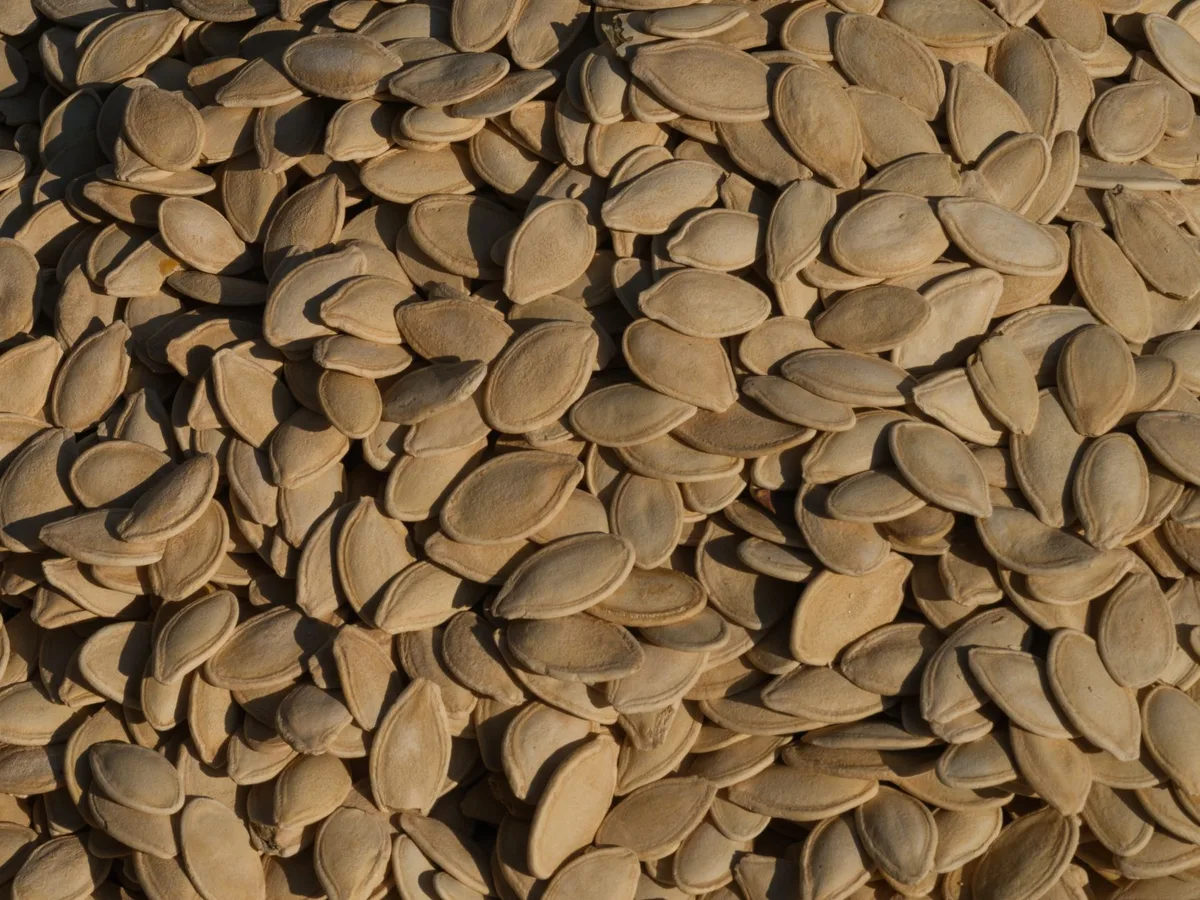
Why Stovetop Toasting Beats the Oven for Pumpkin Seeds
The oven works, but it’s slow. You need to preheat for 10 minutes, then toast for 15 to 20. A skillet cuts that time in half.
You can go from wet seeds to snack in about 8 minutes including prep.
Direct contact with the hot pan gives you a crunchier result. The seeds get a little char on the outside while staying crisp inside. In the oven, the heat is indirect and more gentle, which can leave them chewy.
Energy efficiency matters too. A stovetop burner uses less electricity or gas than heating up a whole oven cavity. And you’re standing right there, so you’re less likely to forget about them and burn a batch.
The Right Skillet and Oil for the Job
Your pan choice affects how evenly the seeds toast. Cast iron holds heat best and gives a consistent sear. A heavy-bottomed stainless or nonstick skillet also works, but thin pans create hot spots.
Recommended pans:
- Cast iron (12-inch). Heats evenly, retains heat, ideal for small batches.
- Nonstick. Less risk of sticking, but can’t get as hot as cast iron.
- Stainless steel. Works fine with enough oil, but seeds may stick if you under-oil.
For oil, pick one with a medium to high smoke point. Avocado oil (smoke point 520°F) is ideal. Olive oil (375°F) works if you keep the heat at medium.
Butter or ghee adds flavor but burns faster, so watch carefully.
One critical step before oil touches the pan: dry the seeds. Pat them thoroughly with a paper towel. Any moisture will steam the seeds and make them rubbery instead of crunchy.
Step-by-Step: How to Toast Pumpkin Seeds in a Skillet
Prep: Cleaning, Boiling (Optional), and Drying
Rinse the seeds in a colander under cold water. Pick out the biggest strings of pulp. Some cooks boil the seeds in salted water for 10 minutes first.
This seasons them all the way through and helps the hulls crisp up evenly. It’s optional but worth it if you have time.
After boiling, drain and spread the seeds on a kitchen towel. Pat them dry. Let them sit for 15 minutes if you want maximum crunch.
Heat and Oil: Getting the Pan Ready
Set the skillet over medium heat for 1 to 2 minutes. Add a teaspoon of oil and swirl to coat. Wait another 30 seconds.
The oil should shimmer but not smoke.
Add your seeds in a single layer. Do not crowd the pan. If you have more than a cup of seeds, use a larger pan or do two batches.
Crowding traps steam and leads to soggy results.
The Toast: Visual and Auditory Cues to Watch For
Stir or shake the pan every 30 to 60 seconds. Seeds toast in stages. At first they look pale and wet.
Then they dry out and start to turn light gold. You’ll hear a few pops as moisture escapes. That popping is your signal that the seeds are nearly done.
As of 2026, the standard recommendation from culinary sources is to aim for a medium golden brown. Total time runs from 4 to 7 minutes depending on pan thickness and seed moisture.
When to Pull Them Off the Heat
The moment the seeds reach a uniform golden color with a few darker speckles, pull the pan off the burner. Transfer the seeds immediately to a plate or a sheet pan. Do not leave them in the hot skillet.
The pan’s residual heat will keep cooking them and can turn them from perfect to burnt in 30 seconds.
Key Visual Cues: Color, Pop, and Smell
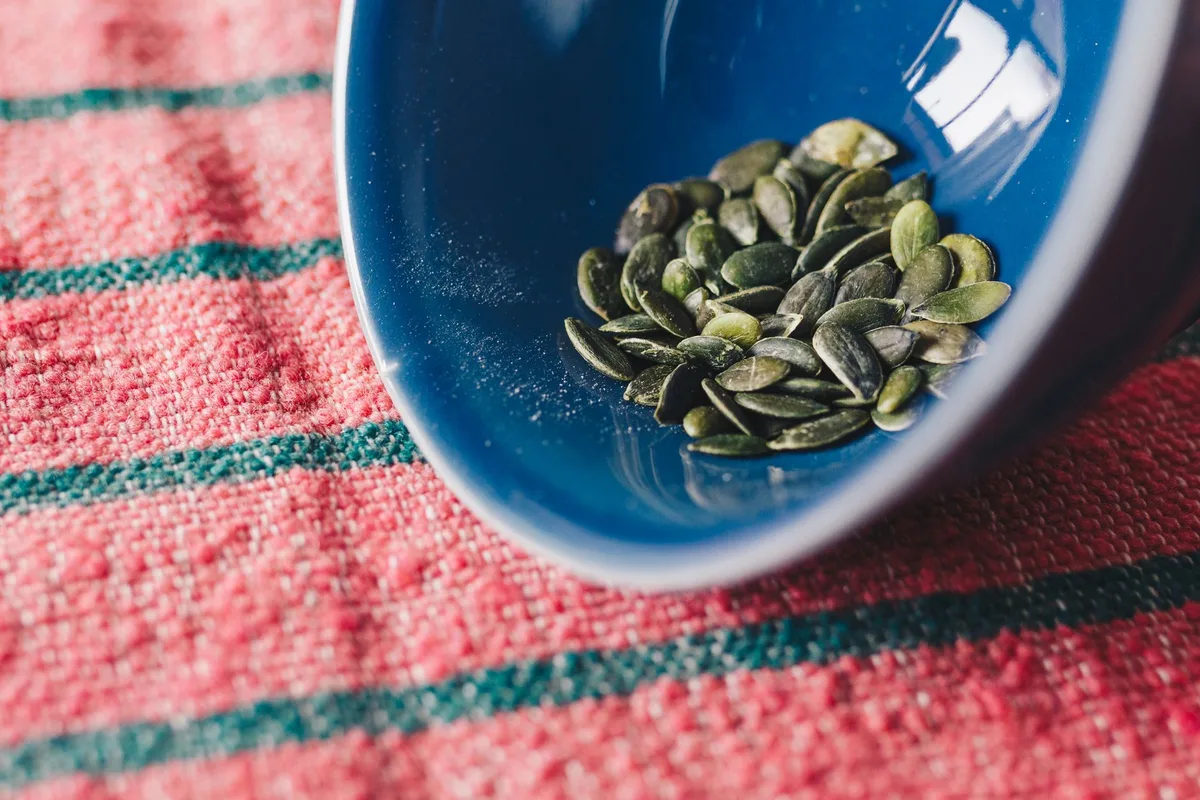
Three senses will tell you when they’re done. Color is the most reliable. Raw pumpkin seeds are pale green or off-white. Toasted seeds turn a warm golden brown with occasional darker edges.
The photo above shows that exact transition.
Sound is your second cue. As the seeds heat, moisture inside expands and bursts the hulls. You’ll hear a soft popping sound, like very quiet popcorn.
That pop means the interior is cooked and the exterior is crisp.
Smell seals the deal. Raw seeds have a faint grassy scent. Toasted seeds release a rich, nutty aroma.
If you smell something closer to burnt popcorn, you’ve gone too far.
Common Visual Mistakes (and How to Fix Them)
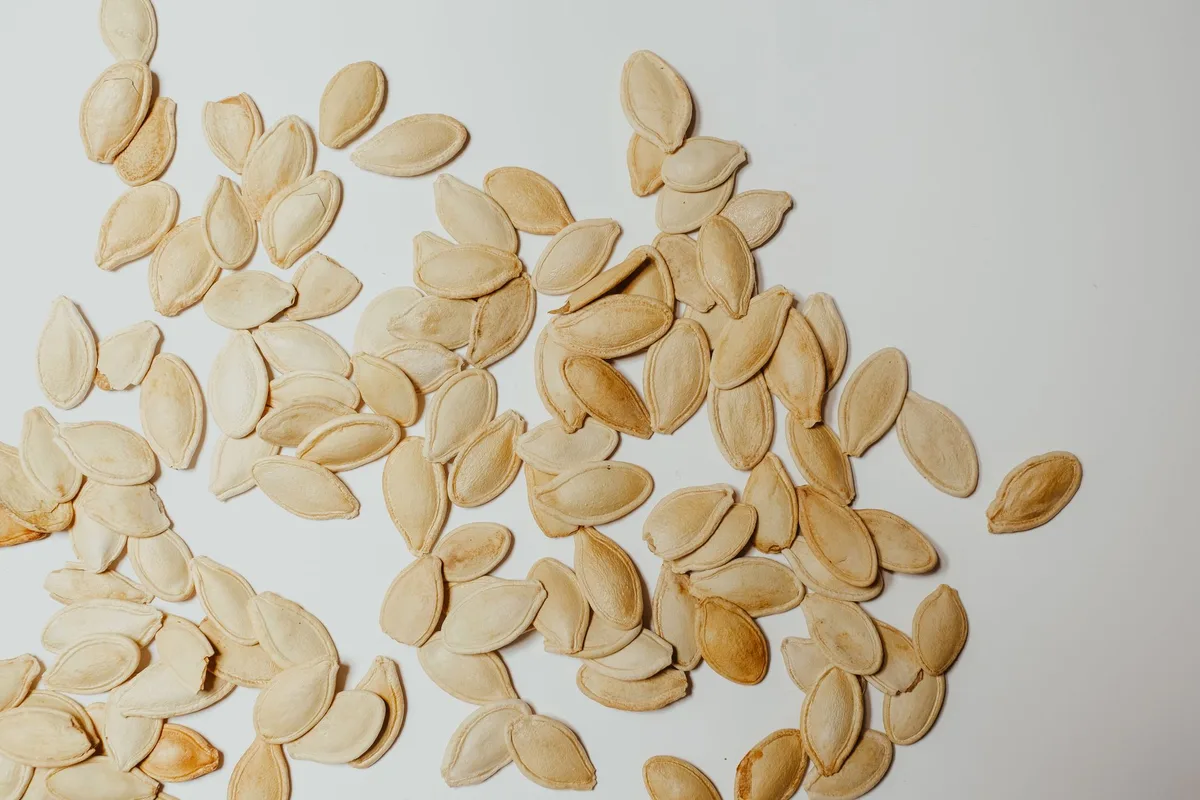
Most problems come from three errors. Here’s how to spot them and fix next time.
Mistake 1: Seeds too light or chewy. They look pale, feel soft, and taste raw. This means you didn’t toast long enough or the heat was too low. Fix: increase heat to medium and go another 2 minutes, stirring constantly.
Mistake 2: Seeds burned on one side. You’ll see dark black spots only on one edge. That’s from not stirring enough. The seeds on the bottom cook faster.
Fix: shake the pan or stir every 30 seconds. Use a spatula to flip them completely.
Mistake 3: Uneven toasting from crowding. Some seeds are golden while others are still wet. When the pan is overloaded, moisture gets trapped and creates steam pockets. Fix: use a larger skillet or toast in two batches.
A single layer is non-negotiable.
The photo above shows what under-toasted and burnt seeds look like side by side. If yours look like the dark ones on the right, toss them and start over. Burnt pumpkin seeds taste bitter and cannot be saved.
Skillet vs. Oven vs. Air Fryer: Which Works Best?
Each method has a clear winner depending on your priorities. Here is how they compare.
Skillet. Best for speed and crunch. You get direct heat that crisps the hull in 4 to 7 minutes. Stirring gives you full control.
The downside: you have to stand at the stove and can only do small batches (one cup at a time).
Oven. Best for large batches and hands-off cooking. Spread seeds on a baking sheet and toast at 350°F for 15 to 20 minutes, stirring once. The result is more evenly golden but less crunchy.
It takes longer and uses more energy.
Air fryer. Best for a middle ground. Set the air fryer to 350°F. Toast for 6 to 8 minutes, shaking halfway.
You get crunch similar to the skillet but without standing over the stove. Capacity is limited to about one cup, same as a skillet.
| Method | Time | Crunch | Batch Size | Hands-On |
|---|---|---|---|---|
| Skillet | 4 – 7 min | High | 1 cup | Constant |
| Oven | 15 – 20 min | Medium | 2 – 3 cups | Low |
| Air fryer | 6 – 8 min | High | 1 cup | Moderate |
If you are making a quick snack for one or two people, use the skillet. If you are prepping seeds from three pumpkins, use the oven. The air fryer is a nice compromise if you already have one out.
Pro Tips for Perfectly Crunchy Seeds Every Time
Small adjustments make a big difference. Here are the ones that matter most.
Dry the seeds longer than you think. Wet seeds steam instead of toast. After rinsing, spread them on a towel and let them air dry for 20 to 30 minutes. Pat them again right before they hit the pan.
Salt the seeds after toasting, not before. Salt draws moisture to the surface during cooking. That moisture creates steam and a softer texture. Season them while they are still hot after they leave the skillet.
The heat helps the salt stick.
Boil the seeds first for even seasoning. A 10 minute simmer in salted water seasons the kernels all the way through. This step also softens the hulls slightly, so they crisp more evenly. Drain and dry them well before toasting.
Use a neutral oil with a high smoke point. Avocado oil is the best pick. Canola and grapeseed also work. Olive oil can handle medium heat but may smoke if you get distracted.
Don’t walk away from the pan. Seeds go from golden to burnt in about 30 seconds. Set a timer for 4 minutes, then watch and stir.
How to Store Your Toasted Pumpkin Seeds
Proper storage keeps them crunchy for up to two weeks. The enemy is moisture.
Let the seeds cool completely on a plate or sheet pan. Any residual heat creates condensation inside the container.
Transfer them to an airtight container. A glass jar with a tight lid or a resealable plastic bag works well. Squeeze out as much air as possible before sealing.
Store the container in a cool, dark pantry. Avoid the refrigerator, where humidity fluctuates. Do not store near the stove or dishwasher where warmth and steam can seep in.
For longer storage, freeze the seeds. Place them in a freezer-safe bag and remove all air. They keep for up to three months.
Thaw at room temperature for 15 minutes before eating. The texture stays nearly the same.
Troubleshooting: Why Your Seeds Didn’t Turn Out Right
Most problems have simple fixes. Here is what went wrong and how to correct it next time.
Seeds are chewy, not crunchy. They were too wet when they hit the pan. Dry them longer before cooking. Also check that your heat is high enough.
Medium heat is the sweet spot.
Seeds taste bitter or burnt. The heat was too high or you left them on a second too long. Start over with fresh seeds and use medium heat. Watch for color and pull them one shade lighter than you think.
Seeds have white spots or uneven color. The pan was overcrowded. Moisture got trapped and created steamed patches. Next time, use a single layer in a larger skillet or work in batches.
Seeds stick to the pan. Either the pan was not hot enough when you added the oil or you did not use enough oil. Preheat the pan for a full two minutes. Add a full teaspoon of oil and swirl to coat.
Seeds are bland. Season them while they are still warm. Toss with salt and spices immediately after transferring to the plate. The heat opens the pores and locks in flavor.
Frequently Asked Questions
Can I toast pumpkin seeds without oil?
Yes. Dry toasting works for seeds that are already very dry. Use medium heat and stir constantly.
They toast faster and can burn more easily. The texture is slightly less rich but still crunchy.
How do I season pumpkin seeds after toasting?
Sprinkle salt or spices over the hot seeds right after they come out of the skillet. Toss them gently with a spatula. The residual heat helps the seasoning adhere.
Let them cool completely before storing.
Do I need to boil pumpkin seeds before toasting?
It is optional. Boiling in salted water seasons the kernels inside the hull. It also helps the hulls crisp more evenly.
If you are short on time, you can skip it and just dry toast.
Why are my pumpkin seeds still soft after toasting?
Soft seeds mean they still have too much moisture. Either they were not dried thoroughly before cooking, or you did not toast them long enough. Spread them on a towel and let them dry for 30 minutes next time.
Can I toast hulled pumpkin seeds (pepitas) the same way?
Yes. Pepitas toast faster because there is no hull. Reduce the cooking time to 3 to 5 minutes.
Watch closely because they can burn very quickly.
How long do homemade toasted pumpkin seeds last?
Stored in an airtight container at room temperature, they stay crunchy for up to two weeks. In the freezer, they last up to three months. Always let them cool completely before sealing.
Final Quick-Reference Guide
Here is everything you need for stovetop toasting in one place.
| Step | Key Detail |
|---|---|
| Prep | Rinse seeds, boil 10 min (optional), dry thoroughly |
| Pan | Cast iron or heavy nonstick, preheated over medium heat |
| Oil | 1 tsp avocado or canola oil, shimmering but not smoking |
| Toast | Single layer, stir every 30 seconds, 4–7 minutes total |
| Cue | Golden brown color, popping sounds, nutty aroma |
| Remove | Immediately transfer to a plate to stop carryover cooking |
| Season | Salt and spices while still hot |
| Store | Airtight container at room temperature, up to 2 weeks |
Stovetop toasting gives you the fastest route to crunchy, flavorful pumpkin seeds with minimal cleanup. The key is watching for visual cues and pulling them off at the right moment. Once you nail that timing, you can experiment with spices and batch sizes confidently.
Keep the heat at medium. Keep the pan in motion. And never walk away from a hot skillet full of seeds.

Table of Contents