Measure, prep, secure to studs, set the top, connect plumbing, caulk.
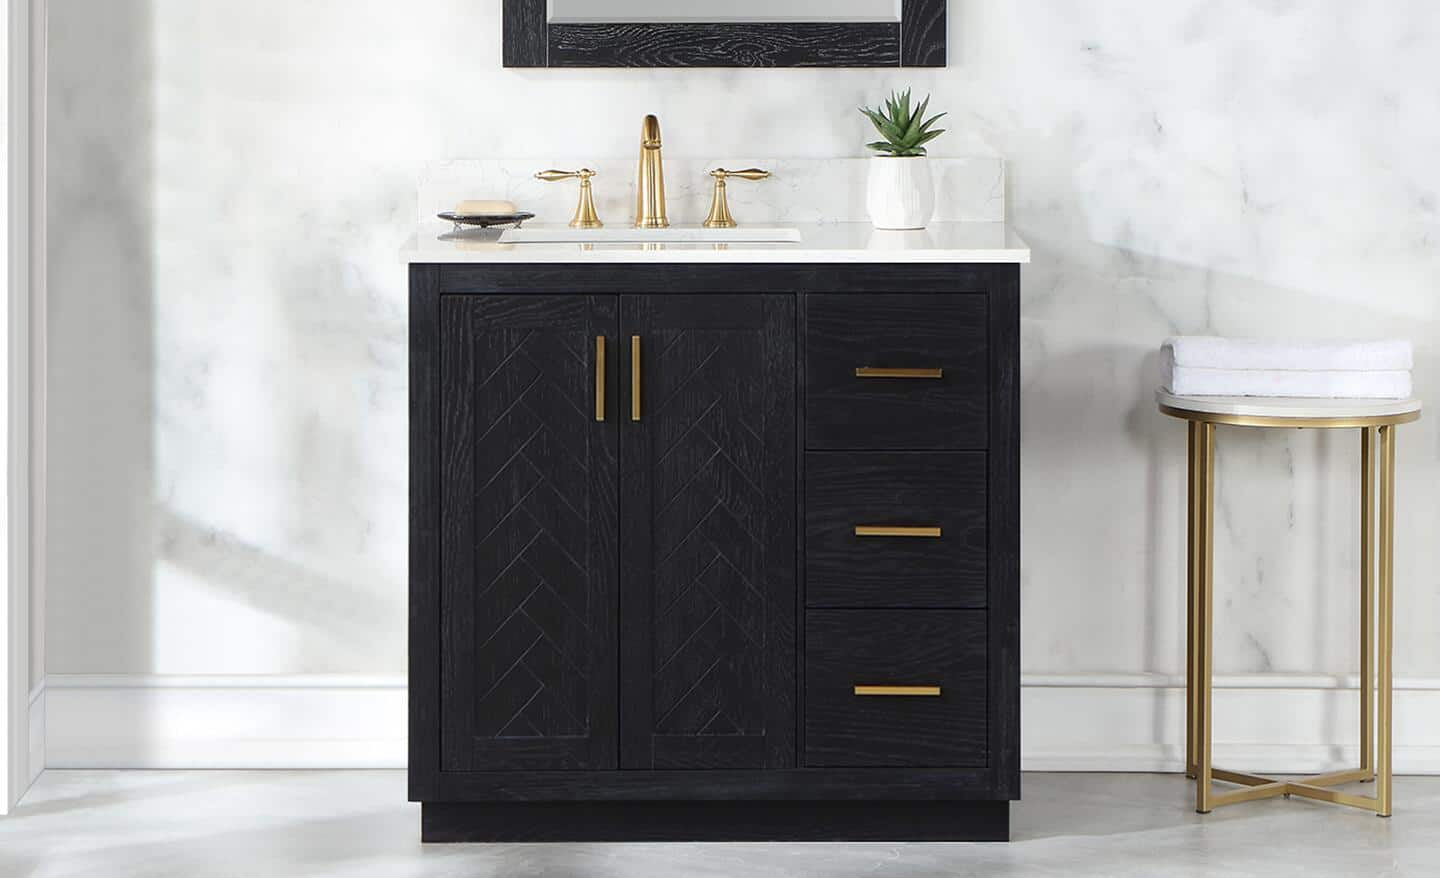
You want a clean, sturdy install that looks pro and lasts. I’ve helped many homeowners learn how to install bathroom vanity with zero stress and no leaks. Below, I break it down step by step, with simple checks, real-life tips, and clear safety advice. Follow along and you’ll know how to install bathroom vanity like a seasoned DIYer.
Plan, Measure, and Choose the Right Vanity
Good planning makes how to install bathroom vanity easy and fast. Start with the rough-in. Measure the drain centerline and water supply heights. Make sure doors and drawers clear trim and the toilet.
Match the vanity width to the space. Leave room for side splashes if walls are not square. Check the floor for level. If it slopes, plan to use shims.
Dry fit the vanity before any cuts. You can see how the plumbing lines up. This small step saves time and patch work later.
Tools and Materials
Gather everything first. It speeds up how to install bathroom vanity and reduces mistakes.
Tools:
- Tape measure, level, stud finder, pencil
- Drill, driver bits, wood drill bits, hole saw (if needed)
- Adjustable wrench, basin wrench, pipe wrench
- Utility knife, caulk gun, putty knife
- Bucket, towels, sponge, safety glasses, gloves
Materials:
- Vanity cabinet and top with sink or integrated sink
- Faucet, drain assembly, P-trap kit, supply lines
- Wood screws for studs, shims
- Plumber’s putty or silicone (per faucet maker)
- 100% silicone caulk for wet areas
- Teflon tape, alcohol wipes

Safety and Prep
Safety comes first when you learn how to install bathroom vanity. Turn off the water at the stops. If stops do not close, turn off the main. Open the faucet to relieve pressure.
Protect the floor with a drop cloth. Unplug or switch off nearby lights. Wear eye and hand protection. Keep a bucket and towels handy for water in the trap.
Find wall studs with a stud finder. Mark two or more studs across the vanity width. These marks guide your screws later.
Remove the Old Vanity
This step sets a clean base for how to install bathroom vanity. Close the supply stops. Disconnect the supply lines at the faucet. Place a bucket under the trap.
Loosen the slip nuts and remove the P-trap. Score all caulk lines at the wall and floor. Remove screws from the back rail. Lift the cabinet out with help if needed.
Scrape old caulk and patch wall nicks. Sand smooth and spot paint if you can. A clean wall helps the new caulk bond well.
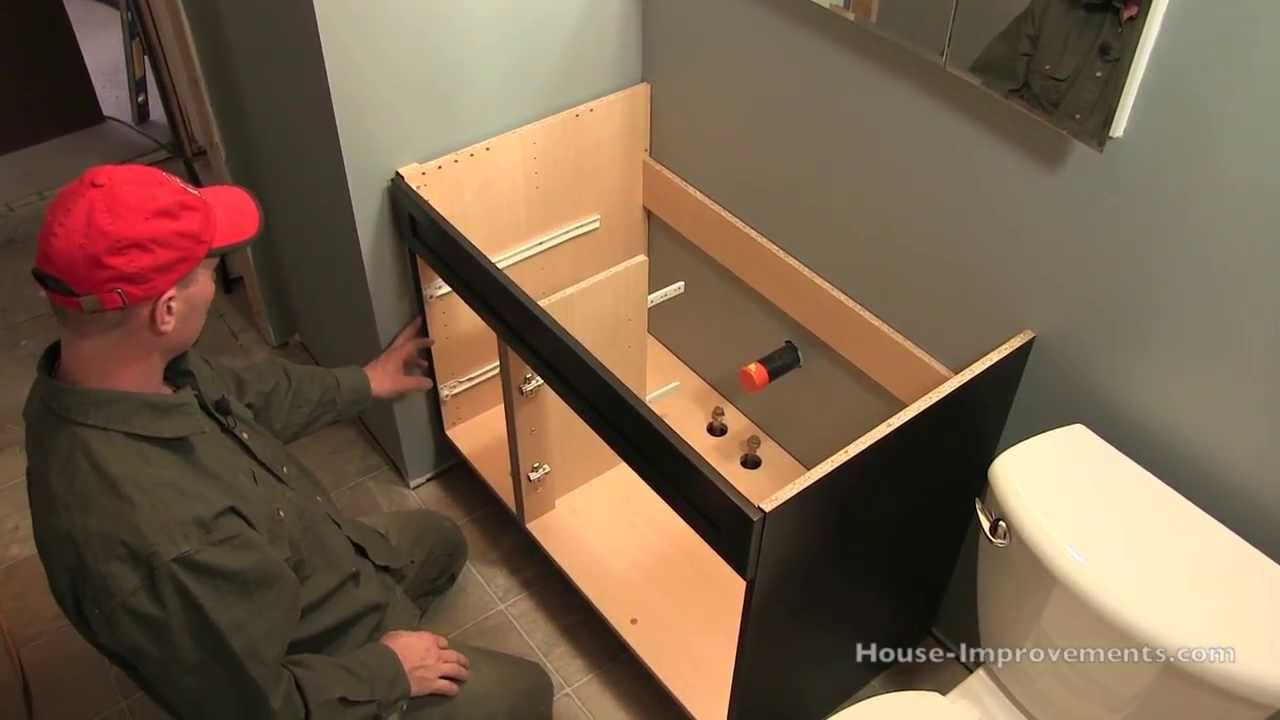
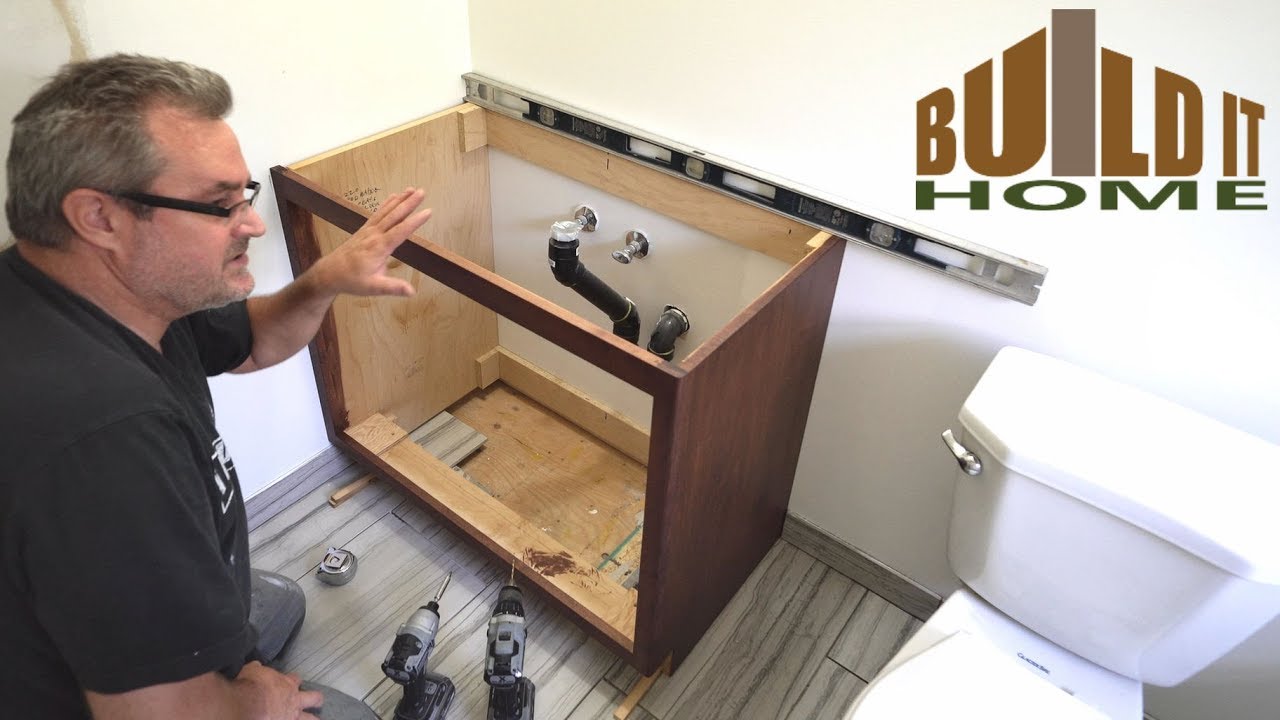
Dry Fit and Mark Layout
Dry fitting is the secret to how to install bathroom vanity without surprises. Slide the vanity in place. Check for level front to back and side to side.
Use shims under the base to get it dead level. Mark the top of the base on the wall. Mark stud locations inside the cabinet back.
If you must drill new holes for pipes, mark them now. Use a hole saw for clean cuts. Test fit again to confirm alignment.

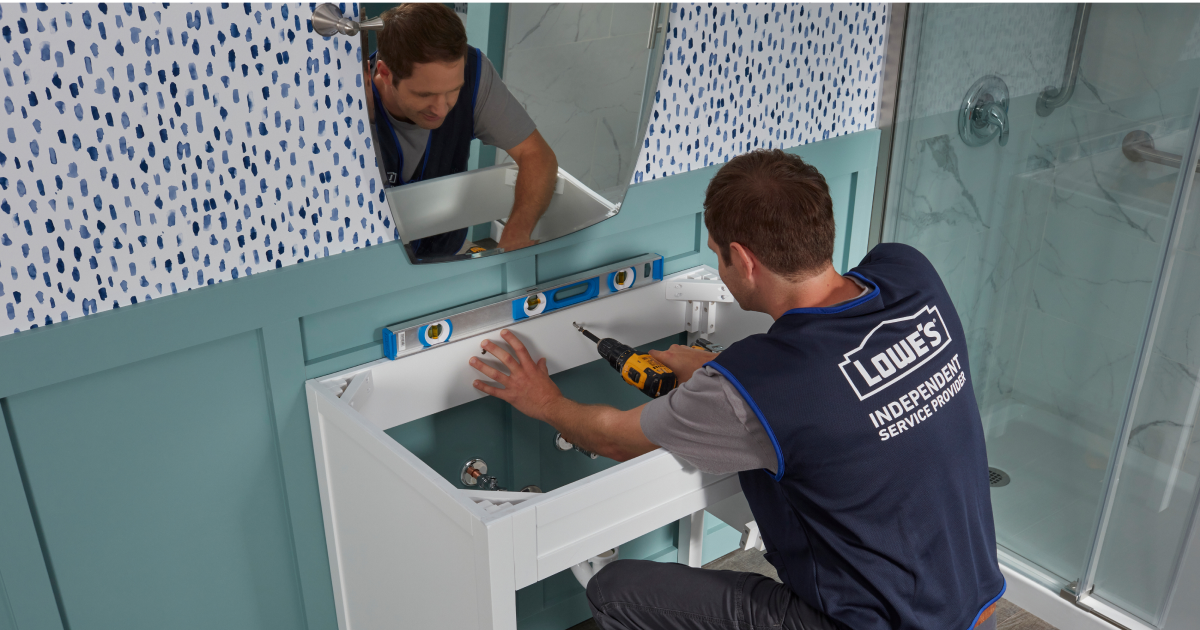
Secure the Vanity to the Wall
This is the backbone of how to install bathroom vanity. Drill pilot holes through the vanity’s back rail at stud marks. Use wood screws long enough to bite the studs.
Check level as you snug each screw. Adjust shims until the bubble is perfect. Trim shim tails with a knife. The cabinet should not rock.
For heavy stone tops, add a ledger board if the design needs it. Screw a straight 1x board to studs. It supports the back edge during set.
Install Faucet and Drain on the Top
This step speeds up how to install bathroom vanity and keeps you sane. It is easier to mount the faucet and drain before the top goes on. Follow the faucet instructions.
Use plumber’s putty or silicone as directed by the maker. Tighten nuts snug, not crazy tight. Wrap male threads with Teflon tape. Wipe off extra sealant.
Set the drain so the tailpiece is plumb. Align the stopper rod if you have a pop-up. Test the action in your hands before you install the top.

Set the Vanity Top and Sink
Now you are close to done with how to install bathroom vanity. Clean the cabinet rim. Run a thin, even bead of silicone on the top edges.
Lower the top gently with a helper. Align the back and sides. Press down to seat the silicone. If your sink uses clips, install them now.
Wipe any squeeze-out with alcohol on a cloth. Wait as the silicone skins over. Do not move the top once set.
Connect Water Supply and Drain
Clean, dry threads make how to install bathroom vanity leak free. Wrap valve threads with Teflon tape. Hand tighten the supply lines to the faucet. Add a quarter turn with a wrench.
Build the P-trap from the sink tailpiece to the wall arm. Keep the trap arm slight slope to the wall. Hand tighten slip nuts. Fill the sink and check for leaks.
Open the stops slowly and watch each joint. If a joint weeps, stop, reseat the washer, and retighten. Do not over tighten plastic nuts.
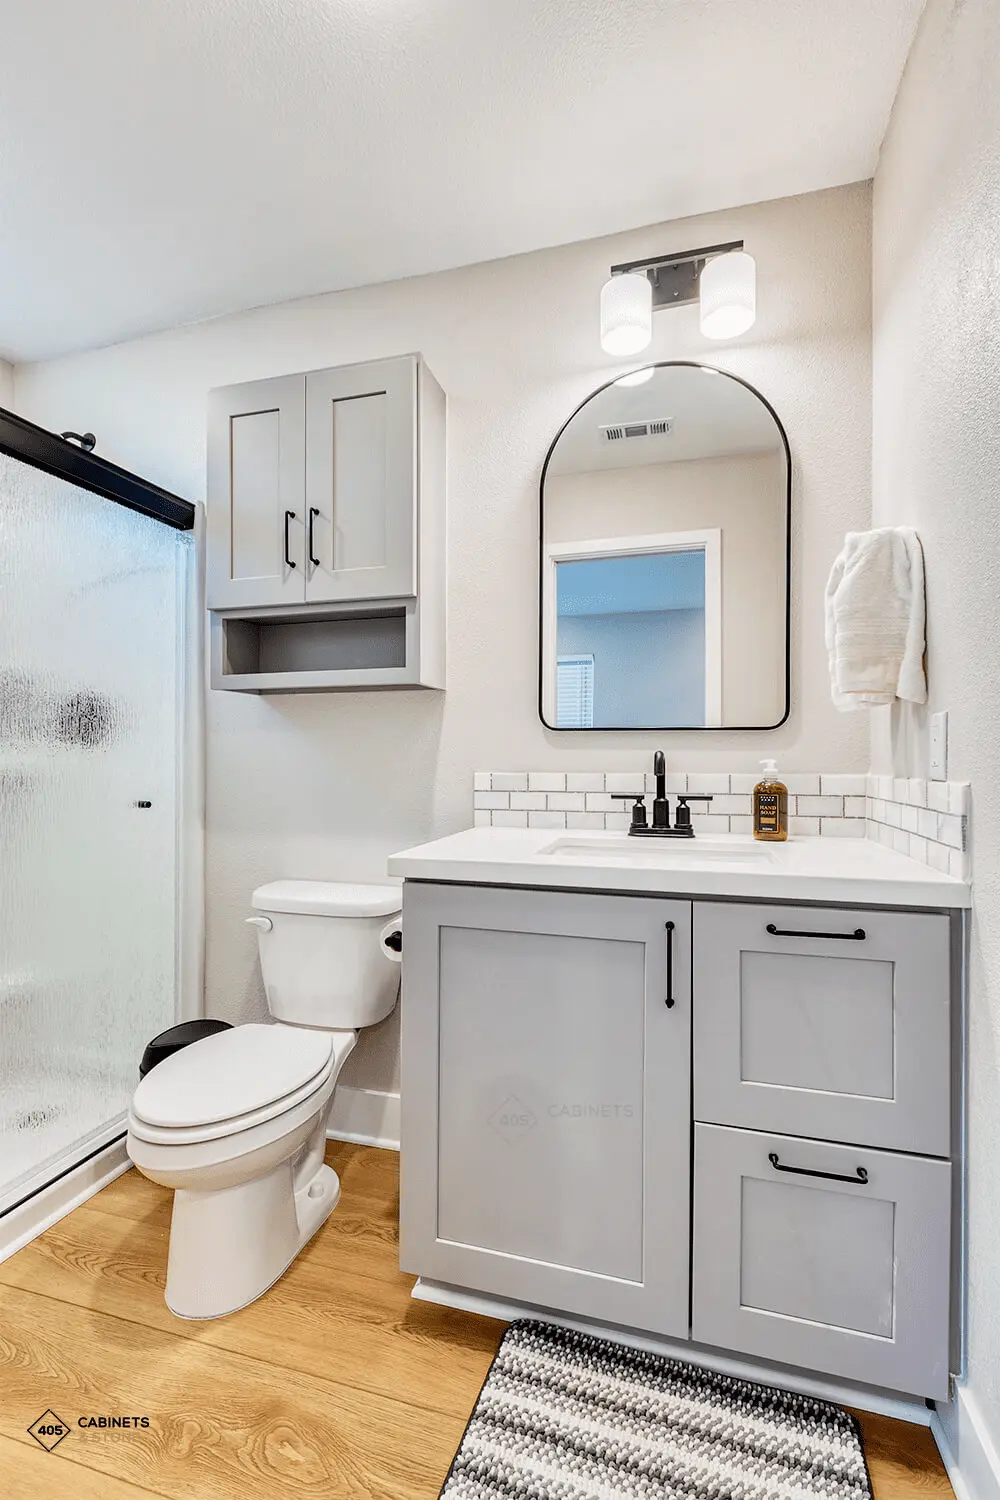
Seal, Caulk, and Finish
Sealing is the last step in how to install bathroom vanity. Run a smooth bead of 100% silicone where the backsplash meets the wall. Do the sides and base as needed.
Tool the bead with a damp finger for a neat line. Install doors, drawers, and hardware. Adjust hinges until gaps are even.
Clean the top with a soft cloth. Reinstall the mirror and light if removed. Let silicone cure per label before heavy use.
Common Mistakes to Avoid and Pro Tips
Small mistakes can slow how to install bathroom vanity. These tips keep you on track.
Mistakes to avoid:
- Skipping the level check leads to gaps and poor drawer action.
- Using latex caulk in wet areas causes early failure.
- Over tightening plastic slip nuts cracks fittings.
- Forgetting stud screws leaves the cabinet loose.
Pro tips:
- Always dry fit and mark studs before drilling.
- Pre-assemble the faucet and drain on a towel at a bench.
- Use color-matched silicone for a clean line at walls.
- Keep extra shims for baseboard dips and tile lippage.
- Take a photo inside the cabinet for a record of pipe layout.
Cost, Time, and Skill Level
Plan how to install bathroom vanity with clear cost and time. A basic DIY swap takes 3 to 6 hours. Add time for wall patch or floor fixes.
Costs vary by size and finish. Expect to spend a few hundred to a few thousand for the vanity and top. Add for faucet, trap kit, and supplies. Hiring a plumber adds labor but can save headaches for complex lines.
Beginner to intermediate skill is enough for most installs. If pipes are corroded or out of code, call a pro. Safety and local rules come first.
Troubleshooting
Issues can pop up in how to install bathroom vanity. Most have simple fixes.
If the drain leaks at the trap, reseat the washer with the bevel toward the nut. Hand tighten, then a small extra turn. Recheck with the sink filled.
If the top rocks, add thin shims near corners. Do not crank down clips to force it flat. Support the surface instead.
If doors rub, adjust hinges in small moves. Use the three-way screws to align gaps. Tighten all screws after the final set.
Maintenance and Care
Care keeps your work on how to install bathroom vanity looking fresh. Wipe water right away to avoid swelling on wood or MDF. Use mild soap and water for daily clean.
For stone tops, use pH-neutral cleaner. Seal natural stone as needed per maker. Check caulk once a year and refresh at the first crack.
Open and close drawers with care. Tighten loose handles when they wiggle. Small upkeep saves big repairs later.
Frequently Asked Questions of how to install bathroom vanity
What height should a bathroom vanity be?
Standard height is around 32 to 36 inches. Pick the height that fits your users and your sink style.
Do I need to secure the vanity to studs?
Yes, always screw into studs for strength. Use at least two studs, and add a ledger for heavy tops.
Should I install the faucet before setting the top?
Yes, it is easier on a bench. You get better access to nuts and seals.
What type of caulk should I use?
Use 100% silicone in wet areas. It lasts longer and resists mold better than latex.
How do I fix a small leak at the trap?
Loosen the slip nut, reseat the washer, and retighten by hand. Add a quarter turn with pliers if needed.
Can I reuse old supply lines?
It is best to replace them with new braided lines. They are cheap and reduce leak risk.
Do I need plumber’s putty or silicone on the drain?
Follow the faucet and drain maker’s guide. Many modern drains call for silicone instead of putty.
Conclusion
You now know how to install bathroom vanity from plan to polish. Measure well, secure to studs, set the top right, and seal smart. Take your time, and test every joint.
Pick one step today and start. Even small progress builds skill and confidence. If this helped, share it with a friend or subscribe for more hands-on guides.

Table of Contents