Shut off power, mount the bracket, connect wires, secure the sconce, and test.
If you want a fast, safe, and pro-looking upgrade, this guide is for you. I’ll show you how to install a wall sconce light fixture with clear steps, code-aware tips, and real-world advice from the field. You’ll learn the right tools, the right height, and the right way to wire and mount so your new sconce looks great and works safely.
:max_bytes(150000):strip_icc()/SPR-install-a-wall-light-fixture-1824654-hero_30261-1353b10ee7224533bf9051b8bf703b85.jpg)
Source: thespruce.com
What You’ll Need: Tools and Materials
Gather your tools first. This saves time and stress.
- Non-contact voltage tester to confirm power is off.
- Screwdrivers, both flat and Phillips, plus a small level.
- Wire stripper and needle-nose pliers.
- Wire connectors and electrical tape.
- Mounting hardware that came with the sconce.
- Stud finder and painter’s tape for marking.
- Old-work electrical box if you are adding a new box.
- Cable: 14/2 with ground for 15A circuits or 12/2 with ground for 20A, as required.
- Optional: fish tape, oscillating tool, and a small vacuum for clean cuts.
Check the fixture rating and dimmer compatibility. Confirm your wall type so you can pick the right anchors. This prep makes how to install a wall sconce light fixture fast and frustration-free.
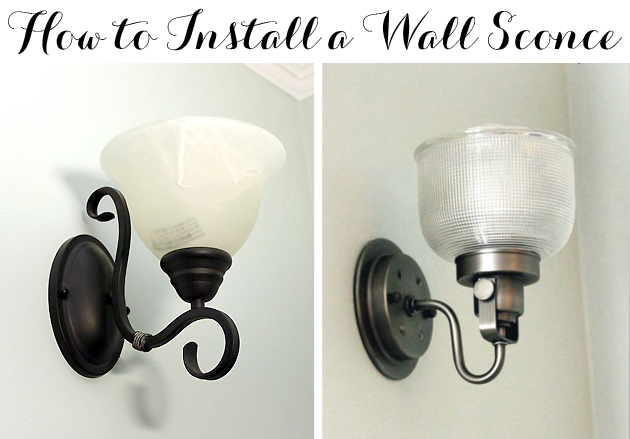
Source: prettyhandygirl.com
Safety and Code Basics
Turn off the correct breaker and lock it out if you can. Use a non-contact tester on every wire before you touch anything, even with the breaker off. Do not trust labels on old panels.
Know the basics. The National Electrical Code requires a listed junction box for hardwired fixtures. Ground the metal parts. Use the right cable size and connectors. In bathrooms, pick damp- or wet-rated fixtures as needed, and follow GFCI/AFCI rules.
I have seen wires look dead and then surprise a DIYer because a multi-wire branch shared a neutral. Always test hot-to-neutral and hot-to-ground. If anything looks odd, stop and call a licensed electrician. That is still part of how to install a wall sconce light fixture the right way.

Source: amazon.com
Plan the Location and Height
Height depends on use and style. For hallway or bedroom sconces, center the backplate 60 to 66 inches from the floor. For vanity sides, set the bulb center 60 to 65 inches high, and 28 to 36 inches apart. Keep at least a few inches of clearance from doors, drapes, and art.
Look for studs and plumbing. Avoid HVAC ducts. Use painter’s tape to mock the location and stand back. Turn on the room light to see glare and shadows. Good planning makes how to install a wall sconce light fixture feel easy and reduces rework.
:max_bytes(150000):strip_icc()/SPR-install-a-wall-light-fixture-1824654-step-06_30249-28d8f331c7fd4744bf44ab44feb5289a.jpg)
Source: thespruce.com
Power Source Options
Easiest path: tie into an existing switched junction box that already controls a nearby light. Next option: fish a new cable from a switch box or from an outlet on the same circuit, if permitted. You can also convert a plug-in sconce using a surface raceway kit for a clean, code-friendly look.
Running new cable may require a permit, fire blocking, and staples near the box. If you see aluminum wiring, knob-and-tube, or no ground, hire a pro. Safe power planning is step one in how to install a wall sconce light fixture.

Source: amazon.com
Step-by-Step: How to Install a Wall Sconce Light Fixture on an Existing Box
Follow these steps for a standard replacement or first-time mount on an existing box.
- Kill the power
Flip the breaker off. Test wires with a non-contact tester. Verify again at the box. - Remove the old fixture
Unscrew the canopy. Support it with one hand while you undo the wire connectors. Note how hot, neutral, and ground were connected. - Inspect the box and wiring
Confirm the box is tight and rated for fixtures. Check that insulation is intact. If your home is older, colors may vary. Do not proceed if you are unsure. - Prep the mounting bracket
Attach the bracket to the box with the provided screws. Keep the strap level. Adjust the screw posts to match the sconce canopy depth. - Connect the ground
Tie the fixture ground to the house ground and the green screw on the bracket. Use a pigtail if needed. All metal parts must be bonded. - Connect neutral and hot
Typically, white to white (neutral) and black to black (hot). Cap with listed connectors. For older wires, confirm function by testing, not by color. Tuck wires neatly into the box. - Mount the fixture
Slide the canopy over the posts. Hand-thread the decorative nuts. Snug them with care so you do not mar the finish. Check level before final tightening. - Install bulbs and shade
Use the correct wattage. LED bulbs run cooler and last longer. If you plan to dim, match bulb and dimmer types. - Restore power and test
Turn the breaker on. Check the switch. If the light flickers or does not turn on, shut off power, recheck your splices, and confirm the bulb.
That is the core of how to install a wall sconce light fixture. Take your time, keep wires neat, and do not force parts that do not align.
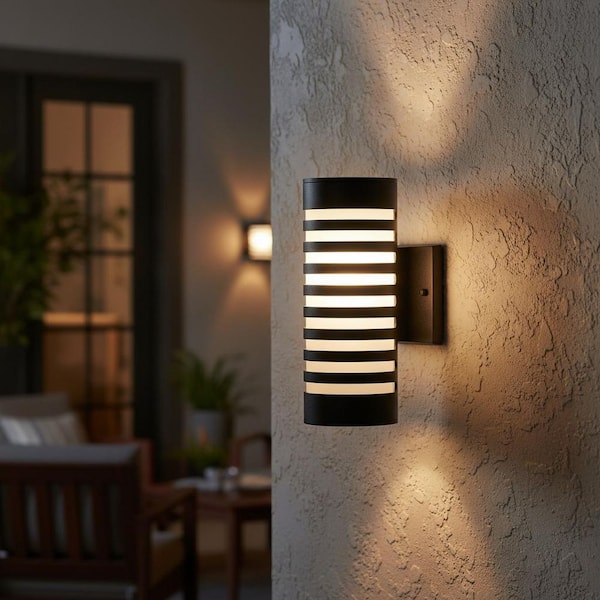
Source: homedepot.com
No Existing Box? Add One Safely
Use an old-work box listed for your wall type. Trace the box, score the outline, and cut carefully. Before cutting, scan for studs and pipes. I like to drill a small pilot hole and peek with a borescope when possible.
Fish cable from a permitted source. Staple within the required distance of the box and protect the cable from sharp edges. Obey box fill limits for the number of conductors and device yoke. If any part of this feels beyond your comfort, bring in a pro. Adding a box is still part of how to install a wall sconce light fixture, but it raises the bar on code and safety.

Source: amazon.com
Mounting to Hollow Walls, Tile, or Masonry
Hollow drywall needs support. If you cannot hit a stud, use toggles rated for the total fixture weight. Many sconces are light, but glass shades add surprise weight.
Tile needs diamond bits and patience. Drill slowly with tape to prevent walking. Masonry requires masonry anchors or Tapcons sized to the bracket. In damp or exterior areas, choose corrosion-resistant hardware and a listed fixture. These surfaces do not block how to install a wall sconce light fixture, but they change the anchors and drill bits you use.
:max_bytes(150000):strip_icc()/SPR-install-a-wall-light-fixture-1824654-step-02_30244-de21e567c39143208f0b5b3e7375fc26.jpg)
Source: thespruce.com
Finishing Touches: Bulbs, Dimming, and Smart Controls
Light quality matters. For living spaces, pick 2700K to 3000K for warm tone and CRI 90+ for color. For baths, even lighting reduces shadows on faces.
Match your dimmer to your bulb type. Many LED bulbs need an ELV or CL dimmer to avoid flicker. For smart control, use a smart switch or a smart bulb, but not both at once. These last steps polish how to install a wall sconce light fixture into a room upgrade you will love.

Source: amazon.com
Costs, Timeline, and When to Call a Pro
Expect 45 to 90 minutes for a simple swap on an existing box. Adding a new box and fishing cable can take 2 to 4 hours for a skilled DIYer. Materials are modest; labor is the bigger cost if you hire out.
Call a pro if you see aluminum wiring, brittle insulation, no ground, or mystery cables. Also call if you cannot shut off the circuit, or if multiple switches confuse the plan. Knowing your limits is part of how to install a wall sconce light fixture with confidence and care.
Frequently Asked Questions of how to install a wall sconce light fixture
Do I need a junction box for a sconce?
Yes. Hardwired fixtures must mount to a listed electrical box. Do not bury splices in walls or behind the fixture canopy.
What height should I mount wall sconces?
For most rooms, center the backplate 60 to 66 inches from the floor. For vanity sides, aim for bulb centers 60 to 65 inches and space them 28 to 36 inches apart.
Can I wire a sconce from a light switch?
Often yes, if the switch has both hot and neutral present. Many older switches only have a switch loop, so you may need to pull a neutral or source power elsewhere.
Which wire is hot, and which is neutral?
Typically black is hot and white is neutral, with bare or green as ground. In old homes, colors can mislead; test each conductor with power off and then verify with a meter.
Do I need a permit to add a new sconce?
A simple replacement usually does not, but adding a new box or running cable may. Check your local building department for exact rules.
Can I install a sconce on plaster or lath walls?
Yes, with care. Use an old-work box made for lath and proper anchors, and drill slowly to avoid cracking.
What dimmer should I use for LED sconce bulbs?
Use a dimmer listed for LEDs and for the load type your fixture needs, such as ELV or CL. Check both the dimmer and bulb compatibility charts.
Conclusion
You now know how to install a wall sconce light fixture from plan to polish. Turn off power, test, mount the bracket, make clean splices, and set the right height. Add the right bulb and dimmer, and your room will shine.
If you feel unsure at any step, call a licensed electrician. Ready to try it? Pick your spot, gather your tools, and make the upgrade today. Want more guides like this? Subscribe for weekly how-tos, or leave a comment with your next project.

Table of Contents