Assemble a storage rack by sorting parts, leveling posts, securing shelves, and anchoring.
You are in the right place if you want a clear, reliable guide on how to assemble storage rack units like a pro. I have built hundreds of racks in garages, closets, and small warehouses. In this step-by-step guide, I will show you how to assemble storage rack systems of different types with safe, simple steps, expert tips, and common mistakes to avoid. Read on to save time, avoid wobble, and build a rack that lasts.

What you need before you start
Gather tools and gear first. It makes the job quick and safe.
- Tape measure, marker, and a small level
- Rubber mallet and a socket set
- Screwdriver and an adjustable wrench
- Safety glasses and work gloves
- Shims for leveling on uneven floors
- A stud finder and a hammer drill if you will anchor to concrete
Also collect your rack parts. Count every piece before you start. You will need posts, beams or shelves, nuts and bolts if any, feet or casters, and shelf liners if used. This prep is a core step in how to assemble storage rack systems without stress.
Safety first
Put on gloves and glasses. Sharp edges can cut skin. Heavy parts can drop on toes. Check the rated load in the manual. Never guess. When you learn how to assemble storage rack units, plan to anchor tall racks to a wall or floor. This reduces tip risk and sway.

Understand your rack type
Not all racks go together the same way. Know your type before you start.
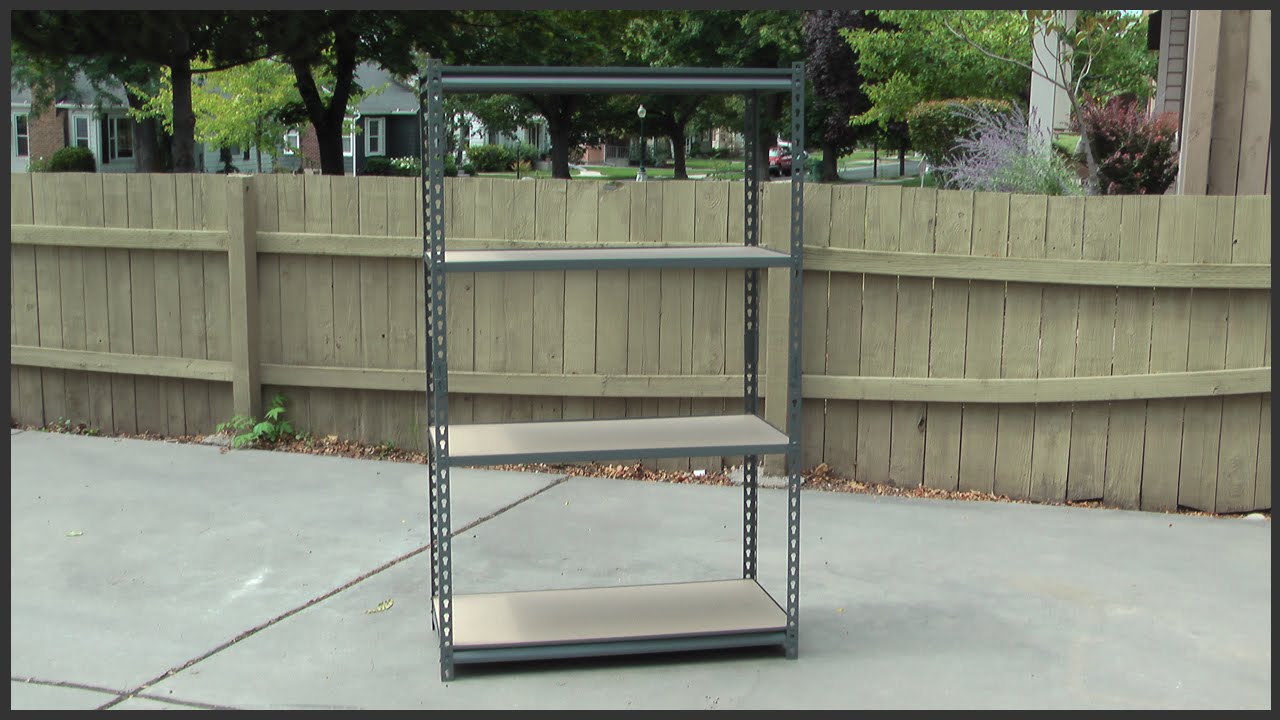
- Boltless rivet rack. Uses keyhole posts and rivet beams. Taps together with a mallet. Great for garages.
- Wire shelving rack. Uses round posts, split sleeves, and wire shelves with collars. Fast, light, and clean.
- Bolted steel rack. Uses angle posts with nuts and bolts. Strong and modular, but slower to build.
- Pallet rack. Heavy duty. Often needs anchors, shims, and strict clearances. Check your local code first.
When people ask how to assemble storage rack without hassle, the best tip is to match your steps to your rack type.

Unbox and check parts
Open all boxes. Lay parts out by type and size. Compare to the parts list. I like to label stacks with sticky notes. This keeps things calm once you start. Missing a single sleeve or nut can stall the build. How to assemble storage rack right starts with a full count.
Step-by-step: the universal setup
These steps apply to most units. Adjust for your model.
- Plan the spot. Measure height, width, and depth. Check door swings and outlets.
- Clear the floor. Sweep dust so shims grip well. A clean floor gives you a true level.
- Build near the final spot. Large racks are hard to move when built.
- Dry fit the first tier low. Do not tighten yet. This gives you wiggle room.
- Square the frame. Measure diagonals. Make them equal to square the bay.
- Level the base. Add shims under feet until the level reads true.
- Add more tiers. Work from bottom to top. Keep checking level and square.
- Tighten all joints to spec. Do not over-torque. Stripped threads lose strength.
- Anchor if needed. Use proper anchors for your wall or floor material.
- Load test light. Place a few bins. Watch for sway. Fix before full load.
This is the simple core of how to assemble storage rack units that feel solid.

Step-by-step: boltless rivet rack
This is the classic garage shelf with keyholes and rivets.
- Insert feet or caps on posts.
- Build two posts with front and back beams for the bottom tier. Seat rivets into keyholes. Tap with a mallet until snug.
- Add side braces if your kit has them.
- Set the bottom shelf board or steel deck. Check level.
- Repeat for each tier. Keep tiers the same height left to right.
- Square the frame. Measure diagonals and adjust beams if needed.
- Add middle braces if included. They stop shelf sag.
- Tighten any locking pins or clips.
- Anchor the unit if it is tall or on a slick floor.
If you wonder how to assemble storage rack fast, rivet racks are the easiest once you learn the tap-in feel. A soft mallet swing is key. Too hard and you can deform the slot.

Step-by-step: wire shelving rack
Wire racks are quick and clean. They shine in kitchens and closets.
- Snap split sleeves onto posts at the same height marks. The thick side faces up.
- Slide the first shelf down over the posts until it seats on the sleeves.
- Stand the unit up. Adjust sleeve height if the shelf is not level.
- Add sleeves for the next shelf. Slide the shelf down to seat. Press by hand or tap gently.
- Repeat for all tiers. Check level after each shelf.
- Add feet or casters. Lock casters if used.
- Install shelf liners if needed for small items.
This is one of the most popular ways on how to assemble storage rack when speed matters. Watch that sleeves click fully. A half seat leads to drops later.

Step-by-step: bolted steel rack
This type uses angle posts and many nuts and bolts. It is strong and precise.
- Sort bolts, nuts, and corner plates.
- Build two L-shaped corner posts first. Finger tighten bolts only.
- Bolt lower shelf angles between the posts. Use the same hole height on all corners.
- Square the frame. Tighten a little. Check level.
- Add the deck panels or boards. Then add the next tier.
- Once all tiers are in, tighten in a star pattern. Do not tighten one corner all the way at once.
- Add diagonal braces if the kit has them. This cuts sway.
- Anchor to wall studs or concrete if the unit is tall.
For anyone learning how to assemble storage rack that will hold heavy bins, this style is great. It takes longer but rewards patience.

Leveling, anchoring, and squaring
A solid rack starts with level and square. Place a level front to back and side to side. Shim under feet until both read true. Check diagonals. Equal diagonals mean square. To anchor into concrete, drill, blow out dust, and use rated anchors. For studs, use lag screws into the center of the stud. This is a key step in how to assemble storage rack that feels rock solid.
Load planning and safe use
Know your load per shelf and per unit. Ratings assume even loads. Keep heavy bins low. Keep light stuff high. Leave a small back gap if you anchor to a wall to avoid rubbing. Do not climb on shelves. If you need a step, use a stool. Good load plans are part of how to assemble storage rack and keep it safe for years.
Maintenance and troubleshooting
Give the rack a quick check each season.
- Look for loose bolts or pins. Re-tighten to spec.
- Watch for rust. Touch up with paint or replace parts.
- Check shelves for sag. Add center supports or lower the load.
- If the rack sways, add braces, anchors, or adjust shims.
Knowing how to assemble storage rack also means you know how to keep it tight over time.
Common mistakes I see (and how to avoid them)
I have seen many small slips that cause big headaches.
- Skipping the parts count. You lose time mid-build when one sleeve is missing.
- Building the full rack, then trying to move it. Build near the final spot.
- Mixing shelf heights. Mark height lines on posts before you start.
- Over-tightening bolts. You crush thin steel and weaken it.
- Skipping anchors on tall units. A bump can tip a loaded rack.
These fixes are simple and save you hours. This is the real-world side of how to assemble storage rack like a pro.
Time, cost, and pro tips
Time and cost vary by type and size.
- Wire racks. One person, 20 to 40 minutes.
- Boltless rivet racks. One person, 30 to 60 minutes.
- Bolted racks. Two people, 60 to 120 minutes.
Pro tips that make how to assemble storage rack go smooth:
- Use painter’s tape as height guides on posts.
- Keep a small square in your pocket. Check as you go.
- Lay shelf boards in the sun for a bit if they are bowed. Warmth helps them sit flat.
- If the floor is sloped, build the rack level, then trim thick shims for a clean look.
Frequently Asked Questions of how to assemble storage rack
What is the easiest type for beginners?
Wire shelving is the easiest. Sleeves snap on, shelves slide down, and it levels fast.
Do I need to anchor a storage rack?
Anchor tall racks or racks with heavy loads. Anchors cut sway and lower tip risk.
Can I assemble a rack alone?
Yes for most wire and rivet racks. For tall or bolted racks, a helper makes it safer and faster.
How do I know the right shelf height?
Measure your bins and add an extra inch. Mark all posts so each shelf sits at the same height.
What if my floor is uneven?
Use shims under the feet and check with a level. Anchor after it is level and square.
Can I mix wood and wire shelves?
Yes, if your rack supports both. Check the manual and do not exceed the rated load.
How tight should bolts be?
Snug plus a quarter turn is a safe rule. Do not crush the metal or strip threads.
Conclusion
You now know how to assemble storage rack systems with clear steps, smart checks, and safe habits. Pick the right type, count parts, square as you go, level well, and anchor when needed. Small steps make a big difference in strength and life.
Set aside an hour, follow the steps, and enjoy a clean, sturdy space. If this helped, share it with a friend, subscribe for more simple build guides, or leave a comment with your rack type and any snags you hit.

Table of Contents