There’s something magical about pulling a perfectly golden, flaky biscuit out of a cast iron pot while the campfire crackles in the background. If you’ve ever tried baking biscuits at home and thought, “I could never do this outdoors,” I’m here to tell you, you absolutely can. In fact, once you master the technique, you’ll wonder why you ever bothered with the indoor oven.
Dutch oven biscuits are a camping tradition for good reason. They’re hearty, comforting, and surprisingly simple to make once you understand the basics. Whether you’re a seasoned camper or a backyard cooking enthusiast, this guide walks you through every step, from choosing the right pot to nailing the perfect heat distribution.
So grab your cast iron, roll up your sleeves, and let’s make some biscuits.
Why Dutch Oven Biscuits Taste Better
Let’s be honest, Dutch oven biscuits are not just “camping food.” They’re a genuinely superior product. The thick cast iron walls hold heat like a fortress. That heat wraps around the dough evenly, creating a beautiful, crispy crust while keeping the inside soft and steamy.
You also get that subtle smokiness from the coals. It’s not overpowering, but it’s there, a faint, woody undertone that makes every bite feel like a reward after a long day outside. Store-bought biscuits from a tin can simply cannot compete.
Plus, there’s the ritual. Mixing the dough, arranging the coals, waiting patiently, and then lifting the lid to reveal that golden masterpiece. It’s food that comes with a story, and that story makes it taste better.
Choosing the Right Dutch Oven for Biscuits
You can technically bake biscuits in any Dutch oven, but some work better than others. Here’s what you need to look for.
Size Matters
A 10-inch or 12-inch Dutch oven is the sweet spot for biscuits. A 10-inch will hold about 8 to 10 biscuits, while a 12-inch can handle 12 to 14. If you’re cooking for a crowd, go bigger.
Just remember, larger ovens need more coals to maintain temperature.
Legs and Rim
The three little legs on the bottom are not decorative. They lift the pot above the coals, creating a gap for airflow. That gap prevents scorching and helps distribute heat more evenly.
The lid rim is equally important. That raised lip around the edge is designed to hold hot coals on top. Without it, your coals would slide right off.
For baking, you need this rim. It allows you to put heat on the top and the bottom simultaneously, which is exactly what biscuits require.
Seasoning
If your Dutch oven is new, don’t skip the seasoning process. A well-seasoned pot is naturally non-stick. If the interior looks dull or slightly rusty, wash it, dry it thoroughly, and rub a thin layer of vegetable oil over every surface.
Heat it upside down over a campfire or in your kitchen oven at 350°F for about an hour. Let it cool, and you’re ready to bake.
The Essential Ingredients for Dutch Oven Biscuits
Great biscuits don’t need fancy ingredients. In fact, the simpler, the better. Here’s your shopping list.
- 2 cups all-purpose flour, self-rising flour also works; just skip the baking powder and salt if you go that route.
- 1 tablespoon baking powder, make sure it’s fresh, or your biscuits will be flat and dense.
- 1 teaspoon salt, kosher salt is fine, but reduce the amount if you use salted butter.
- 1/4 cup cold butter, cubed. Unsalted gives you more control over the final flavor.
- 3/4 cup cold buttermilk, cold liquid is non-negotiable. Warm buttermilk melts the butter before baking, which ruins the flaky layers.
- 1 tablespoon honey or sugar, optional, but it adds a subtle sweetness that balances the salt.
That’s it. No eggs, no yeast, no complicated additions. Six ingredients stand between you and biscuit greatness.
Preparing Your Dough Like a Pro
The secret to flaky biscuits is cold butter and minimal handling. Forget everything you’ve seen about kneading dough for ten minutes. That’s for bread.
Biscuits need a gentle touch.
Start by combining your dry ingredients in a large bowl. Whisk them together so the baking powder and salt are evenly distributed. Now add your cold, cubed butter.
Using your fingertips or a pastry cutter, work the butter into the flour until the mixture looks like coarse sand with a few pea-sized butter lumps still visible. Those lumps are gold, they melt during baking, creating steam pockets that become those beautiful flaky layers.
Pour in the cold buttermilk and stir with a fork until the dough just comes together. It will look shaggy. That’s correct.
Turn it out onto a lightly floured surface and pat it into a rectangle about an inch thick. Fold it over itself once or twice if you want extra layers. Then cut your biscuits using a round cutter, or the rim of a drinking glass if you’re roughing it.
Pro tip: Do not twist the cutter. Press straight down. Twisting seals the edges and prevents the biscuits from rising properly.
The Science of Heat: Arranging Coals for Perfect Baking
This is where most people fail. They pile coals under the pot and call it a day, then end up with burnt bottoms and raw tops. You need heat on both sides, but not equal amounts.
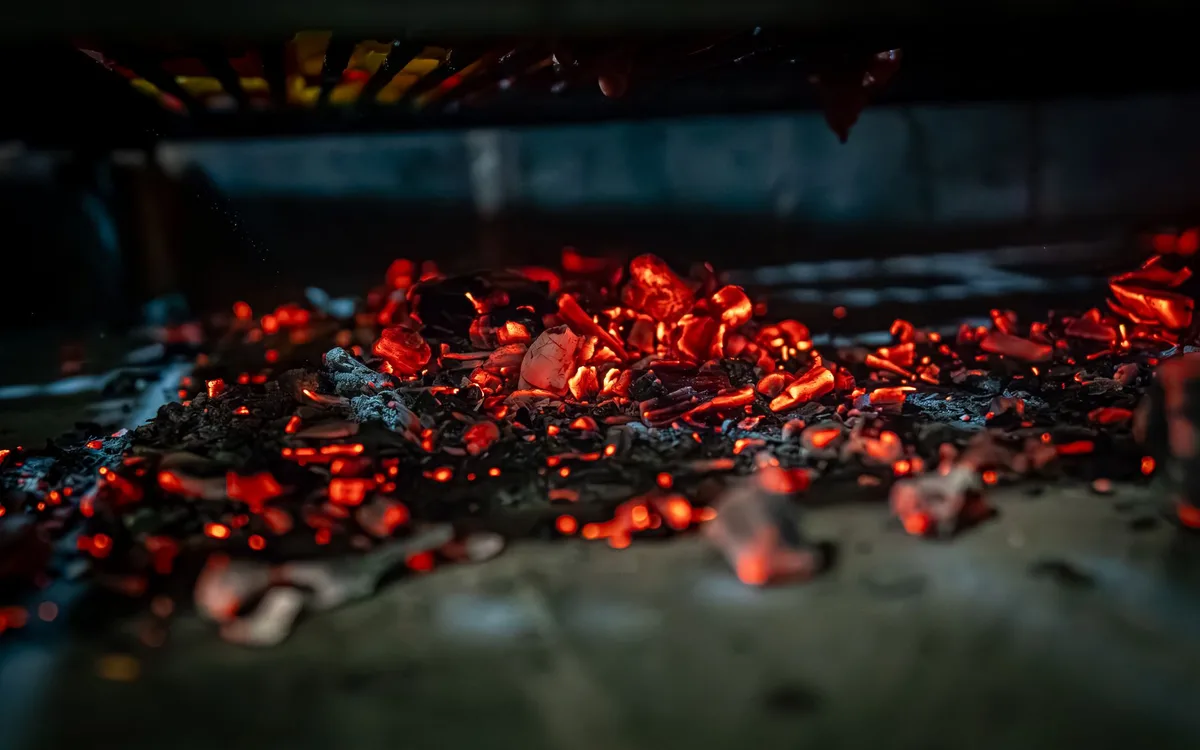
Image source: Pexels / Sergio Arteaga (Pexels License)
A good rule of thumb for baking is two-thirds of your coals on top and one-third underneath. Why? Heat rises.
If you put too many coals underneath, the bottom of the biscuits will cook first and burn before the tops have a chance to brown.
Here’s a practical guide based on Dutch oven size:
| Dutch Oven Size | Coals Underneath | Coals on Top |
|---|---|---|
| 10-inch | 8-9 coals | 16-18 coals |
| 12-inch | 10-12 coals | 20-24 coals |
| 14-inch | 12-14 coals | 24-28 coals |
These numbers assume you’re using standard-size charcoal briquettes. If you’re using wood coals from a campfire, add a few extra since they burn hotter but less consistently.
How to Know When You’ve Nailed the Temperature
A Dutch oven running at the right temperature is around 350°F (175°C). But you don’t need a thermometer to check. Every experienced camp cook eventually develops the “hand test.”
Here’s how to do it: Hold your hand about three inches above the center of the oven lid. Count how long you can keep it there comfortably.
- 2 seconds, too hot. Pull a few coals off.
- 4-5 seconds, perfect. This is your baking zone.
- 7+ seconds, too cool. Add more coals.
Fatigue isn’t your friend here. Re-check the temperature every 10 minutes or so, as coals burn down and lose intensity.
Step-by-Step: How to Make Biscuits in a Dutch Oven
Now comes the main event. Here’s your complete sequence for baking picture-perfect biscuits over an open flame.
Step 1: Fire Up Your Coals
If you’re using a charcoal chimney, light it about 20 minutes before you’re ready to bake. The coals should be glowing with a light gray ash coating, that’s the point where they’re producing steady, even heat. If you’re using campfire embers, gather the hottest ones into a pile at the edge of the fire.
Step 2: Prep Your Dutch Oven
Line the bottom of your Dutch oven with a round piece of parchment paper. This step is optional but saves you from a serious scrubbing session later. If you skip the parchment, make sure your oven is well-seasoned and lightly dusted with flour.
Step 3: Arrange Your Biscuits
Place your raw biscuits evenly across the bottom. Leave about half an inch of space between each one, they’ll expand as they bake. If you’re making drop biscuits, just spoon the dough directly into the pot.
They’ll come out slightly less uniform but still delicious.
Step 4: Position the Coals
Set your Dutch oven on a stable, heat-safe surface. Place the bottom coals in a circle around the edge of the pot’s base, leaving the center slightly bare. This prevents the middle of the biscuits from scorching.
Lid goes on. Now pile the top coals across the lid in an even layer. Try to cover the whole surface, those peak heat zones will give you an unevenly browned top.
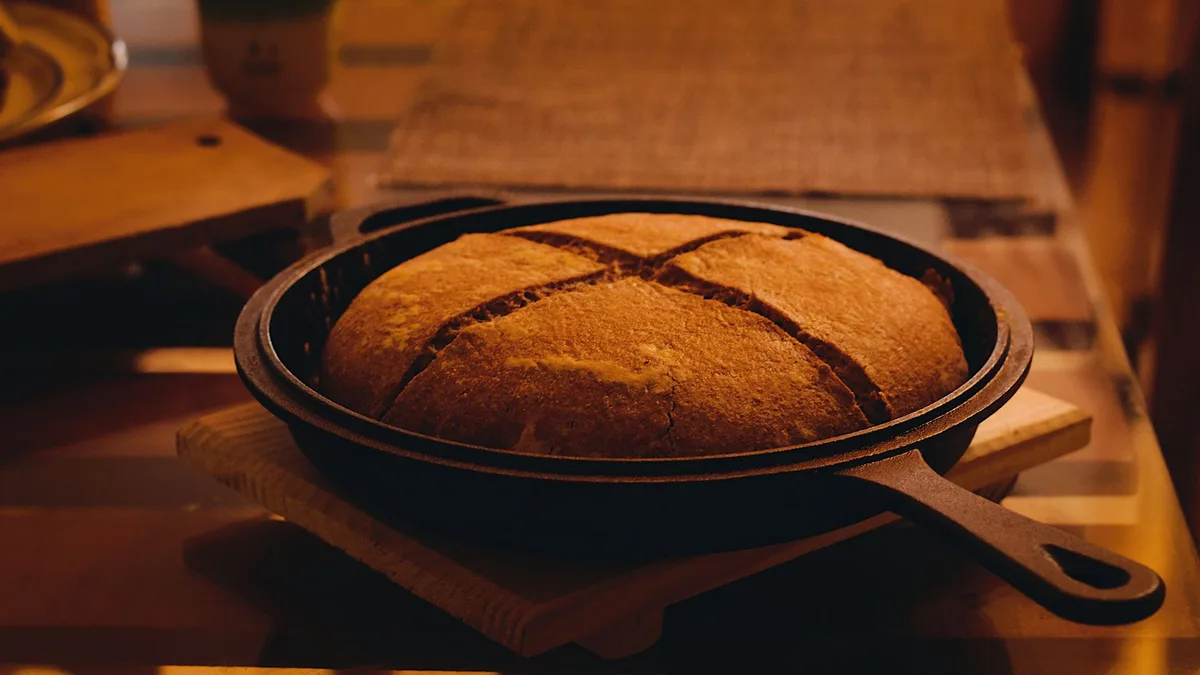
Image source: Pexels / Silva Montanis (Pexels License)
Step 5: Rotate for Even Baking
After 8-10 minutes, rotate the whole pot 90 degrees clockwise. Then use a lid lifter to rotate just the lid 90 degrees in the opposite direction. This cross-rotation ensures your biscuits bake evenly, even if the coals burn slightly hotter on one side.
Step 6: Check Doneness at the 12-Minute Mark
Peek inside. Your biscuits should be puffed up and just starting to turn golden. Keep the lid off for only a few seconds, you don’t want to lose the heat you’ve worked so hard to build.
Step 7: Pull Them at Perfect Golden Brown
Total baking time typically falls between 15 and 20 minutes. The exact time depends on coal temperature and biscuit size. When the tops are a deep golden brown and the sides pull away slightly from the pot, they’re done.
Let them rest in the pot for about 2 minutes with the lid off. They’ll continue cooking from residual heat, and the short rest sets the structure. Serve immediately with butter, jam, honey, or gravy.
Troubleshooting Common Dutch Oven Biscuit Problems
Not every first attempt produces Instagram-worthy results. Here’s how to fix the most common issues.
The Bottoms Are Burnt, but the Tops Are Pale
Classic mistake. Too many coals underneath. Your pot was running too hot near the base.
Next time, reduce the bottom coals by a third and add those to the top instead.
The Biscuits Are Dense and Heavy
Overworked dough is the usual culprit. Whether you kneaded it too long or stirred it too vigorously, the gluten overdeveloped, turning your biscuits into hockey pucks. Next time, handle the dough only until it barely comes together.
Also check your baking powder, if it’s old, it won’t produce enough lift.
The Biscuits Are Dry
This usually means the oven ran too hot or the biscuits baked too long. Reduce your coal count next time. You can also add a tablespoon of buttermilk to your dough if it feels too crumbly before baking.
The Outside Is Cooked, but the Center Is Doughy
Your oven might be running too hot on the outside while the center lags behind. Add a few coals around the outside edge of the bottom, but keep the center clear. Also, make sure your biscuits are evenly spaced so heat can circulate around each one.
Cold Weather Camping Tips for Dutch Oven Biscuits
Baking biscuits at altitude or in freezing weather changes the math. Here’s how to adapt.
At elevations above 5,000 feet, leavening agents work differently. The lower atmospheric pressure means the baking powder expands faster, which can cause biscuits to rise and then collapse. Reduce your baking powder by about 1/4 teaspoon per cup of flour.
You might also need to add a little extra buttermilk, as dry mountain air draws moisture out of your dough.
In cold weather, your dough will be stiffer. Let it sit at room temperature for 15 minutes before cutting your biscuits. Also plan for longer baking times, cold air steals heat from the Dutch oven faster.
Add a few extra coals on top to compensate.
Storing and Reheating Your Dutch Oven Biscuits
Fresh biscuits are best, no argument there. But leftovers happen.
If you’re at camp, store the biscuits in a zip-top bag with a paper towel inside. The paper towel absorbs excess moisture and keeps the biscuits from getting soggy. They’ll stay good for about 24 hours.
To reheat, wrap each biscuit in aluminum foil and place it near the fire for 5-6 minutes. Or slice them in half and toast them over the grill grate. They won’t be quite as soft as fresh, but they’ll still beat a sad granola bar.
If you’re at home, store biscuits in an airtight container in the fridge for up to 3 days. Reheat in a 300°F oven for 8-10 minutes.
Why These Techniques Work: The Science Behind the Method
You don’t need to be a food scientist to make great biscuits, but understanding why this method works will help you adjust when things go wrong.
The butter in your dough is the star of the show. When that cold butter hits the heat of your Dutch oven, it melts and releases steam. That steam gets trapped between the layers of dough, pushing them apart and creating the airy, flaky structure you want.
This process is called “lamination”, and it only works if your butter stays cold until the moment of baking.
The heavy cast iron lid of a Dutch oven does something your home oven can’t, it radiates infrared heat down onto the top of the biscuits. That direct radiant heat is what gives you the beautiful, deep browning on the biscuit tops. It also creates a mini steam chamber inside the pot, which keeps the biscuits moist as they bake.
For a deeper dive into the chemistry of baking with cast iron, the USDA’s food safety guidelines emphasize maintaining consistent cooking temperatures to avoid undercooked centers, the same principle applies to campfire baking.
Final Thoughts
Dutch oven biscuits are one of those skills that, once mastered, earn you legendary status around any campfire. The process looks intimidating at first, coals on the lid, rotating the pot, guessing temperatures, but it’s honestly just a matter of getting a feel for it.
Start with the basic recipe. Use cold butter. Keep your coals at a 2:1 ratio between top and bottom.
Rotate the pot halfway through. Within a few tries, you’ll have a reliable method that produces beautiful, golden biscuits every single time.
And once you’ve got the hang of that, you can start experimenting, cheddar and chives, blueberry and lemon zest, even a sweet cinnamon-sugar version for breakfast. The Dutch oven is your canvas. The biscuits are just the beginning.

Table of Contents