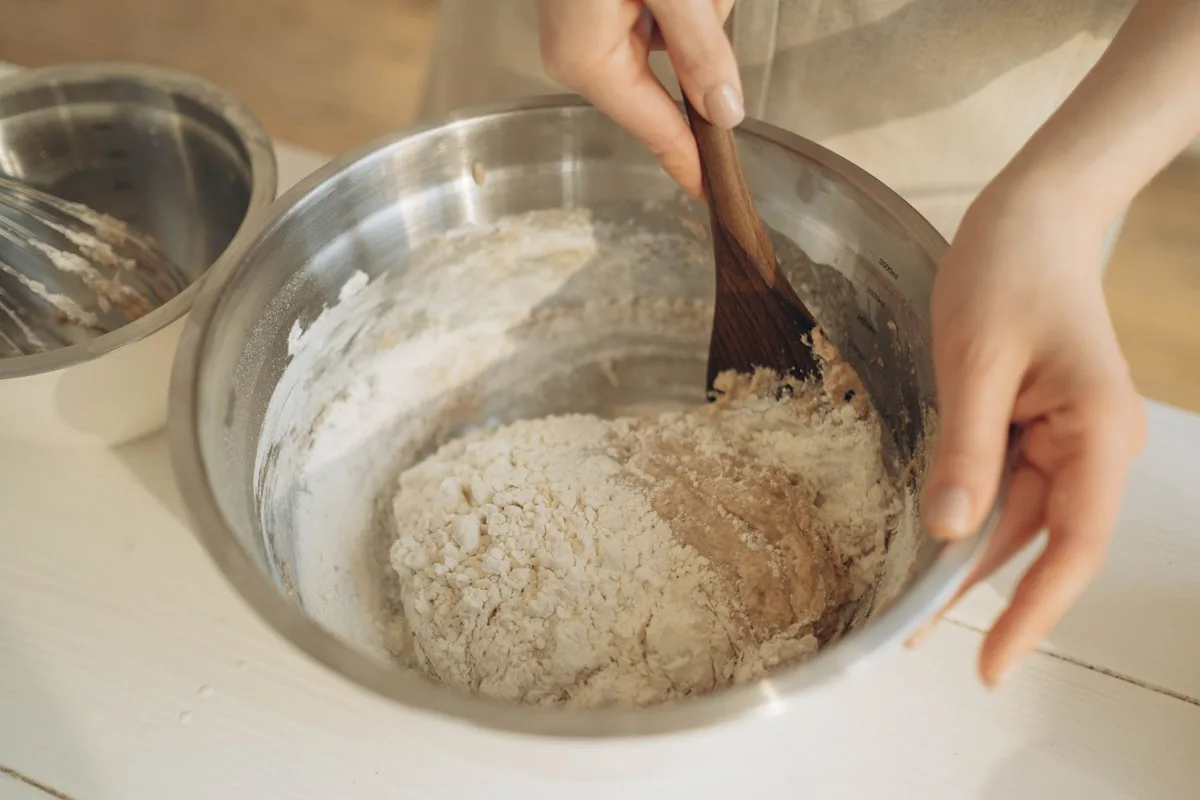
Image source: Pexels / Ron Lach (Pexels License)
What Is a Dough Whisk?
A dough whisk looks like a stiff, oversized fork with a looped head. The wires are thick enough to cut through heavy batter but flexible enough to scrape the bowl clean. It replaces a wooden spoon, a stand‑mixer paddle, and even your hands for most mixing jobs.
I keep one in every kitchen because it turns a sticky, shaggy mass into a smooth dough in seconds.
The tool originated in European bakeries where bakers needed a single implement that could handle rye, whole‑grain, and high‑hydration doughs without over‑working gluten. Today you’ll find it in home kitchens, professional test kitchens, and even on the bench of a pizza maker who swears by the “Danish whisk” name. King Arthur Baking calls it “the most underrated tool in a baker’s drawer” and recommends it for everything from sourdough to cookie dough (King Arthur Baking, dough whisk guide).
How to Use a Dough Whisk: Step-by-Step Technique
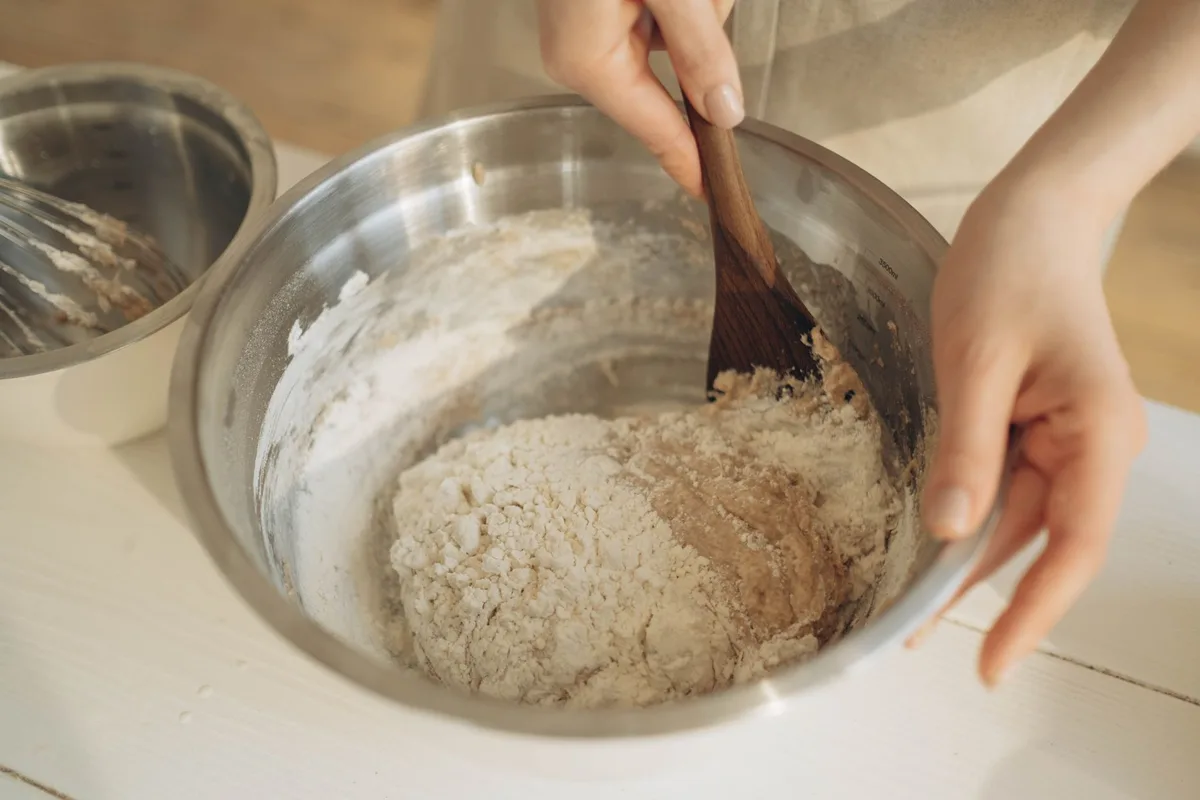
Image source: Pexels / Ron Lach (Pexels License)
- Gather ingredients, Measure flour, water, salt, yeast, and any add‑ins. Keep water at the temperature the recipe calls for; a few degrees off can change fermentation speed.
- Combine dry ingredients, Dump flour, salt, and yeast into a large bowl. Give the whisk a quick spin to disperse the yeast.
- Add water, Pour the measured water in a steady stream while you rotate the whisk. The looped head pulls the flour into the liquid, preventing dry pockets.
- Mix until shaggy, Stop when the mass looks ragged and no dry flour remains. This usually takes 30‑45 seconds.
- Rest (autolyse), Cover the bowl and let it sit 20‑30 minutes. The flour hydrates fully and gluten begins to align on its own.
- Develop gluten, Return to the bowl. Push the whisk down, then lift and fold the dough over itself. Repeat 8‑12 times. You’ll feel the dough tighten and become elastic.
- Incorporate add‑ins, Nuts, seeds, dried fruit, or cheese go in now. A few more folds distribute them evenly without crushing.
- Shape or bulk ferment, Transfer the dough to a lightly oiled container for bulk rise, or shape directly if the recipe calls for a single‑proof loaf.
Pro tip: Keep the whisk moving in a “cut‑and‑fold” motion rather than stirring in circles. The cut slices through the dough; the fold stretches it. This mimics the action of a stand‑mixer’s dough hook but with far less friction heat.
Why a Dough Whisk Beats a Spoon or Hands
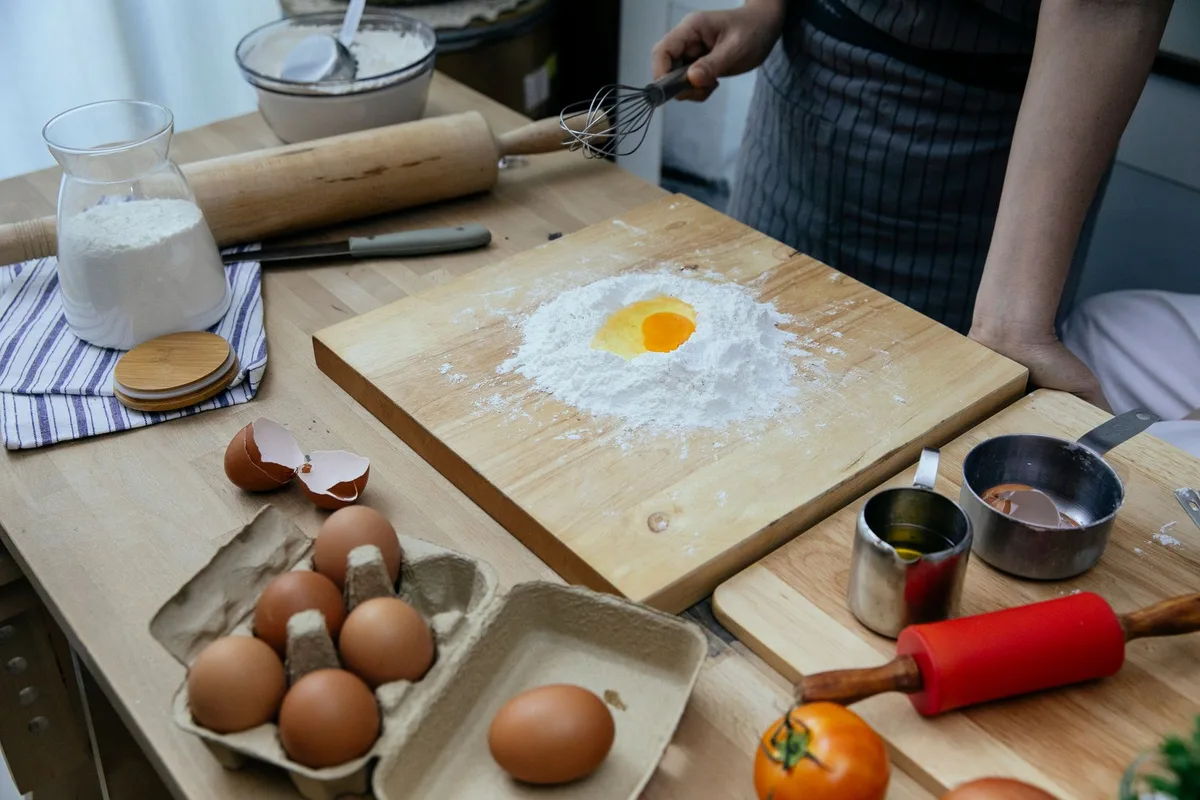
Image source: Pexels / Katerina Holmes (Pexels License)
A wooden spoon drags. It pushes flour around the bowl, leaving streaks that later become dense spots in the crumb. Hands work, but they warm the dough, accelerate fermentation, and can over‑hydrate sticky batches.
The whisk solves both problems:
- Speed, One minute of whisking replaces five minutes of hand‑kneading for most lean doughs.
- Temperature control, Metal wires conduct heat away from the dough, keeping it in the ideal 75‑78 °F window.
- Cleanup, Dough releases from the wires with a quick rinse; no sticky fingers, no spoon‑shaped residue.
- Versatility, The same whisk handles batter, pancake mix, and even thick cookie dough without switching tools.
Research from the University of Nebraska‑Lincoln Extension shows that mechanical mixing with a low‑shear tool like a dough whisk produces gluten networks comparable to a stand mixer, but with 30 % less oxidative damage to carotenoids in whole‑grain flour (UNL Extension, dough mixing science).
Tips for Better Results
- Use a wide bowl, A 5‑quart mixing bowl gives the whisk room to swing.
- Don’t over‑hydrate, Add the last 10 % of water only if the dough feels tight after the autolyse.
- Work in batches, For recipes over 2 kg flour, split the mix; the whisk loses leverage on massive volumes.
- Oil the whisk lightly, A spray of neutral oil prevents ultra‑sticky dough from clinging to the wires.
- Rest between folds, A 30‑second pause lets gluten relax, making the next fold smoother.
Common Mistakes to Avoid
- Stirring in circles, This creates a vortex that traps air and leaves unmixed flour.
- Skipping the autolyse, You’ll fight a tighter dough and need more folds.
- Using a thin whisk, Light wire whisks bend under heavy dough; invest in a sturdy stainless model.
- Adding salt after yeast, Salt can inhibit yeast if it sits directly on the granules; mix dry first.
- Neglecting bowl scraping, The looped head reaches the bottom, but a quick silicone spatula pass guarantees no flour pockets.
Cleaning and Care
Rinse the whisk under hot water immediately after use. A soft brush removes any dough stuck in the wire joints. Dry thoroughly to prevent rust on carbon‑steel models.
Store hanging or in a drawer where the wires won’t bend. With minimal care a good dough whisk lasts decades, mine is a 15‑year veteran and still turns sourdough into silk.
A dough whisk is the single tool that bridges the gap between hand mixing and a stand mixer. Master the cut‑and‑fold rhythm, respect the autolyse, and you’ll produce bakery‑quality crumb every time. Grab the whisk, trust the process, and watch sticky flour become living dough in minutes.

Table of Contents