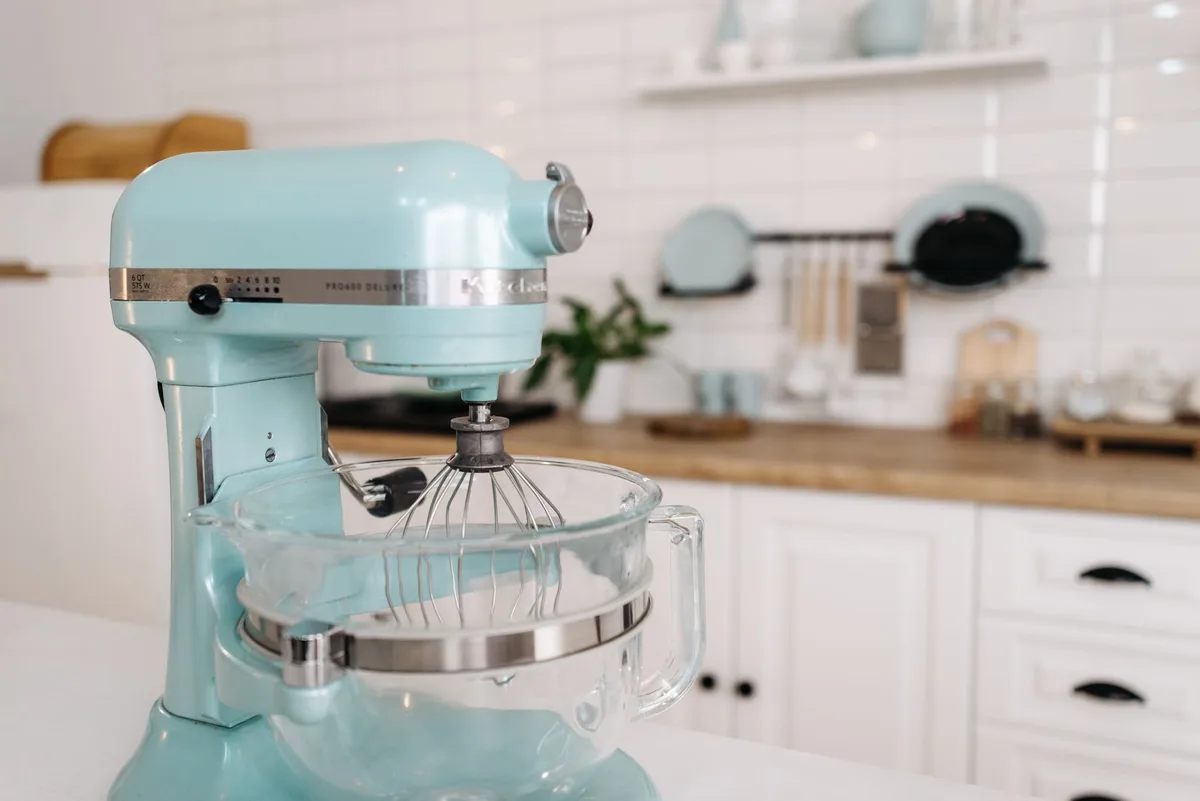
Image source: Pexels / Pavel Danilyuk (Pexels License)
You spent good money on that stand mixer. It’s a workhorse. It kneads dough, whips cream, and mixes batter like a champ.
But here’s the thing: how you store it between bakes determines whether it lasts ten years or thirty.
I’ve owned three stand mixers over the past two decades. I’ve made every storage mistake in the book. I’ve left one on the counter collecting dust.
I’ve crammed another into a cabinet so tight the finish chipped. I’ve stored attachments loose in a drawer where they clanged around like loose change.
Don’t do what I did.
This guide covers everything you need to know about storing a stand mixer properly. We’ll talk about counter storage, cabinet storage, attachment organization, bowl care, and the one thing most people forget until it’s too late.
Let’s get into it.
Why Proper Storage Matters More Than You Think
A stand mixer isn’t cheap. The most popular models run anywhere from $300 to $700. That’s an investment.
And like any mechanical device, it’s vulnerable to dust, moisture, heat, and physical damage.
Storing it wrong can cause several real problems.
Dust and grime buildup. Leaving it uncovered on the counter for weeks between uses lets airborne flour, grease, and dust settle into the motor vents. Over time, that buildup restricts airflow. The motor runs hotter.
It wears out faster.
Moisture damage. Kitchens are humid places. Steam from boiling pasta, moisture from the dishwasher, humidity from cooking all day, it all floats through the air. If your mixer sits in a damp spot, moisture can seep into the motor housing.
That’s a recipe for rust and electrical problems.
Physical damage. Dropping a heavy bowl on the mixer base. Banging the beater arm against the wall of a too-small cabinet. These things scratch, dent, and loosen components.
Lost attachments. Nothing frustrates me more than needing the dough hook and spending five minutes digging through a drawer of random kitchen tools. Proper storage means everything has a home.
The core principle is simple: keep your mixer clean, dry, stable, and accessible. Everything else is just details.
Choosing the Right Location
Before you decide how to store it, decide where. This matters more than most people realize.
Countertop Storage
Leaving the mixer on the counter is the most convenient option. You use it more when it’s visible. You don’t have to lug it out of a cabinet every time a recipe calls for cookies.
Pros:
- Always ready to go
- Encourages more frequent use
- No heavy lifting from low cabinets
- Easy to spot-clean when needed
Cons:
- Takes up valuable counter space
- Exposed to kitchen grease and splatter
- Collects dust if unused for days
- Can look cluttered
My recommendation: If you bake even once a week, keep it on the counter. Just cover it. We’ll talk about covers in a minute.
Cabinet or Pantry Storage
Tucking the mixer into a lower cabinet or pantry saves counter space. It keeps it out of sight and out of the dust.
Pros:
- Clears your countertops
- Protects from grease and splatter
- Keeps the kitchen looking clean
- Safer from accidental bumps
Cons:
- Heavy to lift in and out
- Easy to neglect using it
- Risk of banging into cabinet walls
- Hard to see attachments
My recommendation: If you only bake a few times a month, cabinet storage works fine. Just make sure the cabinet is deep enough and at a comfortable lifting height.
Dedicated Appliance Garage
I used to think appliance garages were a gimmick. Then I installed one. It’s a cabinet with a roll-top door designed to store countertop appliances.
It hides the mixer but keeps it accessible.
Pros:
- Keeps the mixer accessible and visible
- Protects from dust
- Blends with kitchen design
- No heavy lifting
Cons:
- Requires cabinet space and installation
- Can be expensive to retrofit
- May not fit larger mixers
My recommendation: If you’re remodeling a kitchen, add an appliance garage. It’s the best of both worlds.
How to Clean Your Mixer Before Storing
Never store a dirty mixer. Never. Even if you plan to use it again tomorrow.
Flour dust settles into crevices. Butter residue turns rancid. Sugar attracts ants and pantry moths.
A quick wipe-down takes thirty seconds and prevents months of regret.
Here’s my routine:
- Unplug the mixer. Always. Safety first.
- Remove the bowl and attachments. Wash them separately in warm soapy water. Dry thoroughly.
- Wipe down the main body. Use a damp microfiber cloth. Avoid getting water near the vents or the hinge where the head tilts back.
- Clean the hub. If you use attachments that mount on the front hub, wipe that area too. Grease and flour collect there.
- Dry everything. Moisture is the enemy. Use a dry cloth to go over every surface.
- Let it air out. Leave the head in the unlocked position for an hour before covering. This lets any trapped moisture evaporate.
Most manufacturers recommend against submerging the main body or using harsh chemical cleaners. Stick with mild dish soap and water. If you need to remove stubborn grease, use a paste of baking soda and water.
Choosing a Storage Cover
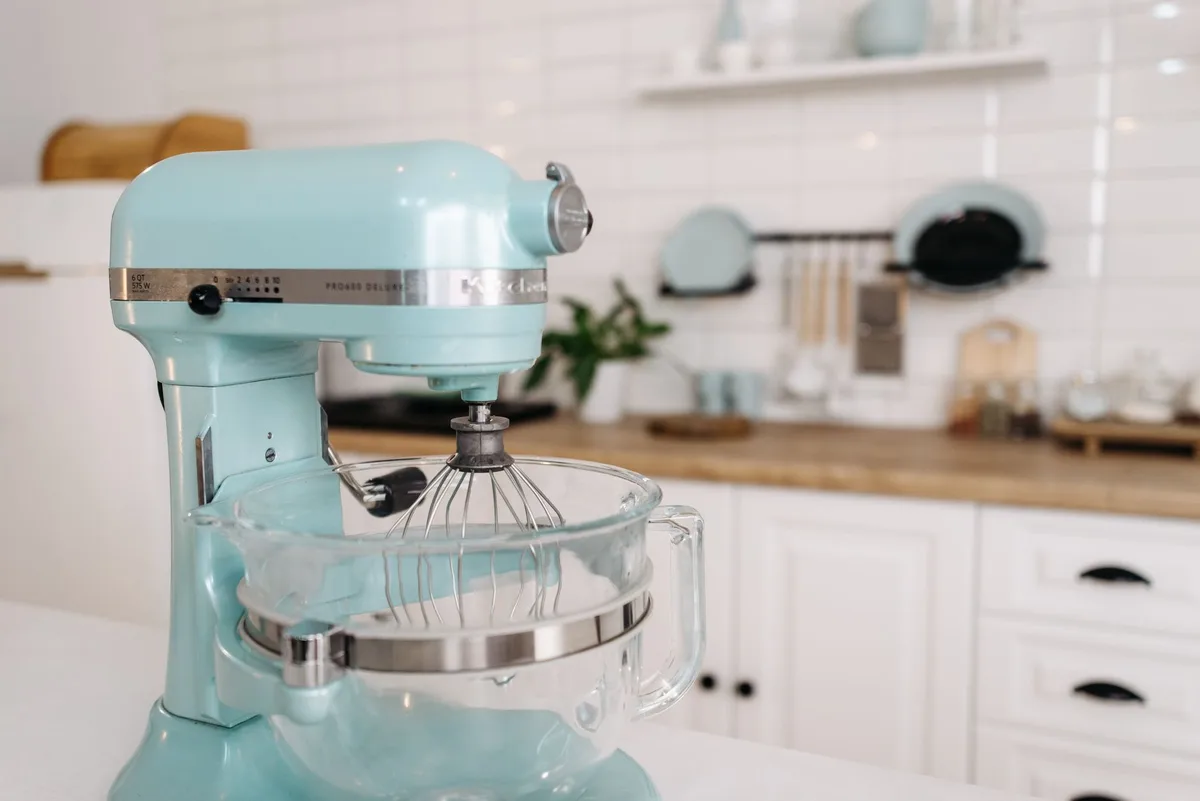
Image source: Pexels / Pavel Danilyuk (Pexels License)
A cover is not optional. I used to think it was fussy. I was wrong.
A good cover does three things:
- Keeps dust off the mixer
- Protects from kitchen grease and splatter
- Reduces the need for frequent deep cleaning
What to Look For
Not all covers are equal. Here’s what matters:
Breathable fabric. Some covers are vinyl or plastic. They trap moisture. If you put a cover on a mixer that hasn’t fully dried, condensation forms inside.
That’s a fast track to rust. Look for cotton, polyester blend, or canvas.
Snug fit. A loose cover slips off. A tight cover is hard to put on. Most manufacturers sell custom covers for their models.
They’re worth the money.
Easy to wash. Kitchen covers get dirty. Make sure you can throw it in the washing machine.
I recommend: A quilted cotton cover with elastic edges. It breathes, it stays put, and it doesn’t scratch the finish.
DIY Options
If you don’t want to buy a cover, use a clean tea towel or a large cotton kitchen towel. Drape it loosely over the mixer. Make sure it covers the top and sides.
Avoid using plastic shopping bags or cling wrap, they trap moisture.
How to Store the Bowl
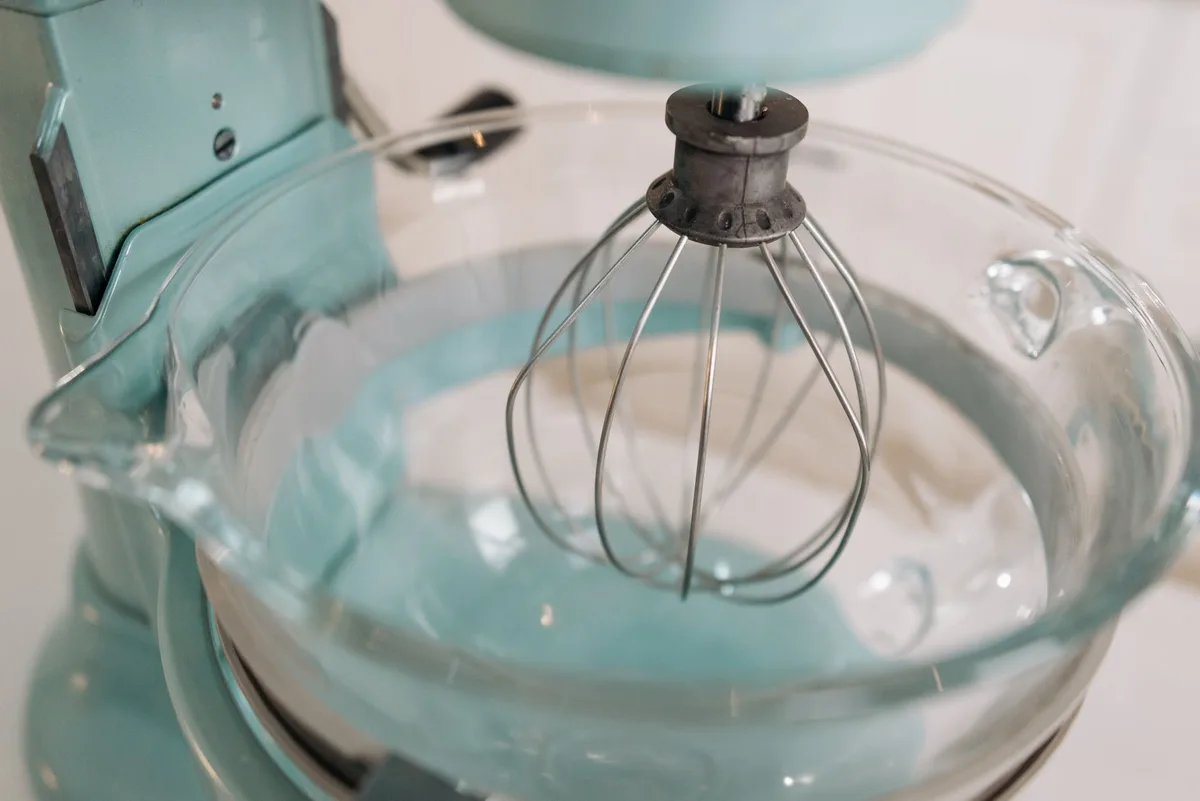
Image source: Pexels / Pavel Danilyuk (Pexels License)
The bowl is heavy. It’s bulky. And it’s the part you use most.
Where do you keep it?
Option 1: Locked on the Mixer
Some people leave the bowl attached. This works if you use the mixer frequently. It saves space and keeps the bowl handy.
Just make sure the bowl is clean and dry before you lock it in place.
The downside: the bowl can get in the way if you’re working around the mixer. And if the bowl is stainless steel, it can collect dust.
Option 2: Stored Separately
I prefer to remove the bowl and store it inside the mixer cavity. Here’s why:
- It protects the mixing bowl from dings and scratches
- It uses the empty space under the head efficiently
- It keeps the bowl clean
If the bowl doesn’t fit under the head (some large bowls don’t), store it in a nearby cabinet. Stack smaller bowls inside it. Just don’t put anything heavy on top of it.
About Glass Bowls
Some stand mixers come with glass bowls. These are beautiful but fragile. Never store them on the mixer base.
Never stack anything on top of them. Store glass bowls in a cabinet with a soft cloth pad underneath.
Organizing Attachments
This is where most people fail. Attachments are expensive. A set of pasta rollers, a meat grinder, or a spiralizer can cost more than the mixer itself.
Losing them or damaging them is a waste of money.
Bad Storage Ideas
- Throwing them in a drawer. They clang together. They get scratched. They get lost.
- Storing them in the mixing bowl. They scratch the bowl. They’re hard to find.
- Leaving them in the open. They collect dust and grease.
Good Storage Ideas
Use the original box. If you still have the packaging your attachments came in, use it. The molded inserts protect each piece.
Buy a dedicated storage case. Many manufacturers sell cases or caddies for their attachments. You can also find third-party organizers on Amazon or specialty kitchen stores.
Use a divided drawer. If you have drawer space, use a knife block insert or a sectioned tray. Stand each attachment upright or lay them flat with dividers between them.
Hang them on a pegboard. A small pegboard inside a cabinet or on a pantry wall holds attachments neatly. You can see everything at a glance.
Label everything. I keep my dough hook, whisk, paddle, and spiralizer in labeled pouches inside a storage bin. It takes two seconds to find what I need.
Environmental Factors to Consider
Your kitchen’s environment affects your mixer’s lifespan. Here are the specific conditions to watch out for.
Temperature
Extreme heat is bad for the motor. Don’t store the mixer near the oven, stovetop, or radiator. If your kitchen gets hot while cooking, the mixer’s plastic parts can warp over time.
Extreme cold isn’t great either. If you store the mixer in an unheated garage or basement, condensation can form when you bring it into the warm kitchen. That moisture gets inside the motor.
Humidity
High humidity promotes rust. Stainless steel bowls resist it, but the metal parts inside the mixer, the gears, the motor shaft, are not stainless. They can corrode.
If you live in a humid climate, consider storing the mixer in a climate-controlled part of the house. A dehumidifier in the kitchen helps too.
Sunlight
Direct sunlight fades the mixer’s finish. It also causes plastic components to become brittle over time. Store the mixer out of direct sun.
If it has to live on the counter near a window, use a cover.
Long-Term Storage
What if you’re not going to use the mixer for months? Maybe you’re moving, or you’re going on a long trip, or you’re just taking a break from baking.
Long-term storage requires extra steps.
- Deep clean everything. Wash the bowl, attachments, and the mixer body. Use a toothbrush to clean crevices. Dry every part thoroughly.
- Oil the hub. Some manufacturers recommend applying a drop of food-grade mineral oil to the attachment hub. This prevents the metal from corroding during storage.
- Loosen the head. If your mixer has a locking mechanism, leave it unlocked. This relieves tension on the hinge.
- Wrap the cord. Use a Velcro strap or twist tie. Don’t wrap it tightly around the mixer base, that puts stress on the cord.
- Cover the mixer. Use a breathable cover. Don’t use plastic.
- Store in a dry place. Avoid basements, garages, and attics. A closet in the main part of the house is ideal.
- Check periodically. Every few months, check for dust, moisture, or pests. Wipe it down if needed.
Common Storage Mistakes
I’ve seen people make these mistakes. I’ve made some of them myself. Learn from us.
Storing with the Head Locked
Some mixers have a locking pin that holds the head in the down position. If you leave it locked during storage, it puts constant pressure on the hinge mechanism. Over time, that hinge can loosen.
Keep the head unlocked while stored. Lock it only when you’re actually mixing.
Storing with Attachments in the Bowl
This is tempting. You put the whisk in the bowl and slide both onto the mixer. It saves space.
But the whisk can scratch the bowl. And if someone moves the mixer, the attachment can rattle around and damage the internal mechanism.
Storing Near the Stove
I get it. Counter space is limited. You keep the mixer near the stove because that’s where you bake.
But the stove generates heat, steam, and grease splatter. That’s a triple threat for your mixer.
Give it at least two feet of distance from the stovetop.
Using the Wrong Cover
A fitted cover is better than a t-shirt. A t-shirt is better than nothing. But a vinyl or plastic cover traps moisture.
A paper bag sheds lint and dust. Use fabric.
Forgetting the Power Cord
The cord gets tangled. It gets caught in cabinet doors. It gets pulled when you’re in a hurry.
When you store the mixer, wrap the cord loosely and tuck it where it won’t get pinched or caught.
Special Considerations for Different Mixer Types
Not all stand mixers are the same. Storage tips that work for a tilting-head mixer might not work for a bowl-lift model.
Tilting-Head Mixers
These are the most common. The head tilts back to access the bowl. When storing a tilting-head mixer:
- Leave the head in the tilted position for the first hour after use. This lets moisture evaporate.
- Don’t tilt it back while the bowl is attached. The weight can strain the hinge.
- When storing long-term, leave it tilted slightly to relieve spring tension.
Bowl-Lift Mixers
These have a lever that raises the bowl into the mixing position. They’re heavier and more stable.
- Always lower the bowl completely before storing. This reduces stress on the lift mechanism.
- These mixers are heavier. Store them on a lower shelf or a sturdy counter. Don’t put them in an overhead cabinet.
- The lift lever can catch on cords or cabinet doors. Tuck it carefully.
Compact Stand Mixers
Smaller mixers are more portable but less stable.
- Store them in a cabinet to prevent tipping.
- The smaller bowls can get lost. Keep them nested inside the mixer.
- Compact models often have weaker motors. Don’t block the motor vents during storage.
When to Call It Quits
Sometimes a mixer is beyond saving. If yours has been stored improperly for years, it might be time to replace it.
Signs of storage damage:
- Rust on the bowl or attachments. Surface rust can be cleaned. Deep rust means the metal is compromised.
- Motor smells like burning. This usually means dust or debris inside the motor housing. If cleaning doesn’t help, the motor may be damaged.
- Loose or wobbly head. The hinge mechanism is worn. This is often caused by storing with the head locked.
- Cracked plastic. If the housing is cracked from heat or impact, it’s time for a new mixer.
Final Storage Checklist
Before you close this article, here’s a quick checklist to follow for every storage session:
- Unplug the mixer
- Remove and wash the bowl and attachments
- Wipe down the mixer body
- Dry everything completely
- Air out the mixer for an hour
- Loosen the head locking mechanism
- Wrap the cord loosely
- Cover with breathable fabric
- Store in a dry, temperature-stable spot
- Keep attachments organized and labeled
Follow this checklist, and your mixer will outlast your kitchen renovation.
The Bottom Line
Storing a stand mixer properly isn’t complicated. It’s a series of small habits. Clean it before you put it away.
Keep it dry. Use a cover. Store attachments somewhere smart.
Choose a location that balances convenience and protection.
Do those things, and your mixer will reward you with years of reliable service. Skip them, and you’ll be shopping for a replacement sooner than you should.
I learned this the hard way. My first mixer died after six years because I stored it uncovered near the stove. My current mixer is twelve years old and runs like new.
The only difference is how I store it.
Now you know what to do. Go take care of that mixer.

Table of Contents