Butternut squash. It’s that beautiful, bell-shaped gourd that screams autumn and winter comfort food. Delicious roasted, mashed, or even in soups, it’s a versatile ingredient.
But before you can enjoy its sweet, nutty flavor, there’s one hurdle: peeling it. That thick, tough skin can be a real challenge. Don’t let it intimidate you!
I’m going to show you exactly how to peel a butternut squash with ease and confidence. We’ll cover the best tools, techniques, and a few clever tricks to make this kitchen task a breeze.
Why Peel a Butternut Squash?
You might be wondering if you really need to peel a butternut squash. The short answer is usually yes, especially for most cooked dishes. While the skin is technically edible, it’s very tough and fibrous, making it unpleasant to eat.
Peeling it ensures a smoother texture in your soups, stews, and roasted dishes. Plus, it makes cubing and preparing the squash so much simpler.
The Best Tools for the Job
Having the right tools makes all the difference. For peeling butternut squash, you’ve got a few excellent options:
- A Sharp Chef’s Knife: This is your primary tool for tackling the tough skin. A good, heavy chef’s knife that you can handle confidently is key.
- A Sturdy Vegetable Peeler: For the softer flesh after the initial skin removal, a good peeler is a lifesaver. Look for one with a sharp, comfortable blade. Some people prefer a swivel peeler for its flexibility.
- A Cutting Board: A stable, non-slip cutting board is essential for safety. Make sure it’s large enough to comfortably hold the squash. I really like having a robust cutting board for these tougher prep jobs; it makes things so much more secure. You can find some great options for best cutting boards for kitchen that will offer plenty of stability.
- A Spoon: For scooping out the seeds.
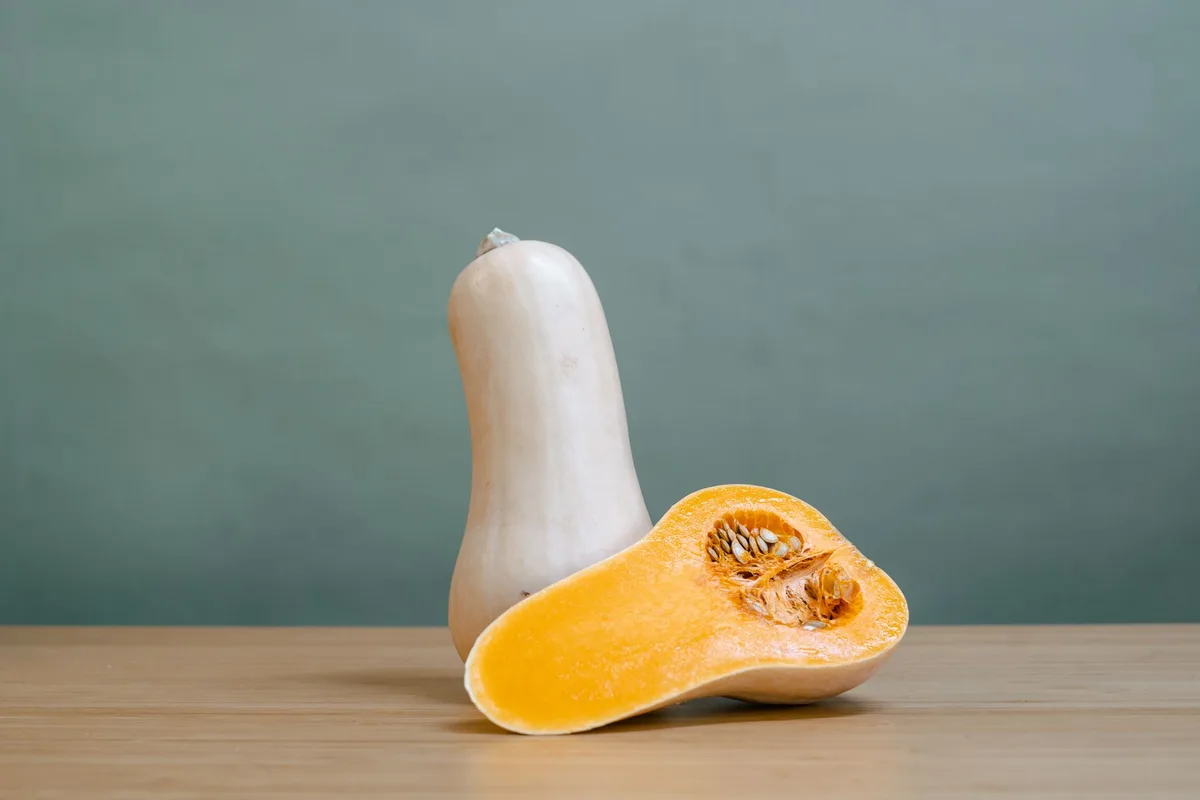
Image source: Pexels / MART PRODUCTION (Pexels License)
Step-by-Step: How to Peel and Prepare Butternut Squash
Let’s get down to business. This method breaks down the process into manageable steps, ensuring you can tackle even the most stubborn squash.
Step 1: Wash and Trim the Ends
First things first, give your butternut squash a good wash under cool running water. This removes any dirt or debris from its journey from the farm to your kitchen.
Next, you’ll want to trim off both ends. Use your chef’s knife to slice off the stem end and the blossom end. Cut just enough to create a flat surface to work with.
This provides stability for the next few steps.
Step 2: Stabilize and Slice in Half
Now, stand the squash upright on one of its freshly cut, flat ends. This is where having a stable cutting board really pays off.
With your knife firmly in hand, carefully slice the squash lengthwise, right down the middle, from stem to blossom end. You’ll notice it’s much easier to cut when it’s standing upright.
Step 3: Scoop Out the Seeds
Once your squash is halved, you’ll see the cavity filled with seeds and stringy pulp. Grab a spoon, a sturdy metal one works best, and scrape out all the seeds and fibrous bits. Get into every nook and cranny to ensure a clean cavity.
You can discard the seeds, or if you’re feeling ambitious, you can roast them later for a tasty snack!
Step 4: The Peeling Process – Knife Method (Most Reliable)
This is often the most intimidating part, but with a sharp knife and a steady hand, it’s perfectly doable.
- Cut into Manageable Sections: Take one half of the squash. Lay it flat on your cutting board, cut-side down. Now, slice it crosswise into 1- to 2-inch thick pieces. This breaks down the large surface area and makes peeling much easier. You’ll end up with what look like chunky rings or half-rings.
- The Slicing Technique: Take one of your squash sections. Hold it firmly. Carefully slice downwards with your chef’s knife, angling the blade slightly. You’re essentially trying to shave off the skin in strips. Work your way around each section, cutting just deep enough to remove the tough outer peel. Don’t worry if you can’t get every single bit of the skin off; we’ll clean that up next.
This method is my go-to because it feels the most controlled. When I’m working with a tougher vegetable, I always want to feel completely in charge of the blade. If you’re finding your knife isn’t quite up to snuff for this task, investing in a good tool can make a world of difference.
Check out some options for the [best whe

Table of Contents