Turn off water, level and secure vanity, connect plumbing, seal, and test.
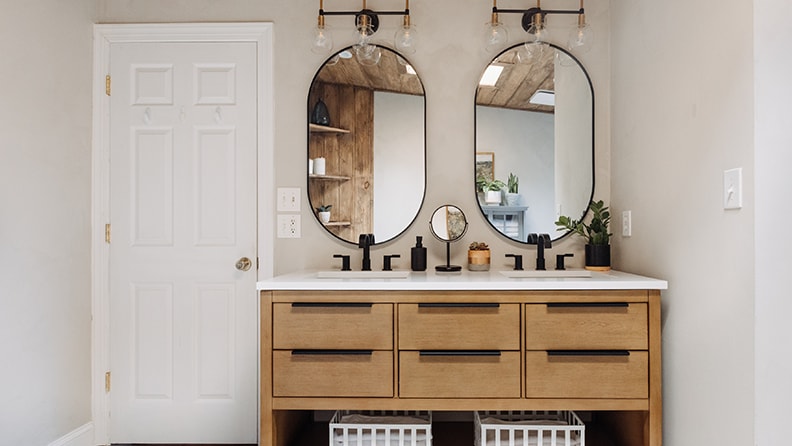
If you want to learn how to install a vanity sink the right way, you’re in the right place. I’ve installed many, from small powder room units to double-bowl vanities. I’ll walk you through how to install a vanity sink with clear steps, smart tips, and real-world advice so you can do it with confidence.
Tools and materials you’ll need
Gather your tools first. It keeps the job smooth and stress-free.
- Tape measure, pencil, and level
- Stud finder and drill with wood and hole saw bits
- Utility knife and putty knife
- Adjustable wrench and slip-joint pliers
- Bucket, rags, and towels
- Safety glasses and gloves
- Cabinet screws and shims
- 100% silicone caulk and caulk gun
- Plumber’s putty or silicone (per drain instructions)
- PTFE thread tape (for threaded nipples only)
- Supply lines (braided stainless or polymer)
- Shutoff valves if you need to replace old ones
- P-trap kit with tailpiece and washers
- Vanity, sink or top, faucet, and pop-up drain
I keep spares of washers and a second P-trap kit on hand. It saves a late run to the store. You will use these same tools across many projects, including how to install a vanity sink in tight spaces.

Plan, measure, and check code basics
Good prep makes the install easy.
- Measure the room, the vanity, and door swing. Make sure drawers can open.
- Mark the centerline of the drain on the wall and vanity back.
- Typical drain rough-in sits about 18 to 20 inches off the floor. Supplies are often near 22 to 24 inches. Your setup may vary.
- Find studs to anchor the cabinet. Mark them with painter’s tape.
- Check that the trap arm can slope slightly to the wall. Aim for about 1/4 inch per foot.
- Dry-fit the faucet on the sink or top. It is simpler to do this before setting it on the cabinet.
- Review the faucet and drain instructions. Follow them. Some stone tops forbid plumber’s putty and need silicone.
A quick check here prevents leaks and callbacks. This is the step that sets the tone for how to install a vanity sink without hassle.

Remove the old vanity and prep the space
Take your time during removal. Protect the floor with a towel.
- Shut off hot and cold valves. Open the faucet to relieve pressure.
- Place a bucket under the P-trap. Loosen slip nuts. Remove the trap.
- Disconnect the supply lines at the shutoffs. Catch drips in the bucket.
- Cut the caulk line along the backsplash and side walls with a utility knife.
- Back out cabinet screws from the studs. Lift the vanity off the wall.
- Scrape old caulk. Patch any wall damage. Vacuum debris.
- Check the floor for level. Set shims aside if needed.
If your shutoffs are stuck or corroded, replace them now. It is much harder later. This is a key choice when planning how to install a vanity sink in an older home.

Dry-fit and set the vanity
This is where good layout pays off.
- Slide the vanity into place. Check side-to-side and front-to-back level.
- Use shims under the base until the bubble is true.
- Mark stud locations inside the cabinet.
- Pre-drill the back rail. Drive cabinet screws into studs. Do not overtighten.
- Cut clean holes for plumbing with a hole saw, not a jigsaw. Support the panel while drilling.
I always dry-fit the sink or top next. It confirms that the faucet reach, backsplash, and walls align. That habit has saved me hours on how to install a vanity sink in tight alcoves.
Install the faucet and drain on the sink or top
This step is easier on a workbench.
- Mount the faucet. Add the gasket or plumber’s putty per the manual.
- Tighten from below. Do not twist the faucet body.
- Attach the supply hoses to the faucet now.
- Assemble the drain. Many need plumber’s putty under the flange. Some need silicone. Follow the brand guide.
- Align the pop-up rod and pivot. Hand-tighten the drain locknut. Do not crack the sink.
Tip from the field: Wipe excess putty or silicone at once. Dried squeeze-out looks messy. Clean work is part of how to install a vanity sink like a pro.
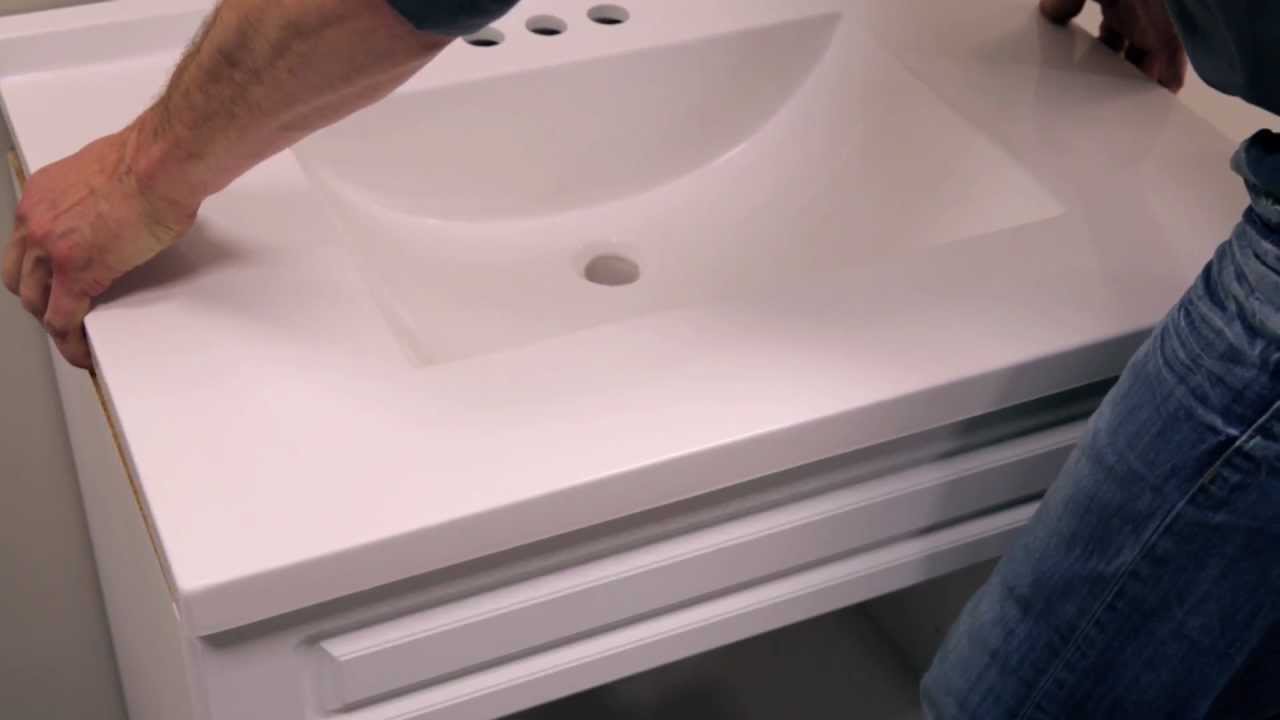
Set the sink or top and secure it
- Run a thin bead of silicone on the cabinet rim.
- Lower the top or sink into place. Center it.
- Press gently to seat it. Wipe the squeeze-out with a damp rag.
- If the top has clips, add them after the silicone cures as directed.
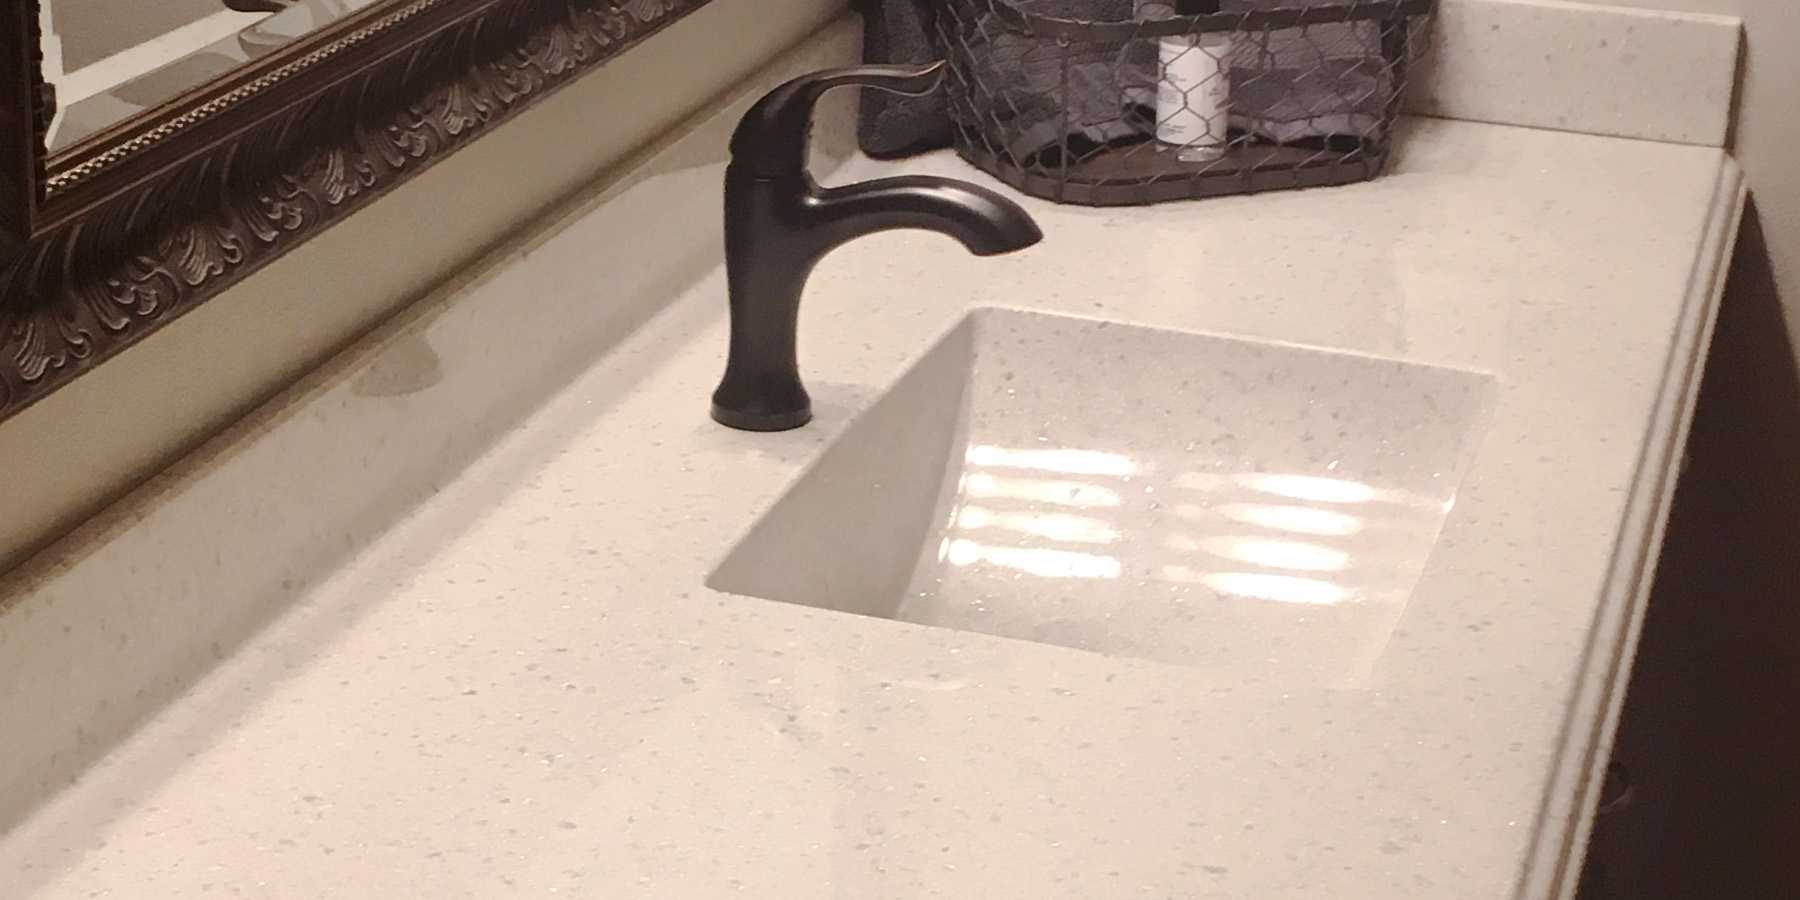
Stone tops often need only silicone. Do not use plumber’s putty on natural stone unless the maker approves it. That is a common mistake in how to install a vanity sink.

Connect the P-trap and supply lines
Now finish the plumbing hook-ups.
- Slip the tailpiece onto the drain if not pre-attached.
- Assemble the trap. Cone washers face the joint, not the nut.
- Align the trap to the wall stub. Maintain a slight downward pitch.
- Hand-tighten slip nuts, then add a quarter-turn. Stop if it binds.
- Connect supply lines to the shutoffs. Compression fittings do not need PTFE tape.
- Place the faucet aerator in a cup. Open shutoffs. Flush both lines into a bucket to clear debris. Reinstall the aerator.
I open only one valve at a time. If a drip appears, I close it, reseat the washer, and try again. This patient pace is key for how to install a vanity sink with zero leaks.

Seal, caulk, and finish details
- Run a smooth silicone bead along the backsplash and side walls.
- Tool the bead with a wet finger or caulk tool.
- Install handles, shelves, and anti-tip brackets if supplied.
- Wipe the cabinet and polish the top.
I date the inside of the cabinet with painter’s tape. It reminds me when I last caulked. Good habits help you master how to install a vanity sink and keep it fresh.
Test and troubleshoot like a pro
- Close the stopper. Fill the basin. Release it. Check every joint with a dry paper towel.
- Look for slow weeps, not just drips. Weeps leave rings or damp threads.
- If the drain gurgles, the trap may be misaligned or the vent is distant. Recheck the slope and trap seal.
- If the stopper pools water, adjust the pop-up rod under the sink.
Any strong sewer smell means the trap is dry or leaking. Fix at once. Careful testing is central to how to install a vanity sink that stays reliable.
Time, cost, and skill level
- Time: 3 to 6 hours for a standard swap. Longer if you repair walls or floors.
- Cost: Supplies run $30 to $100. A new faucet and drain can be $60 to $250. Vanity and top vary widely.
- Pro help: Expect $200 to $500 for a simple hookup. More if moving plumbing.
If you must move the drain or add valves, consider a licensed plumber. Big layout changes go beyond basic how to install a vanity sink guides.
Maintenance tips for a leak-free vanity
- Check under-sink joints each season. Tighten by hand if needed.
- Re-caulk backsplashes every 1 to 3 years, or when gaps show.
- Clean with mild soap and water. Avoid harsh chemicals on stone.
- Keep a small tray under the P-trap. It helps you spot leaks early.
These small steps protect your cabinet and floor. They also extend the life of your work on how to install a vanity sink.
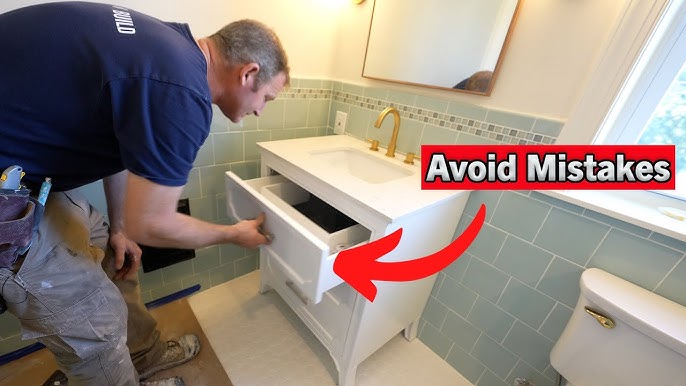
Common mistakes to avoid
- Over-tightening slip nuts cracks plastic parts and warps washers.
- Using plumber’s putty on stone tops that require silicone only.
- Skipping the dry-fit of faucet and drain before setting the top.
- Forgetting to flush supply lines before the first run.
- Cutting holes too large in the vanity back. Support panels during drilling.
- Ignoring level and stud anchors. The cabinet can shift and stress the pipes.
- Using PTFE tape on compression fittings. It is not needed.
I have seen most of these in the field. Avoid them and your plan for how to install a vanity sink will stay on track.
Step-by-step quick reference
- Shut water off. Open faucet to relieve pressure.
- Disconnect supplies and P-trap. Remove old vanity and clean up.
- Find studs. Level and shim the new cabinet. Anchor to studs.
- Install faucet and drain on the sink or top.
- Set the top with silicone. Wipe squeeze-out.
- Connect P-trap and supply lines. Flush lines before final use.
- Caulk walls and backsplash. Install hardware.
- Test for leaks. Adjust the stopper. Tidy the space.
Use this checklist any time you need a fast recap of how to install a vanity sink.
Frequently Asked Questions of how to install a vanity sink
Do I install the faucet before setting the vanity top?
Yes. It is easier to mount the faucet and drain on a bench. You get better access and reduce the chance of scratches.
Do I need plumber’s putty or silicone on the drain?
Use what the maker states. Many metal drains use putty, but some tops, especially stone, require silicone.
How tight should slip nuts be on the P-trap?
Hand-tight plus a quarter-turn is enough. Over-tightening can distort washers and cause leaks.
Can I reuse old supply lines?
I do not recommend it. New lines are cheap insurance and lower the risk of hidden leaks.
What if my wall drain is off-center?
Use an offset tailpiece or flexible trap kit rated for the job. Keep a smooth slope to the wall and avoid sharp bends.
How high should the vanity drain be on the wall?
Many drains sit 18 to 20 inches above the floor. Measure your vanity and sink to ensure the trap aligns and stays accessible.
Is PTFE tape needed on compression fittings?
No. Compression fittings seal with a ferrule, not threads. Use tape only on threaded nipples where specified.
Conclusion
You now know how to install a vanity sink from start to finish. Plan the layout, set the cabinet level, build the faucet and drain on the bench, then make clean, leak-free connections. Small checks, like flushing lines and testing with a towel, make a big difference.
Pick a weekend, gather your tools, and take it step by step. You will save money and gain a skill you will use again. If this guide helped, share it, subscribe for more DIY walk-throughs, or leave a comment with your project wins and questions.

Table of Contents