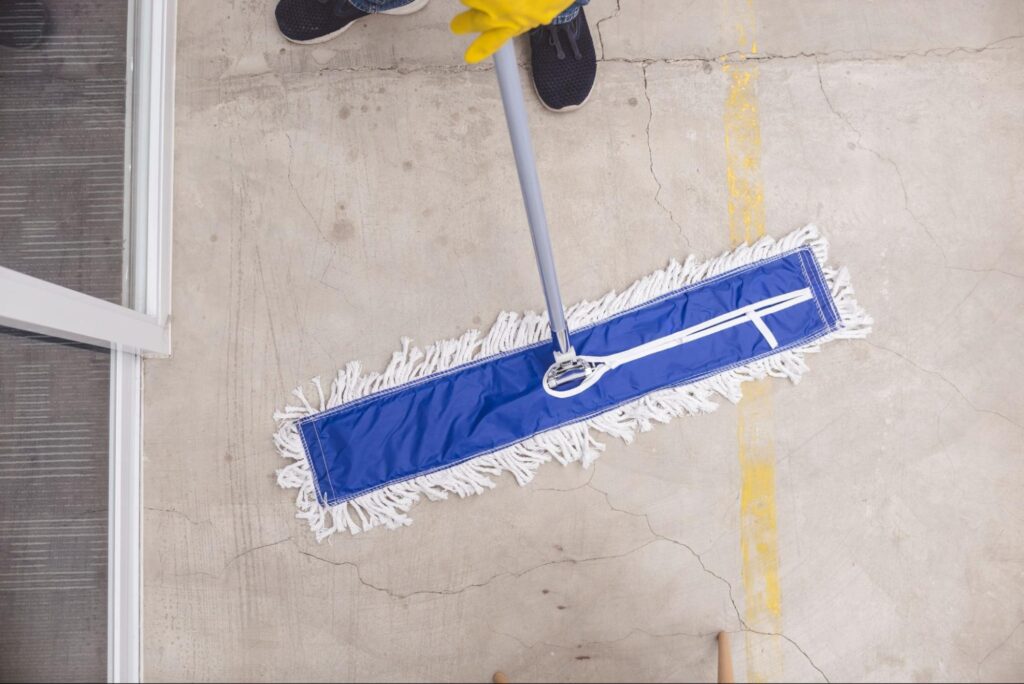
Start at the far corner, glide in overlapping S-patterns, and collect debris carefully.
If you want a simple, fast way to keep floors dust-free, learning how to dry mop is the move. I’ve trained teams and cleaned homes and offices for years, and I’ll walk you through how to dry mop like a pro. You’ll get practical steps, product tips, and time-saving habits that work on hardwood, tile, laminate, vinyl, and concrete. Read on to master how to dry mop with confidence.
What Is Dry Mopping and Why It Works
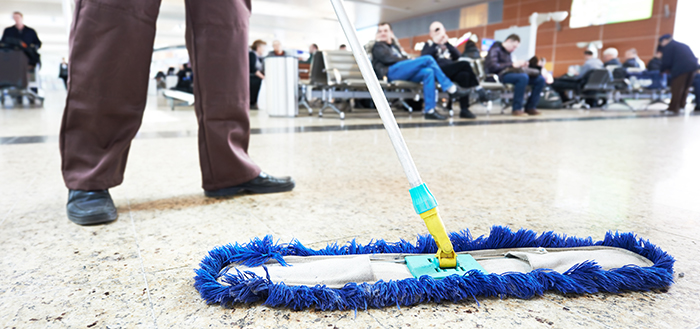
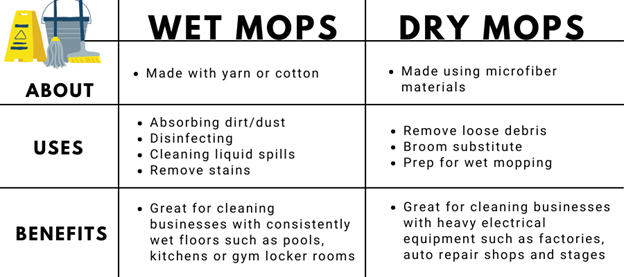
Dry mopping uses a wide, flat mop head to trap dust, pet hair, sand, and lint without water. The mop’s fibers act like a magnet. Microfiber, in particular, grabs tiny particles better than cotton and holds them so they don’t fly back into the air. That means less sneezing and fewer dust bunnies.
In homes, dry mopping replaces the broom for smooth floors. In offices and schools, it speeds up daily dust control and protects finishes. If you want to learn how to dry mop the right way, think about it as gentle sweeping with better tools and a smarter pattern.

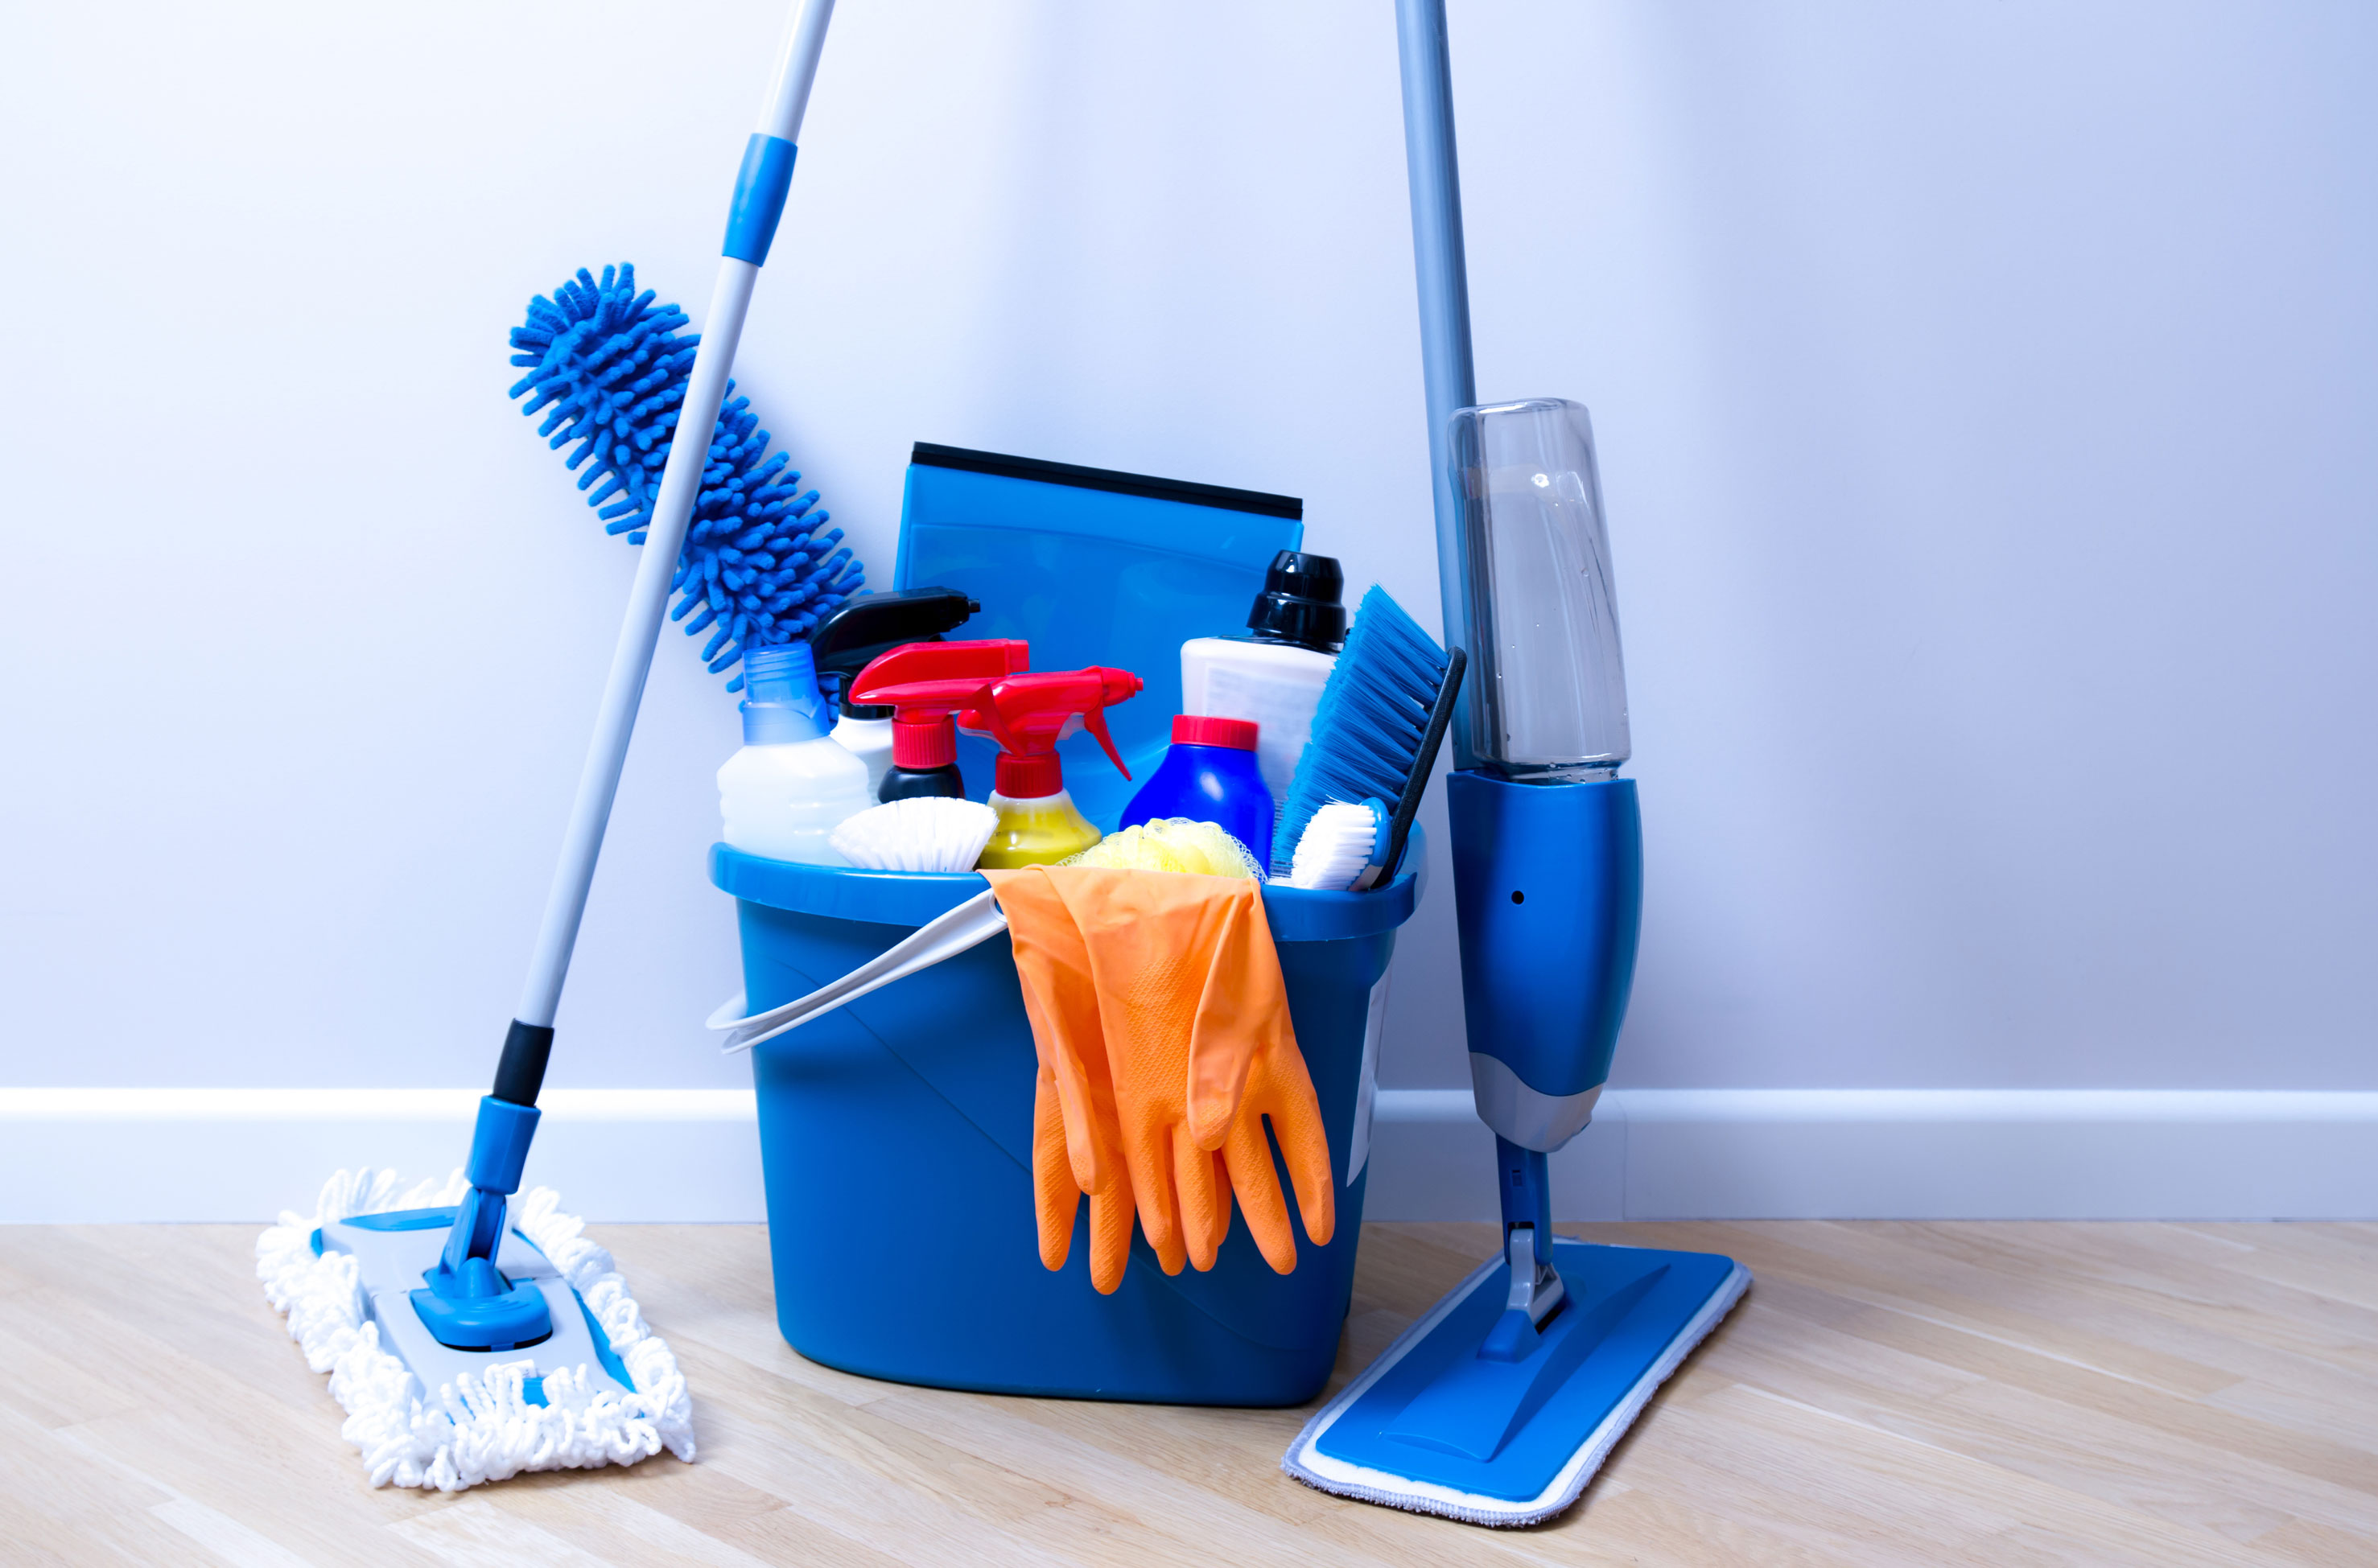
Tools and Supplies You Need
Set yourself up with the right gear before you focus on how to dry mop.
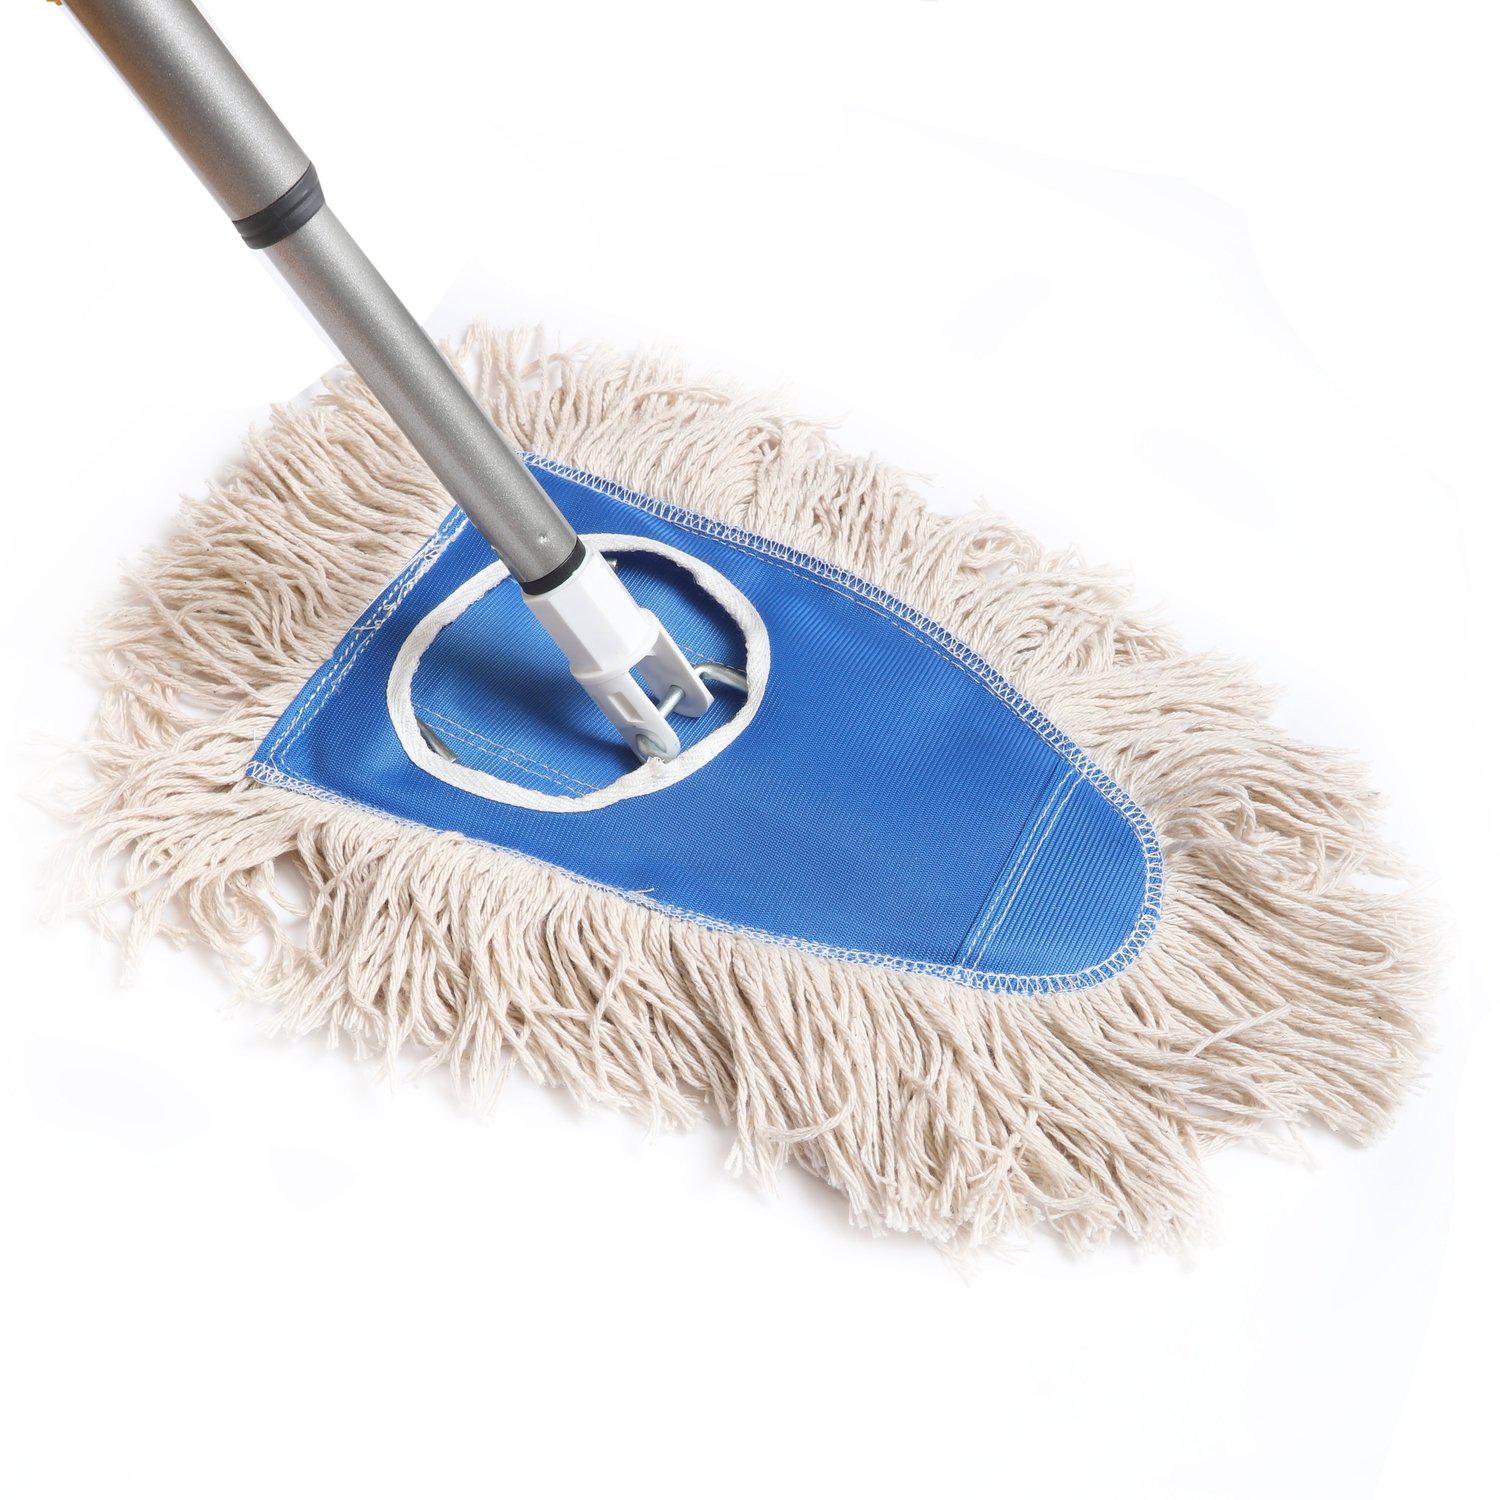
- Dust mop frame and handle Choose a lightweight, swivel-head frame. Sizes from 12 to 24 inches work well at home; larger sizes are great for halls and garages.
- Mop head Microfiber grabs more dust and pet hair. Cotton is fine for big debris. Disposable pads are handy for quick cleanups.
- Dustpan and hand broom You’ll need these to collect piles at the end of each pass.
- Vacuum with hose Optional but useful for edges, vents, and baseboards.
- Optional dusting spray A light, water-based dust mop treatment can boost pickup. Avoid anything oily or waxy on hardwood and laminate.
Pro tip from the field: Keep two mop heads. One on the handle while the other is in the wash. This keeps you moving and ensures you always use a clean pad when practicing how to dry mop.
Step-by-Step: How to Dry Mop Any Floor
Follow these steps whenever you plan how to dry mop a room. The whole process should take 5–10 minutes in a medium room.
Clear the area
Move light chairs, floor plants, and small mats. Pick up toys, cords, and pet bowls.Prep your mop
Use a clean, dry microfiber head. If using a dusting spray, mist the mop head lightly and let it air for one minute. Do not soak it.Start at the far corner
Work from the farthest point toward the exit. This stops you from walking over clean areas.Use an S-pattern
Glide in smooth, overlapping S-curves. Keep a “leading edge” of the mop trapping debris. Do not lift the head with each turn; pivot the handle while the frame stays flat.Overlap each pass by 30–50%
This prevents thin lines of dust from being left behind.Edge work first, then open areas
Run the mop along baseboards, under overhangs, and under furniture edges. Then cover the middle of the floor.Manage buildup
When debris gathers at the front, pause. Lift carefully and shake the debris into a dustpan. If the head looks full, swap it for a clean one.Deal with sticky spots later
Dry mopping is for dust. Do not scrub stains or spills now. Mark the spot in your head and wet clean after you finish.Final check
Do a quick pass near doorways and vents. Collect the last pile and empty it into a trash bag. Wash or shake out the mop head outdoors if needed.
When I coach new cleaners on how to dry mop, the biggest breakthrough is the S-pattern with a steady leading edge. It turns a 15-minute chore into five easy minutes.
Floor-by-Floor Techniques
Different floors need small tweaks. Keep these in mind as you plan how to dry mop each room.
- Hardwood
Use microfiber only. Skip oily sprays or anything with wax or silicone. Those can build up and dull the finish. - Laminate
Keep the mop very dry and gentle. Avoid polishes or heavy treatments. - Tile and stone
Focus on edges and grout lines. A slightly thicker mop head helps reach low grout. - Vinyl and LVT
Use a light touch. Stay away from wax-based sprays that can leave residue. - Concrete and garage floors
Use a wider frame and a thicker head. A pre-treated cotton dust mop works well for sand and grit.
If you see airborne dust while you work, slow down. Let the mop catch the dust rather than push it away.

Pro Tips From Experience
Here are small habits that level up how to dry mop, learned from years on the job.
- Work with good light. Angle blinds or turn on overheads so dust shows up.
- Wear soft-soled shoes or socks. Shoes that shed grit undo your work.
- Keep your elbows close. Let the swivel head glide so your shoulders do less.
- Use a timer. Two minutes per room keeps you focused and fast.
- Change heads sooner than you think. A clean pad saves time and gets better results.
- For pet hair, move slower. Microfiber needs a second to catch fur on slick floors.
- For allergies, use unscented sprays. Fragrance can irritate sensitive lungs.
- For busy homes, dry mop after dinner. It keeps crumbs from spreading overnight.
These small wins are how to dry mop without breaking a sweat.
Common Mistakes to Avoid
Avoid these pitfalls when learning how to dry mop.
- Pressing too hard
You’ll push dust around and tire your arms. Glide instead. - Skipping overlap
This leaves thin dust lines. Always overlap. - Using dirty pads
A loaded pad drops debris. Swap pads early. - Spraying the floor, not the mop
You can leave a film or make floors slippery. - Cross-contamination
Do not use the same head for bathrooms and kitchens. Label them or color-code.
If your floor feels slick after dusting, you used too much product. Wash the pad and try again with a cleaner head.
Cleaning and Maintaining Your Dry Mop
Caring for gear is part of how to dry mop well.
- Wash microfiber in warm water
Use mild detergent. Skip fabric softener and bleach. Tumble dry low or air dry. - Clean cotton heads
Shake them outdoors first. Wash hot if they touch greasy dirt. - Store heads flat and dry
Keep them dust-free in a bin or bag. - Replace when worn
Frayed edges and thin fibers mean it is time for a new head.
Well-kept microfiber can last hundreds of washes and still grab dust like a champ.

Safety, Hygiene, and Allergies
Your plan for how to dry mop should also consider health.
- Allergies and asthma
Use microfiber and work slowly to limit airborne dust. Ventilate after you finish. - Renovations or fine dust
For heavy drywall or sanding dust, use a HEPA vacuum first. Then dry mop. - Old paint or unknown debris
If you suspect lead dust, do not dry mop. Use HEPA methods and follow local guidance. - Slips
Never use oily sprays on glossy floors. Test products on a hidden spot first.
Simple steps protect your lungs and your floors.
When to Dry Mop vs Vacuum vs Wet Mop
Here is how to plan a smart routine and decide how to dry mop in context.
- Daily or every other day
Dry mop high-traffic paths, kitchens, and entryways. - Twice a week
Vacuum rugs and mats, then dry mop hard floors. - Weekly or as needed
Spot wet mop sticky areas after you dry mop. Deep clean bathrooms and kitchens. - Pets or kids
Dry mop once a day in main rooms to keep grit from scratching floors.
If your vacuum is loud or heavy, dry mopping fills the gap between full cleans.
Eco-Friendly Choices and Cost Savings
Make how to dry mop work for your wallet and the planet.
- Use washable microfiber
It cuts waste from disposable pads and saves money over time. - Skip scented sprays
Water-based or no-additive methods reduce indoor VOCs. - Buy one good handle and two to three heads
Rotate them. Your gear will last longer, and you will always have a clean pad ready. - Protect floor finishes
Catching grit early means fewer deep cleans and longer finish life.
A small kit and steady routine can cut cleaning time and costs each month.
Frequently Asked Questions of how to dry mop
How often should I dry mop?
High-traffic areas benefit from a quick daily pass. For low-traffic rooms, two to three times a week is enough.
Is dry mopping better than sweeping?
Yes for smooth floors. Microfiber traps dust and hair better than a broom and keeps particles from going airborne.
Can I dry mop hardwood floors?
Absolutely. Use a clean microfiber head and avoid oily sprays or waxes that can dull the finish.
Should I use a dusting spray?
It’s optional. If you do, mist the mop head lightly, not the floor, and avoid heavy or scented products.
What size dust mop should I buy?
For most rooms, 18 inches is a sweet spot. Larger frames work well for long halls and open spaces.
How do I clean the mop head?
Wash microfiber with mild detergent, no fabric softener, and dry low. Shake out heavy debris before washing.
Can I dry mop after vacuuming?
Yes. Vacuum rugs and edges first, then dry mop hard floors to catch fine dust and hair.
Conclusion
You now know how to dry mop with clean, repeatable steps. Start in the far corner, glide in S-patterns, overlap your passes, and collect debris as you go. Use the right head for your floor and keep it clean, and you’ll get fast, dust-free results.
Pick one room and try this method today. Build a quick routine that fits your home and traffic. If this guide helped, subscribe for more smart cleaning tips or leave a question below so I can help you dial in your setup.

Table of Contents