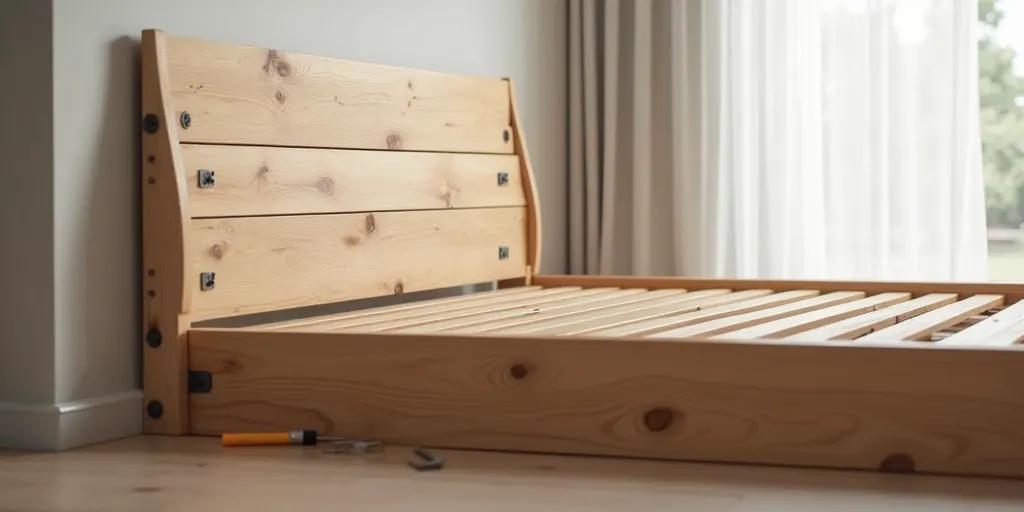
Align the headboard with the frame, then secure with bolts, washers, and nuts.
You’re here to learn how to attach headboard to wooden bed frame without wobble, guesswork, or damage. I’ve installed dozens in homes and studios, and I’ll walk you through every step. This is a practical, safe, and pro-level approach to how to attach headboard to wooden bed frame using the right hardware, accurate measurements, and simple checks that prevent squeaks and shifts later.
What you’ll need to do the job right
If you want a clean, sturdy result, gather your tools before you start. This is the baseline kit I use when clients ask how to attach headboard to wooden bed frame without hassle.
Tools
- Tape measure and pencil for accurate marks
- Level for plumb and square alignment
- Wrench set or adjustable wrench for nuts and bolts
- Drill or driver with wood bits and a Phillips bit
- Clamps to hold parts while you tighten
- Safety glasses and a dust mask if drilling new holes
- Rubber mallet to nudge parts without marring wood
- Masking tape to protect finishes while marking
Hardware
- Headboard bolts, typically 5/16-inch diameter, 1.5–2.5 inches long
- Washers, both flat and lock washers to prevent loosening
- Nuts to match your bolts
- Universal headboard adapter plates if holes don’t line up
- Threaded inserts or tee-nuts if you need new threads in the headboard
- Felt pads or rubber spacers to quiet vibration
Pro tip
- Many wooden frames use 5/16-inch imperial hardware. Some imported frames use metric M8 bolts. Never mix them. Check the manual or take a sample bolt to the hardware store.

Identify your frame and headboard type
Knowing your setup matters. It decides which method you use for how to attach headboard to wooden bed frame and what hardware fits.
Common setups
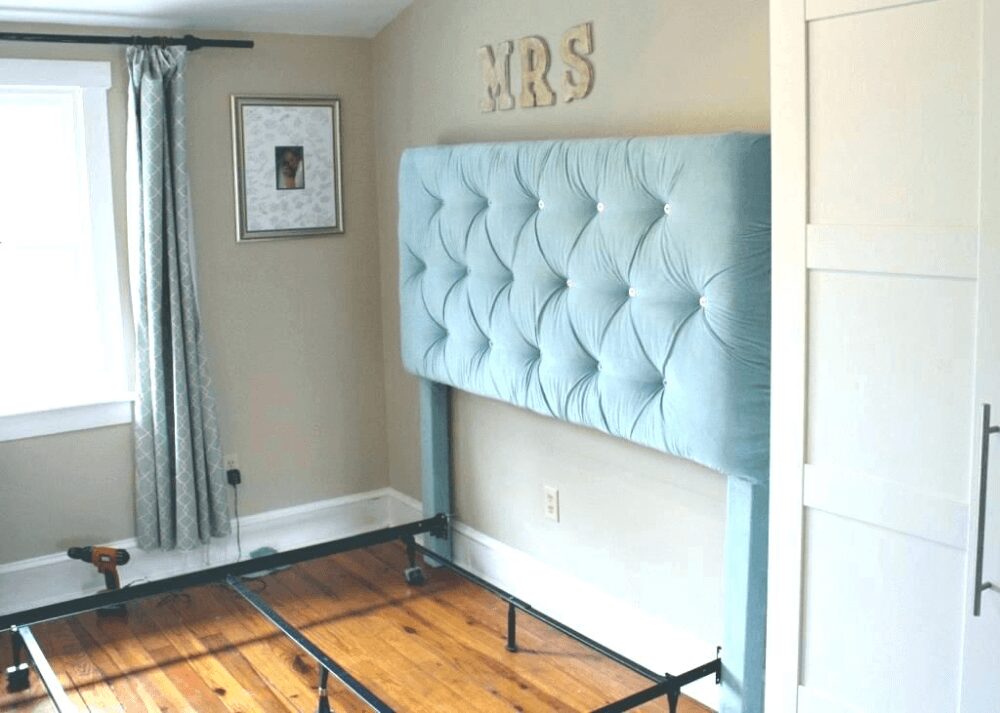
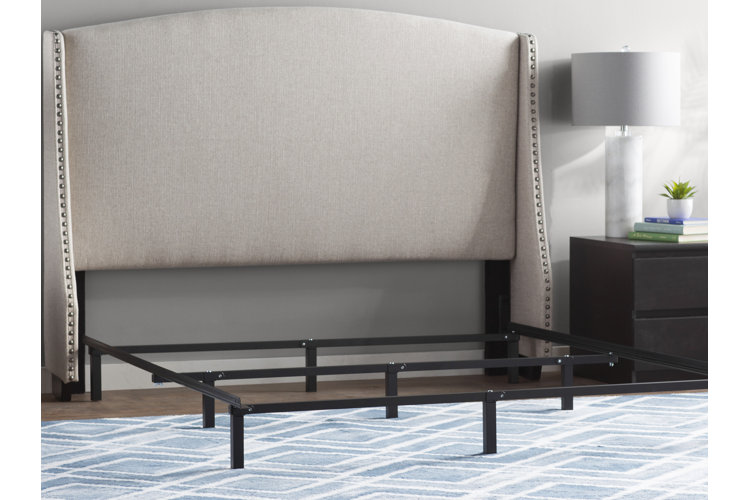
- Bolt-on headboard: The frame has vertical slots or holes. You use bolts and nuts.
- Hook-on rails: The frame uses hooks into slots on the headboard. You may add adapters to convert to bolt-on.
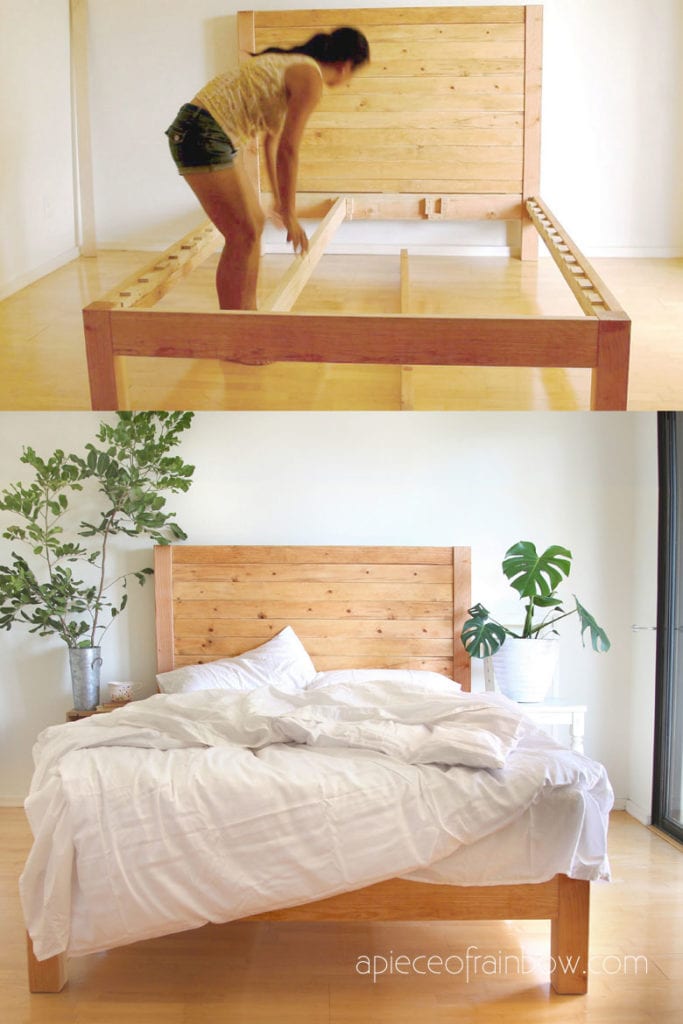
- Platform bed with a solid base: Often bolt-on to a headboard or to pre-drilled rails.
- Freestanding headboard: Stands on legs and bolts to the frame or stabilizes behind the bed.
What to check
- Hole spacing on the headboard legs, center-to-center
- Height of the mounting holes above the floor
- Frame slot shape and size, and whether they are vertical or horizontal
- Any hardware included with your bed or headboard
If you’re unsure how to attach headboard to wooden bed frame based on these parts, snap a photo of the rail ends and hole layout, then match an adapter plate that aligns both patterns.

Measure and plan the attachment points
Accurate measurements save time and prevent crooked installs. This step is essential to how to attach headboard to wooden bed frame so it looks centered and feels solid.
Steps
- Set the bed where it will live. Place the mattress and pillows on so you get the true height.
- Find the center of the frame and the center of the headboard. Mark both with painter’s tape.
- Note the height of the headboard’s lowest mounting hole from the floor. You want the bottom of the headboard above the mattress by a few inches for a clean look.
- Dry-fit the headboard against the frame. Check alignment and mark where the bolts will pass through.
- Use a level to make sure the headboard stands straight and the frame stays square.
Personal note
- I always clamp the headboard to the frame before drilling or bolting. It frees both hands and keeps parts from shifting as you tighten.
Step-by-step: Bolt-on installation
This is the most common path when learning how to attach headboard to wooden bed frame. Go slow, and tighten evenly.
- Place the headboard upright behind the frame. Align the center marks.
- Clamp the headboard legs to the frame side plates.
- Slide a bolt through the headboard leg and frame slot. Add a flat washer under the bolt head.
- Place a flat washer and then a lock washer on the nut side. Thread the nut by hand.
- Repeat for the lower hole on the same leg. Do not fully tighten yet.
- Do the same on the other leg.
- Check level and center again. Adjust as needed.
- Tighten nuts in small turns, alternating sides so you keep even pressure.
- Stop when snug. Do not crush the wood. If you have a torque wrench, 8–12 ft-lb is plenty for 5/16-inch hardware in wood.
- Add felt pads between the headboard and wall if it touches, to prevent marks and noise.
Pro tip
- If the slot is tall, use two bolts per leg to stop vertical play. This trick makes a big difference in long-term stability.
Step-by-step: Hook-on rails and bracket installs
Hook-on rails connect with a downward motion into slots. Here’s how to attach headboard to wooden bed frame when you have that older but sturdy style.
- Lift the rail end slightly. Insert the hook into the slot on the headboard post.
- Press down until it seats with no gap. You should feel a firm stop.
- Repeat for the other side. Check that the bed is square.
- If you have movement, add hook-on stabilizer clips or convert to bolt-on using hook-to-bolt adapter brackets.
- For adapters, bolt the bracket to the headboard first, then mount the frame rails to the bracket following bolt-on steps.
Pro tip
- Hook systems can creak over time. A thin rubber shim at the hook contact point often quiets it.
When holes don’t align: adapters and safe drilling
Sometimes, parts just don’t match. This is still an easy fix if you know how to attach headboard to wooden bed frame with adapter plates or careful drilling.
Use adapter plates when
- The headboard hole spacing is different from the frame slots
- You need height or width adjustment without weakening the wood
- You prefer a reversible change that keeps your warranty intact
Safe drilling basics
- Mark the new hole location at least 1.5 bolt diameters from any edge.
- Drill a pilot hole first. For a 5/16-inch bolt, start with a 3/16-inch pilot.
- If you need threads in the headboard, install threaded inserts or tee-nuts from the back. They hold better than wood screws.
- Support the wood from behind as you drill to prevent blowout.
- Use masking tape on the finish and a sharp bit for clean edges.
Personal note
- I avoid drilling the metal frame unless needed. Adapters are faster, cleaner, and protect the frame’s strength.

Stability checks, noise fixes, and safety
Once you learn how to attach headboard to wooden bed frame, dial in the final feel. A few small tweaks stop movement and squeaks before they start.
Stability checklist
- Grab the headboard with both hands and rock it. Tighten if you feel play.
- Add nylon-insert lock nuts or thread locker if nuts back off over time.
- Use rubber washers between metal parts to damp vibration.
- Recheck tightness after one week and again after one month.
Safety tips
- Tall, heavy headboards can tip if kids climb on them. Add an anti-tip strap to a wall stud if needed.
- Protect floors with felt under headboard legs.
- Keep cords for lights or chargers tidy behind the headboard to avoid pinch points.

Finishing touches and styling tips
How to attach headboard to wooden bed frame is only part of the story. Make it look intentional and polished.
Simple upgrades
- Adjust height so 60–70% of the headboard shows above the pillows.
- Cap exposed bolts with finishing washers or decorative caps.
- Fill old holes with wood filler and touch-up stain or wax.
- Add LED strip lights behind the headboard for a soft glow.
- Use a bed skirt or under-bed boxes that match the wood tone for a cohesive look.
Personal note
- I like a thin felt strip behind the headboard where it meets the wall. It stops scuffs and gives a quiet, cushioned feel.

Common mistakes to avoid and pro tips
These are the errors I see most when people try how to attach headboard to wooden bed frame on their own.
Avoid
- Over-tightening bolts and crushing fibers in softwoods
- Mixing metric and imperial hardware
- Tightening one side fully before aligning the other
- Skipping washers, which leads to loosening and squeaks
- Drilling too close to edges and causing splits
- Forgetting to center the headboard to the frame
Pro tips
- Use two bolts per leg whenever slots allow. It locks height and reduces rattle.
- Clamp first, then drill or bolt. It keeps parts aligned.
- Keep spare nuts and washers in a labeled bag taped under the bed for future tweaks.
Frequently Asked Questions of How to attach headboard to wooden bed frame
Do I need special bolts to attach a headboard to a wooden bed frame?
Most wooden frames use 5/16-inch carriage bolts with flat and lock washers. Some brands use metric M8 bolts, so check the manual or measure the old hardware.
What if my headboard holes don’t line up with the frame?
Use universal adapter plates to bridge the different patterns. They let you shift height and spacing without drilling new holes in the frame.
Can I drill new holes in my headboard or frame?
Yes, in the headboard, with care. Stay away from edges, drill proper pilot holes, and add threaded inserts or tee-nuts for lasting strength.
How high should the headboard sit above the mattress?
Aim to show about two-thirds of the headboard above the pillows. Adjust for your mattress thickness and pillow height so it looks balanced.
How do I stop a squeaky headboard?
Tighten all hardware evenly, then add rubber or felt washers between metal parts. A drop of thread locker on nuts also helps prevent future movement.
Is it safe to attach a very heavy headboard to a wooden bed frame?
Yes, if you use correct hardware, two bolts per leg, and solid wood. For very tall or heavy pieces, add an anti-tip strap to a wall stud for extra safety.
Conclusion
You now know how to attach headboard to wooden bed frame like a pro: measure, align, clamp, and tighten with the right hardware. A few simple checks stop wobble and noise, and small finishing touches make the setup look custom. Take an hour, follow the steps, and enjoy a bed that feels sturdy and styled.
Ready to upgrade your space? Try the method that fits your frame, share your results, and subscribe for more simple, high-impact home projects.

Table of Contents