Charge, connect the battery and panel, assemble parts, seal, mount, and test.
If you want a clear, no-stress guide on how to assemble solar light, you’re in the right place. I’ve installed and tested dozens, from tiny path lights to heavy-duty floodlights. In this guide, I’ll show you how to assemble solar light the right way, explain why each step matters, and share the quick tricks I use on real jobs to avoid headaches later.
Tools and parts you’ll need
Before you start, lay everything out. Most kits include these core parts:
- Solar panel with a pre-attached cable and connector
- Light head with LEDs and heat sink
- Battery pack inside the body or a separate battery box
- Control module or driver, often built into the head
- Mounting hardware like stakes, brackets, screws, and anchors
- Gaskets and seals for weather protection
Helpful tools:
- Small Phillips screwdriver and a flathead screwdriver
- Zip ties and adhesive cable clips
- Silicone grease or dielectric grease for connectors
- Electrical tape and a clean cloth
- Multimeter for quick voltage checks (optional but useful)
Personal tip: I always check the foam gaskets and O-rings first. If a gasket is twisted or dry, water will find its way in. A tiny dab of silicone grease on seals and connectors makes assembly smoother and protects against moisture.
Once you have the kit ready, you can focus on how to assemble solar light without missing a step.
How solar lights work in simple terms
A solar light is a small system with four key parts:
- The solar panel converts sunlight into electricity.
- The controller manages charging and turns the light on at dusk.
- The battery stores energy for night use.
- The LEDs use that stored energy to light up your space.
Most units have a light sensor in the panel or head. When it gets dark, the controller powers the LEDs. That’s why panel placement is so important. A shaded panel means a weak charge and short run time.
If you learn how these parts interact, how to assemble solar light becomes much easier, and your results improve right away.
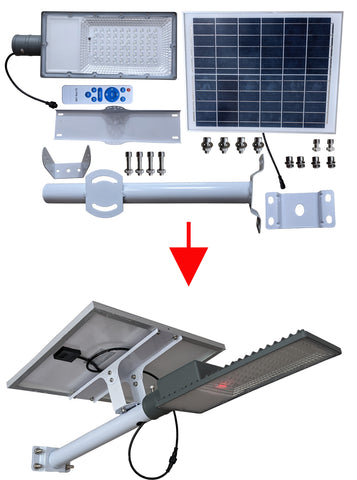
Step-by-step: how to assemble solar light
Unbox and inspect the parts
Check for cracks, missing screws, bent brackets, or loose connectors. If anything looks off, stop and contact support.Pre-charge the battery
Place the solar panel in direct sun for 6 to 8 hours. Many kits include a battery pull-tab. Remove it so the controller sees the battery. Skipping this step is the top reason new lights fail the first night.Identify connectors and polarity
Most connectors are keyed. If you see loose wires, red is positive and black is negative. Do not force connections.Mount the bracket or stake
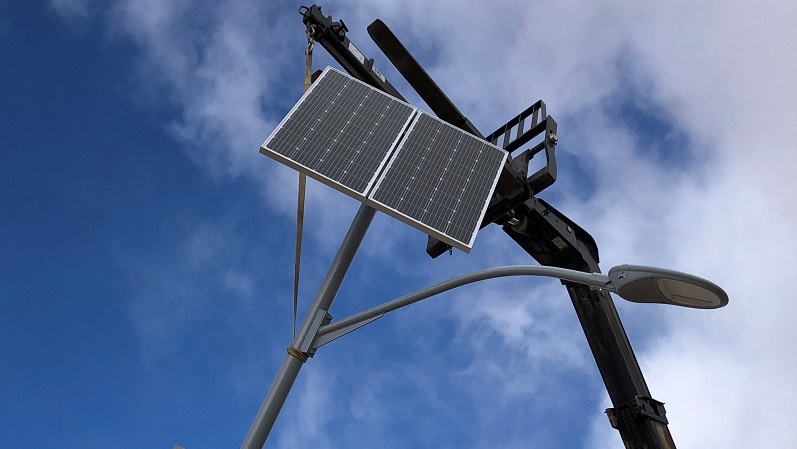
For path lights, push the stake straight down, not at an angle. For wall mounts, mark holes, drill pilot holes, insert anchors, and screw the bracket in place.Attach the solar panel
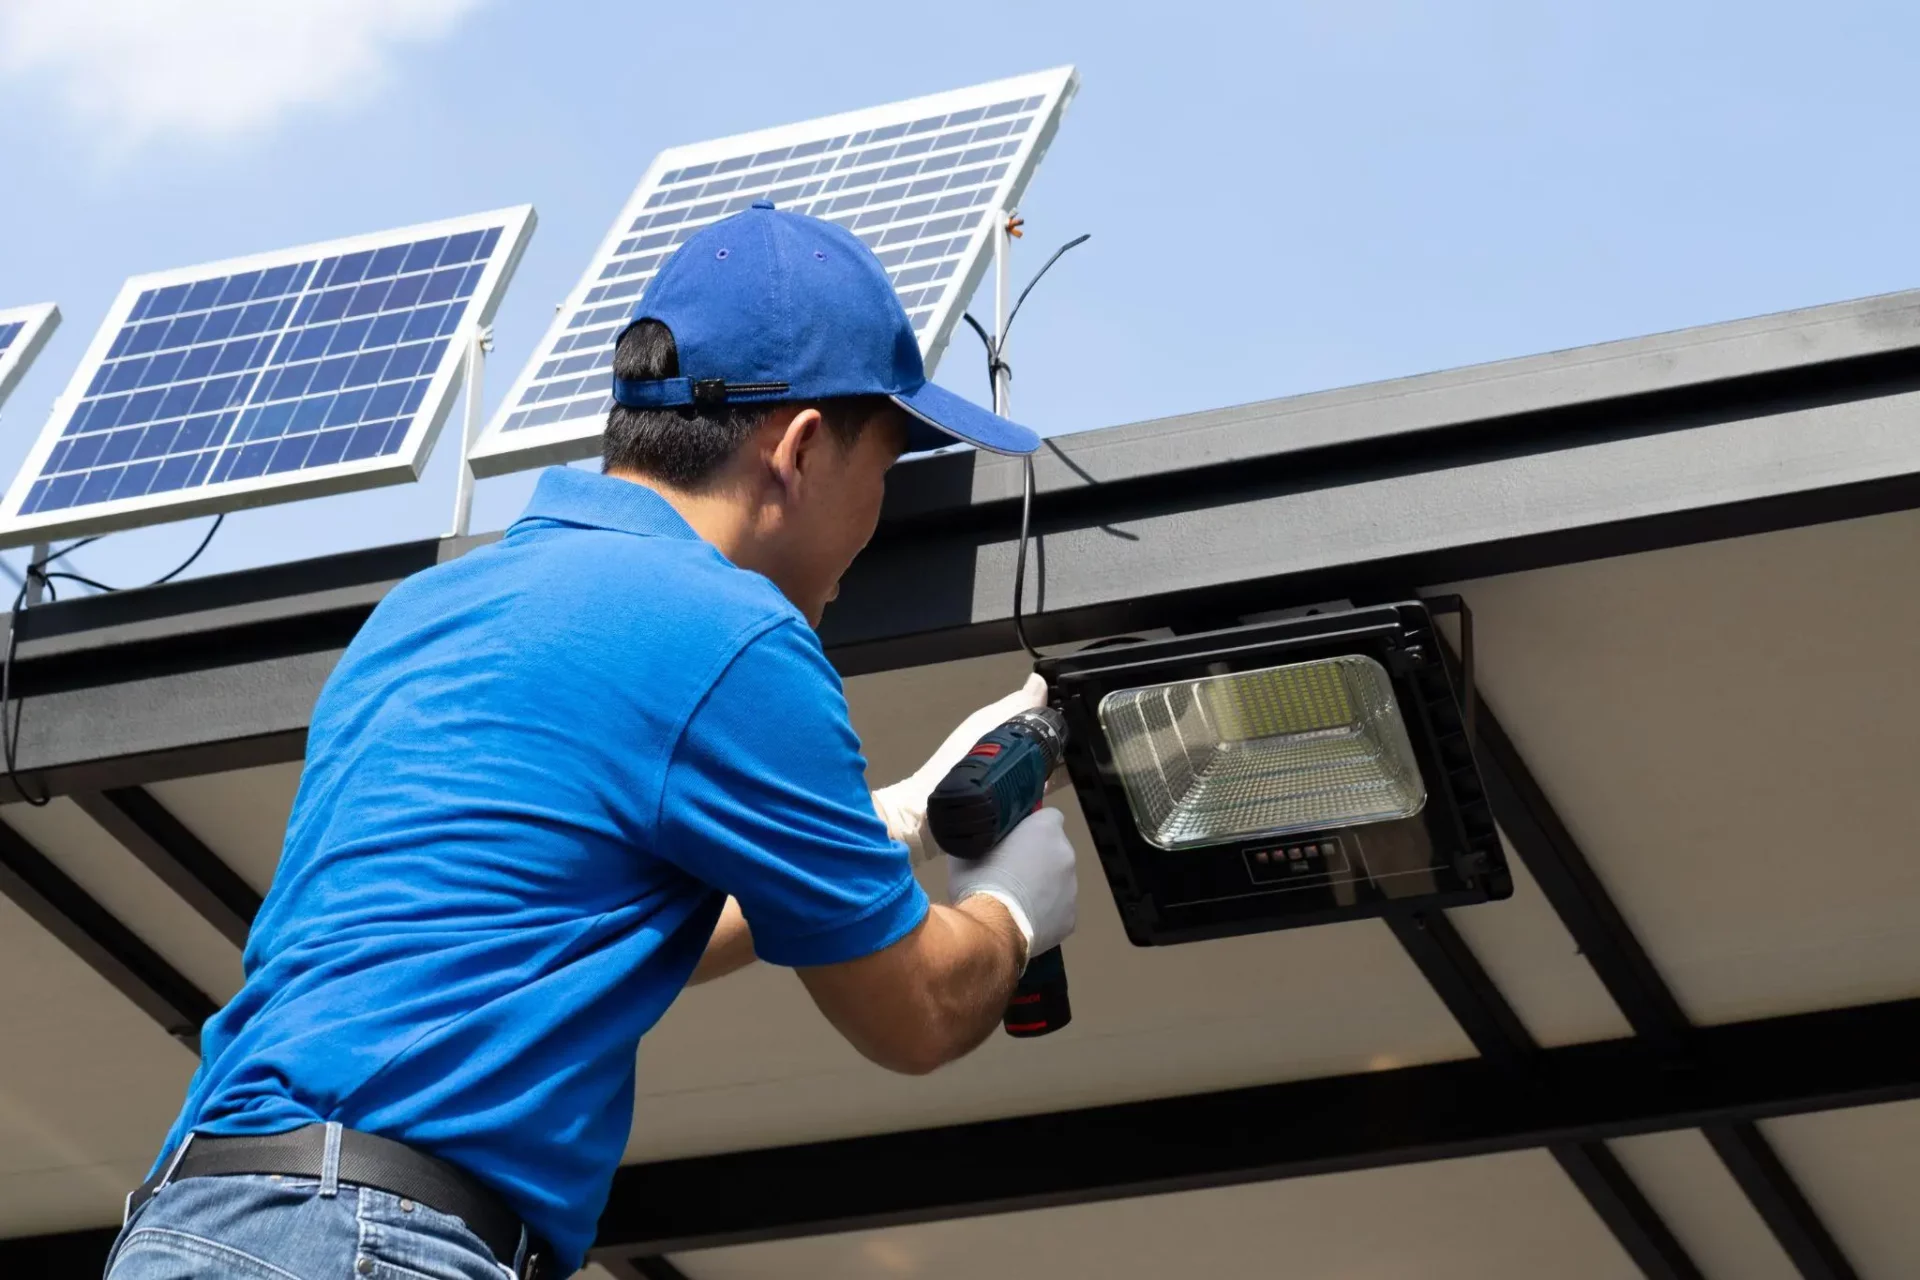
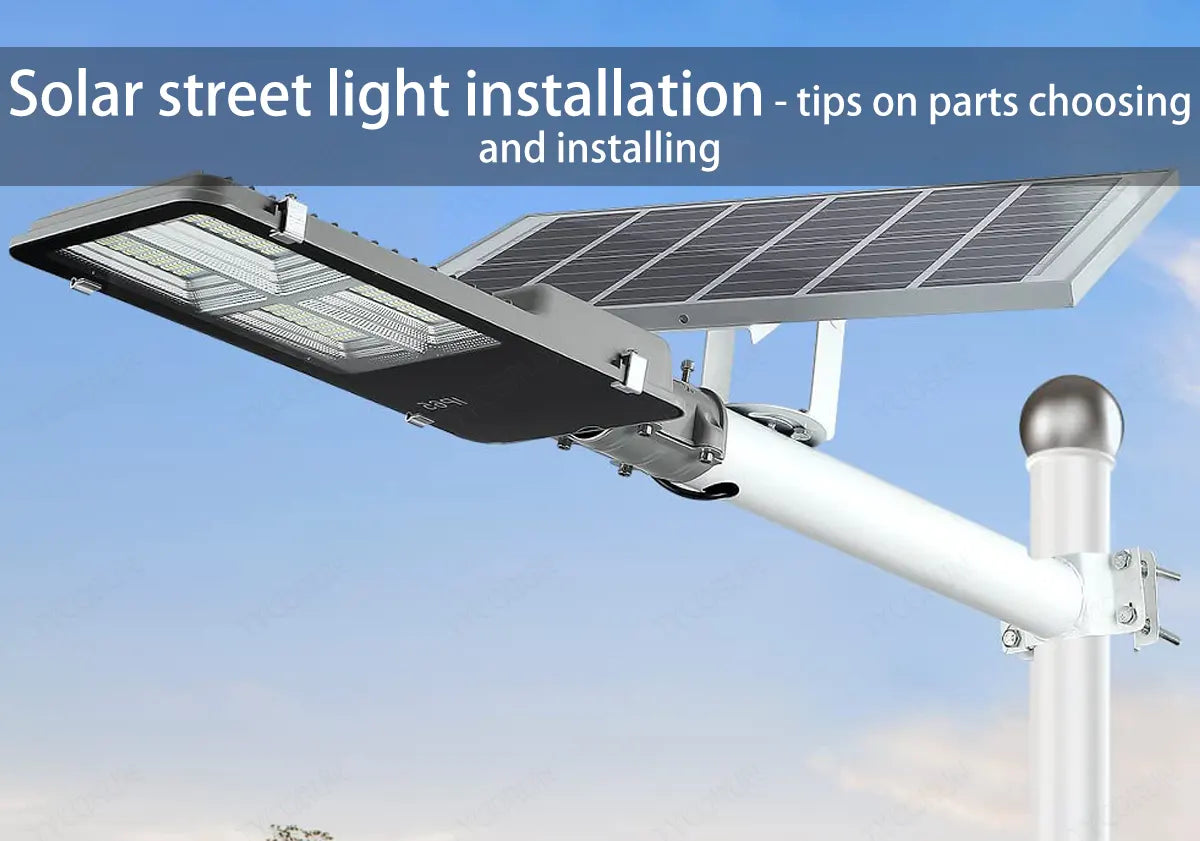
Aim the panel toward true south in the Northern Hemisphere and true north in the Southern Hemisphere. Set the tilt so the panel faces the sun at midday. Tighten the hinge screws so wind will not move it.Assemble the light head
Secure the head to the stake or bracket. Do not overtighten, as you can strip small screws. Make sure the heat sink is not blocked.Connect panel to controller or head
Match connectors and push until they click. If the kit uses a barrel jack, seat it fully. Add a light smear of dielectric grease to help prevent corrosion.Route and secure the cable
Run cables along a post or wall. Leave a gentle loop near the connection to act as a drip loop so water will not run into the connector. Use zip ties for a clean look.Seal the joints
Check gaskets on the head, panel junction box, and battery bay. Close doors firmly. If the manufacturer allows, place a thin bead of silicone around cable entry points.Turn the switch on
Many lights ship in OFF mode. Find the small switch or mode button. Set it to ON or Auto.Test the sensor in a dark area
Cover the panel to simulate night. The LEDs should light up after a short delay. If not, check the battery tab, switch state, and connections.Let it charge, then review performance
Allow a full day of sun. Confirm the light runs for the expected time at night. If run time is short, adjust the panel angle and remove shade.
Follow these steps each time you think about how to assemble solar light, and you will get consistent results across different brands and sizes.
Wiring and polarity made easy
Polarity matters. Red is positive, black is negative. Some kits use color-coded or keyed plugs to prevent mistakes. If you are unsure, use a multimeter to check the panel and battery leads. Good connections prevent flicker, short run time, and controller errors.
Keep connectors dry and clean. Wipe off dust, seat the plug until it clicks, and add a dab of dielectric grease. This simple habit has saved many of my installs through rainy seasons and salty coastal air when I show clients how to assemble solar light for the long run.
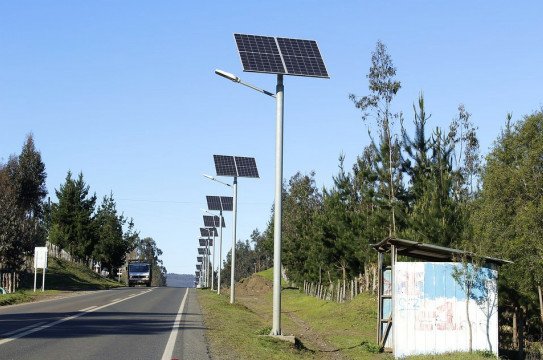
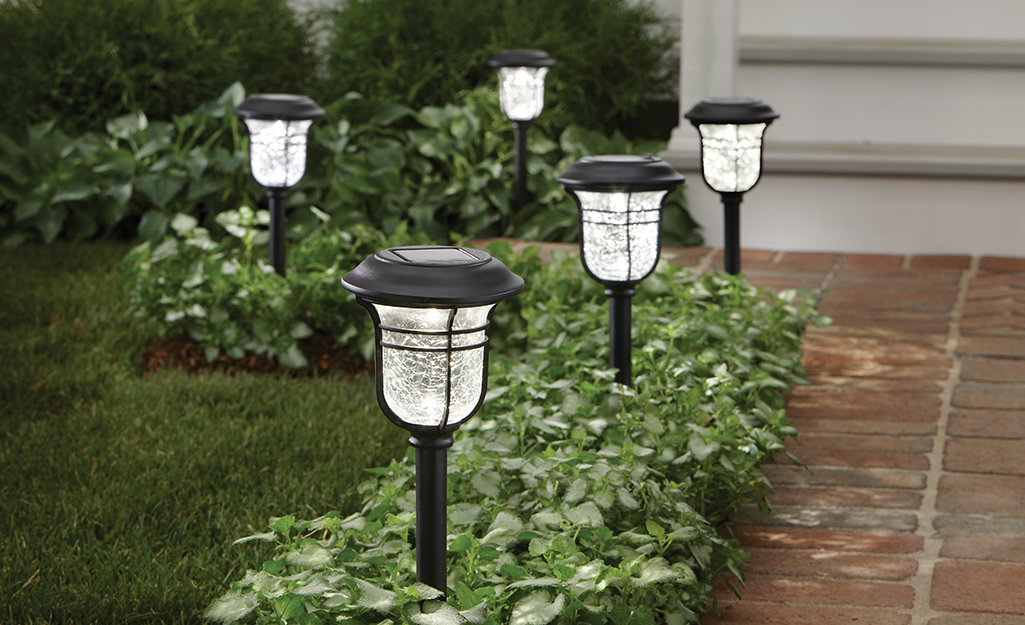
Placement and orientation for best performance
Solar panels love direct sun. A little shade can cut charge time a lot. Aim for at least 4 to 6 hours of full sun daily.
Use these placement tips:
- Face the panel toward the equator side of the sky for your location.
- Avoid shadows from roofs, trees, and fences.
- Tilt the panel so midday sun hits it square on.
- Keep panels cool and ventilated; heat reduces panel efficiency.
When you plan how to assemble solar light, think of the panel as a mini power plant. Good placement is the secret to long, bright nights.

Waterproofing and cable management
Most outdoor lights are rated for water and dust. Look for an IP rating on the box or label. Even with a rating, smart sealing helps.
Do this during assembly:
- Check that O-rings sit flat and clean.
- Do not pinch wires in housings.
- Create drip loops on all exposed cables.
- Keep connectors off the ground to avoid puddles.
Clean cable runs do more than look good. They protect your investment and are a core part of how to assemble solar light that lasts.
First-time testing and troubleshooting
If the light does not turn on at dusk, try this:
- Make sure the switch is ON or in Auto.
- Cover the panel with a cloth to trigger night mode.
- Confirm the battery tab is removed.
- Reseat connectors until they click.
- Give the battery a full sunny day to charge.
Common issues I see:
- Dim light: Panel is shaded or dirty. Clean and reposition.
- Flicker: Loose connector or low battery. Reseat and charge.
- Short run time: Old battery or undersized panel for the chosen mode. Lower brightness or replace the battery.
When people ask me how to assemble solar light and avoid problems, I always say: test in the dark, then test after a full day of sun.

Maintenance schedule and battery replacement
A little upkeep goes a long way.
- Clean the panel glass every month with a soft cloth and water.
- Check brackets and screws every season and retighten.
- Inspect connectors for corrosion and reapply dielectric grease.
Battery tips:
- NiMH batteries often last 1 to 2 years in path lights.
- Li-ion and LiFePO4 batteries can last 2 to 4 years with good charging.
- Replace the same type and voltage the kit specifies.
If you want to know how to assemble solar light for years of use, plan for battery swaps. It is normal wear, not a defect.

Safety, warranties, and when to call support
Treat batteries with care. Do not short terminals or crush cells. If a pack looks swollen or smells odd, recycle it safely and replace it.
Keep proof of purchase and note the model number. If a controller fails or a panel cracks, contact the maker before opening sealed parts. Most brands honor warranties if you follow the manual. Be honest about what you tried. This makes it easier to get help and keeps your approach to how to assemble solar light safe and reliable.
Frequently Asked Questions of how to assemble solar light
How long should I charge a new solar light before first use?
Give it a full day of sun, about 6 to 8 hours. This helps the battery reach a healthy starting level and improves first-night run time.
Can I assemble solar lights indoors and test them?
Yes, assemble indoors, then cover the panel to simulate night. For real performance testing, place the panel outside to get sun.
What tools do I need to assemble solar light at home?
A small Phillips screwdriver, zip ties, and a cloth are often enough. Dielectric grease and a multimeter help with weatherproofing and checkups.
Why doesn’t my light turn on after assembly?
It may be switched off, the battery tab may still be in place, or the panel has not charged enough. Check connections and give it a sunny day.
Can I mix batteries or use a higher-capacity pack?
Use the type and voltage listed by the manufacturer. Mismatched batteries can damage the controller or reduce lifespan.
Do I have to face the panel south?
In the Northern Hemisphere, south is best. In the Southern Hemisphere, face north. Aim for where the panel sees the most midday sun.
How often should I clean the solar panel?
Once a month is a good routine. Dust, pollen, and bird droppings can cut charging power more than you might expect.
Conclusion
You now know how to assemble solar light from unboxing to testing. Lay out parts, charge the battery, secure the panel, seal connections, and pick a sunny spot. Small details like polarity, drip loops, and clean glass make a big difference in nightly run time.
Put this guide into action today. Start with one light, learn the steps, and then scale up with confidence. If you found this helpful, share it with a friend, subscribe for more hands-on guides, or leave a comment with your setup and results.

Table of Contents