Measure, cut trim to size, glue to mirror, seal, and caulk.
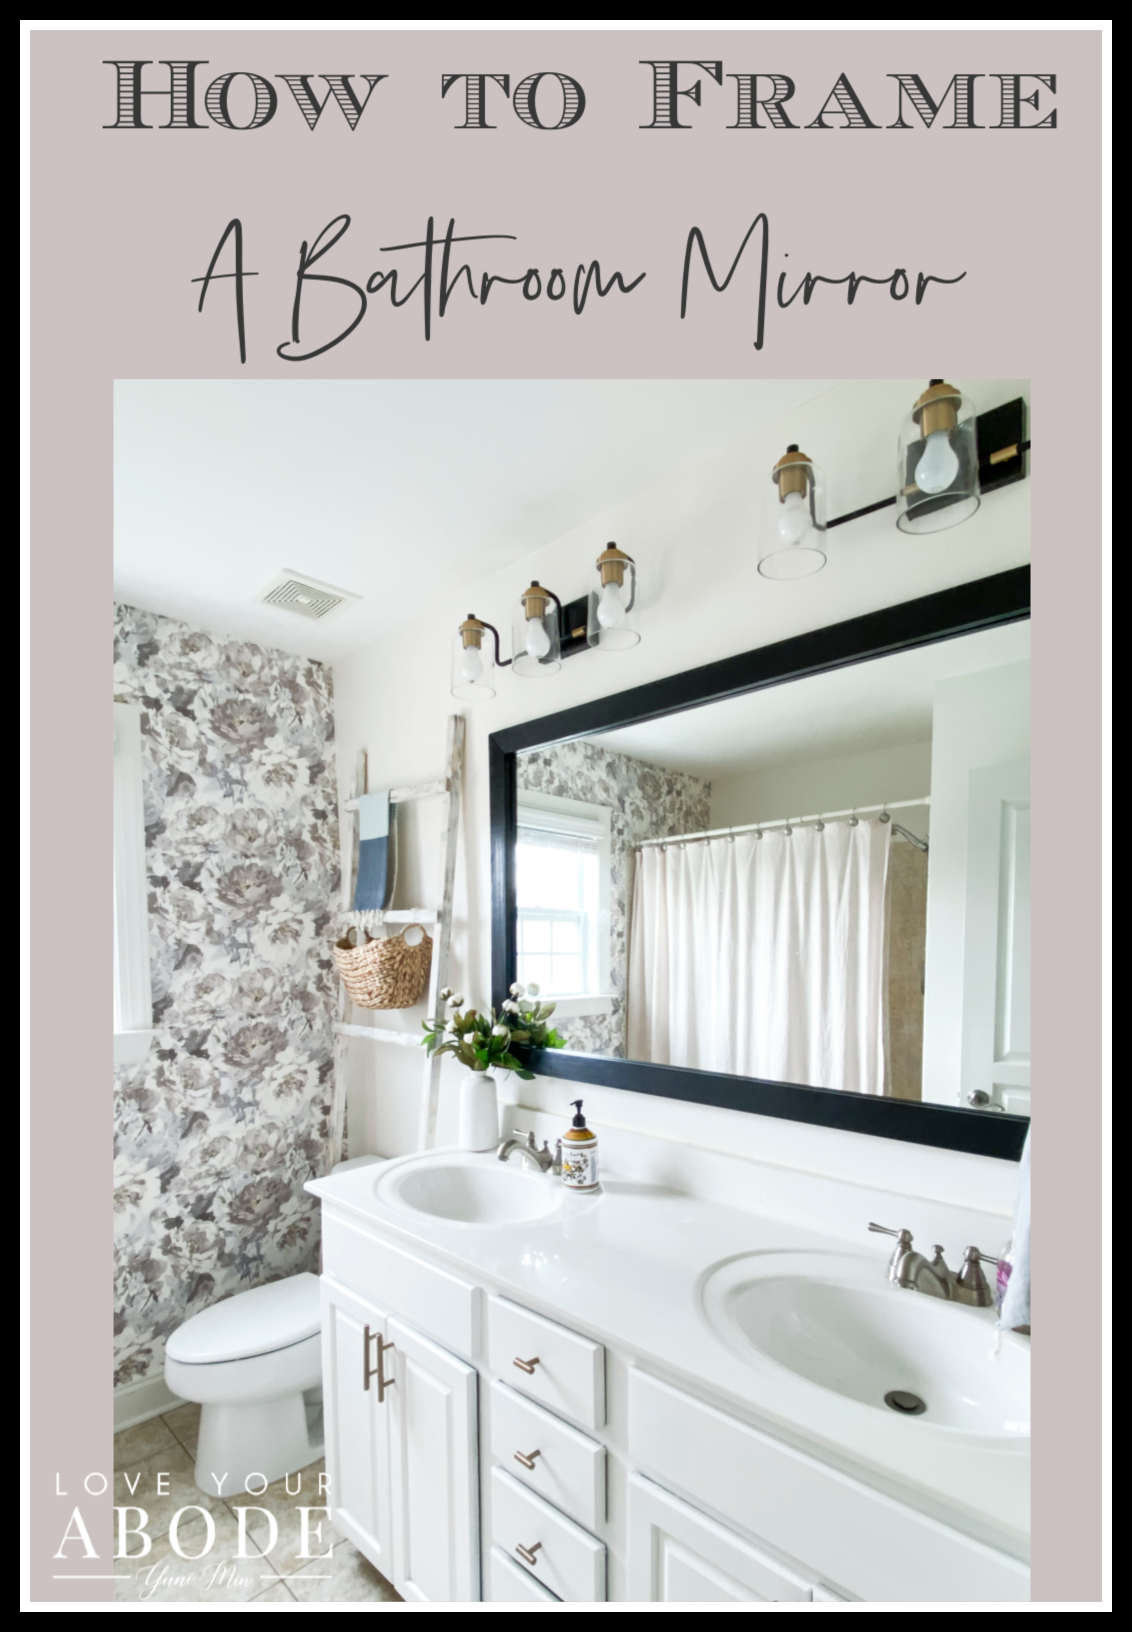
You want a fast, clean upgrade that looks custom. If you wonder how do you frame a bathroom mirror, this guide shows you every step with pro tips, safety notes, and budget advice. I’ve framed many builder mirrors in small baths and rentals. I’ll show you what works, what fails in humidity, and how to avoid rookie mistakes.
Why framing your bathroom mirror is worth it
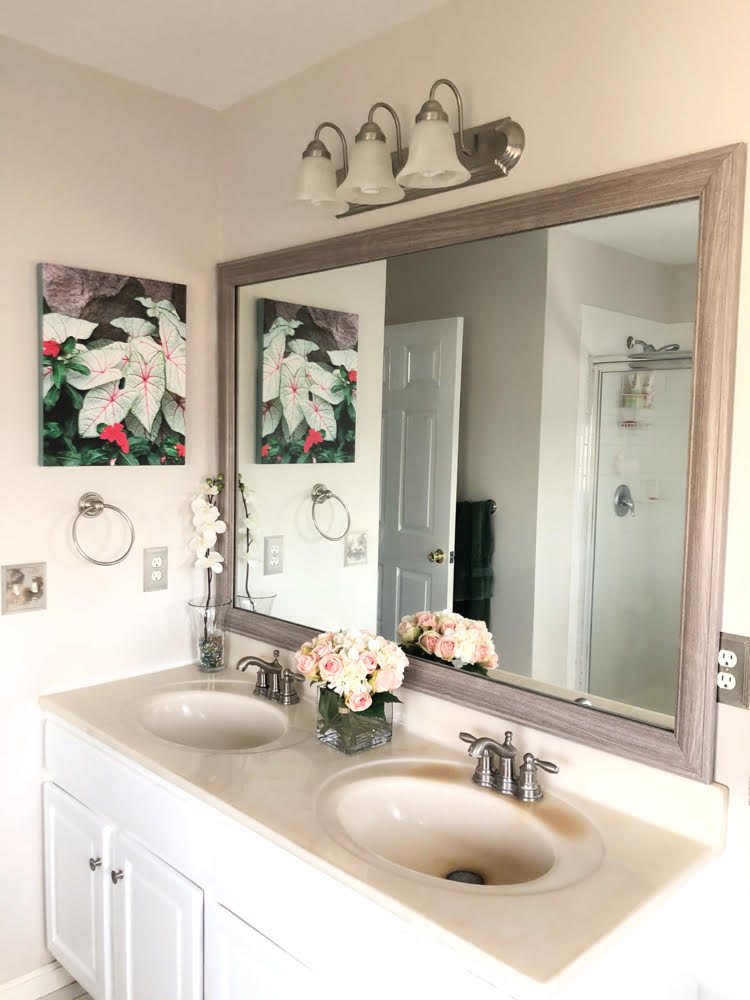
If you ask how do you frame a bathroom mirror, the goal is simple. You want a neat, finished edge that hides flaws and boosts style. A frame can cover black edge rot, chips, and old clips. It costs less than a new mirror and installs fast.
A framed mirror also helps your whole bath feel designed. It ties trim, hardware, and lighting together. You can match the vanity or make a contrast look. That makes a small bath feel polished.
Tools and materials you will need
Before you start, think through how do you frame a bathroom mirror in your space. Gather all tools so you work clean and quick. Set the mirror area with a drop cloth and tape.
Essentials:
- Tape measure and pencil
- Miter saw or miter box with fine-tooth saw
- Wood, PVC, or metal trim
- Corner clamps or painter’s tape
- Sandpaper, 120–220 grit
- Primer and paint or stain and clear coat
- Construction adhesive labeled mirror-safe or mirror mastic
- 100% silicone, neutral-cure, for bathrooms
- Isopropyl alcohol and lint-free cloths
- Safety glasses and cut-resistant gloves
- Spacers or low-profile clips if needed
Optional:
- Kreg corner jig or right-angle clamps
- Laser level or long level
- Backer strips (thin poplar) if the wall is uneven

Plan and measure like a pro
Start with this question: how do you frame a bathroom mirror without gaps? Measure twice, cut once. Write down width and height to the nearest 1/16 inch. Note any light fixtures, backsplashes, or outlets nearby.
Decide the overlap. Most frames cover 1/4 to 1/2 inch of mirror edges. More overlap hides damage. Less overlap looks slim and modern.
Quick math example:
- Mirror width: 36 inches. Overlap: 1/2 inch on both sides.
- Visible width after framing: 35 inches.
- Cut list for top and bottom rails: inside length 35 inches, plus miter.
If your mirror sits on clips, plan for notching the back of the frame or swapping clips. Check clearances to the faucet and backsplash. Dry-fit blue tape borders to see the final look.
Choose a framing method
People ask how do you frame a bathroom mirror when the mirror is already on the wall. There are four common ways. Pick the one that fits your skill, time, and style.
On-glass wood or PVC frame:
- Most popular DIY method.
- Fast, clean, and low mess.
- Use mirror-safe adhesive and silicone.
Peel-and-stick frame kit:
- Easiest and quick to install.
- Good for rentals and weekend projects.
- Limited profiles and finishes.
On-wall frame around the mirror:
- The frame mounts to the wall, not the glass.
- Great when you have thick clips or uneven walls.
- Needs more layout and fasteners.
Metal or composite frame systems:
- Slim, modern look.
- Moisture resistant and stable.
- Higher cost and special parts.
Step-by-step: Build and install a classic on-glass frame
This is my go-to process when clients ask how do you frame a bathroom mirror for a custom look. It fits most builder mirrors and takes an afternoon.
- Prep and clean
- Wipe the mirror edges with isopropyl alcohol.
- Lightly scuff the back of the trim where adhesive will go.
- Pre-finish the trim with primer and paint or stain and top coat.
- Measure and mark
- Mark the overlap on the mirror with painter’s tape.
- Dry-fit each piece and adjust your plan if needed.
- Use a level to check the top line.
- Cut miters
- Cut 45-degree ends for all four sides.
- Test the corners for tight joints.
- Sand cut edges smooth.
- Assemble or direct-apply
- For extra control, assemble the frame on a flat surface first.
- Or apply each rail straight to the mirror in place.
- Adhesive and set
- Run thin beads of mirror-safe adhesive on the back of the trim.
- Keep adhesive at least 1/2 inch away from the trim’s inner edge.
- Press each piece to the glass. Use tape as a clamp while it cures.
- Caulk and touch up
- Caulk the inner and outer seams with neutral-cure silicone.
- Fill tiny miter gaps with paintable filler if needed.
- Touch up paint once the caulk skins over.
Pro tip from the field:
- Back-prime wood trim to reduce warping in humid baths.
- PVC trim is a safe pick if you have poor ventilation.

Dealing with clips, bumps, and lights
A common worry is how do you frame a bathroom mirror with plastic clips. You have three simple options. Pick what suits your setup and comfort.
Options:
- Notch the back of the frame at clip spots with a chisel or router.
- Replace bulky clips with low-profile metal clips or plastic spacers.
- Switch to an on-wall frame so nothing touches the glass.
Mind the light bar or sconces. Turn off power at the breaker if you must loosen a fixture. Check that the frame clears the fixture base and any GFCI outlets.
 moisture and long life”
style=”max-width: 100%; height: auto; border: 2px solid black; border-radius: 10px; display: block; margin: 0 auto;”
loading=”lazy”
/>
Finishing for moisture and long life
The big question behind how do you frame a bathroom mirror is how to make it last. Bathrooms have steam, splashes, and heat. Seal the frame so water does not get in.
Best practices:
- Prime all sides of wood, even the back.
- Use enamel paint or marine-grade clear coat on stain.
- Run a tiny silicone bead at the inner edge to block steam.
Vent the room well for 72 hours while finishes cure. Do not hang wet towels over fresh paint. Avoid harsh cleaners on the frame for the first week.

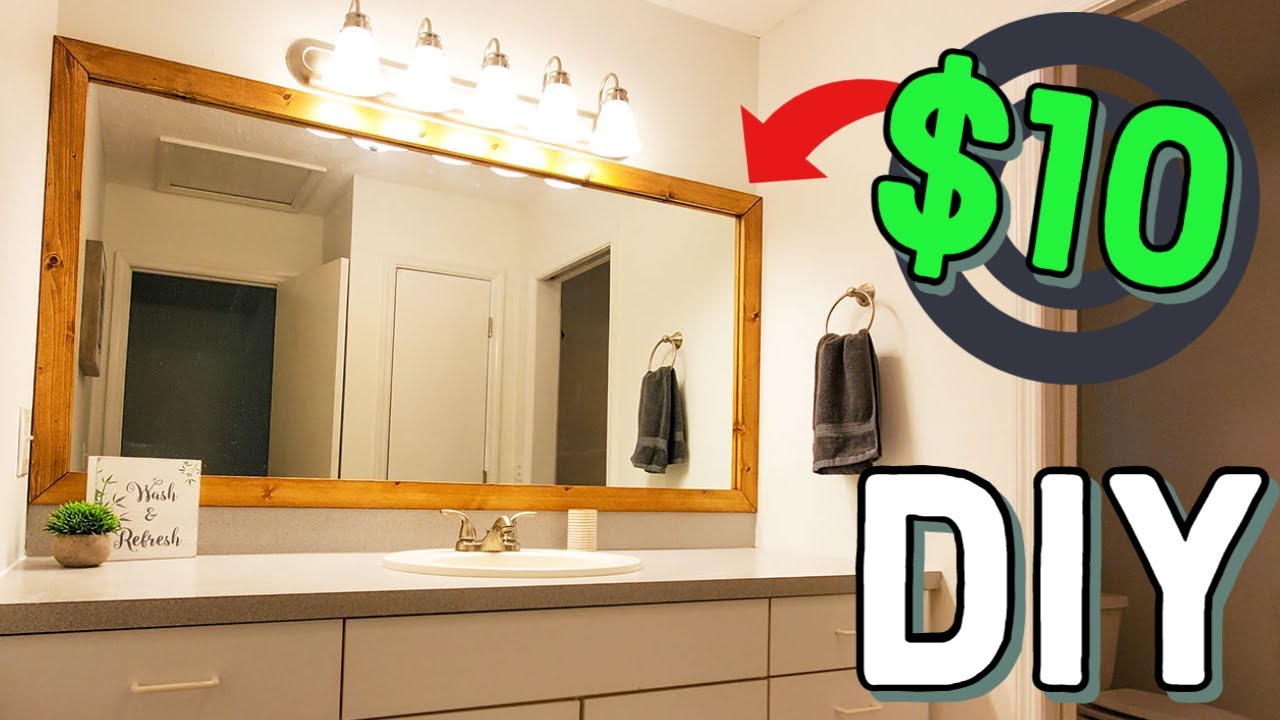
Cost, time, and common mistakes
People often ask how do you frame a bathroom mirror on a budget. You can do it for $40 to $120 with wood or PVC trim. Expect three to five hours, plus dry time.
Avoid these mistakes:
- Using non-mirror-safe adhesive that can damage the silver backing.
- Skipping back-priming, which can lead to edge swelling.
- Tight miters with no expansion room in humid spaces.
- Pushing the frame too close to the sink splash zone with no silicone.
From experience, tape is your friend. Use wide painter’s tape in a crisscross pattern to hold rails until the adhesive sets.
Safety, bonding, and code notes
Another key part of how do you frame a bathroom mirror is safety. Glass edges can be sharp. Wear gloves and eye protection. Do not pry on the mirror.
Adhesive notes:
- Use adhesives labeled mirror-safe or neutral-cure silicone.
- Keep adhesive at least 1/2 inch from the inner edge to protect the silver.
- Clean glass with alcohol only. Avoid ammonia where you will bond.
Check local rules if your mirror sits near a tub or shower. Some areas require tempered glass in wet zones. When in doubt, ask a local glass pro.
Care and cleaning
Once you know how do you frame a bathroom mirror, keep it fresh with simple care. Dust the frame each week with a soft cloth. Wipe the mirror with alcohol and water.
Do not spray cleaner into the frame seams. Spray the cloth, not the frame. Re-caulk tiny gaps if you see moisture creep or hairline cracks.
Design ideas that work in real homes
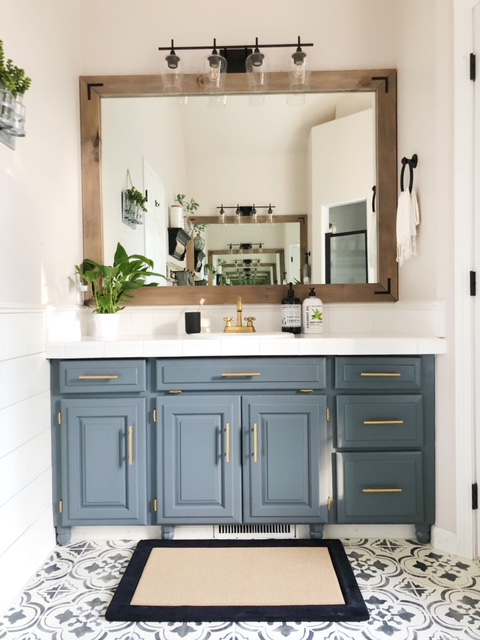
Style is the fun side of how do you frame a bathroom mirror. Match the vanity wood for a classic look. Or use flat black trim for a modern edge.
Try these:
- Light oak frame with warm brass pulls.
- White painted frame with shaker doors.
- Slim metal channel for a hotel vibe.
- PVC trim in a steamy guest bath with no window.
Test your finish against your wall color and tile. Put samples under your bath lights at night. Light changes everything in small rooms.
Frequently Asked Questions of how do you frame a bathroom mirror
What adhesive should I use on glass?
Use mirror-safe construction adhesive or neutral-cure silicone. Avoid solvent or acidic products that can damage the mirror backing.
Can I frame a mirror with clips?
Yes. Notch the frame back to clear clips or switch to low-profile clips. You can also mount the frame to the wall instead of the glass.
How do I fix small gaps at the miter corners?
Fill tiny gaps with paintable wood filler and sand smooth. Finish with touch-up paint and a thin silicone bead.
Will a wood frame warp in a humid bathroom?
It can if not sealed. Back-prime, use enamel or urethane, and run silicone at the inner edge to block steam.
How long should I tape the frame while the adhesive cures?
Keep painter’s tape on for 24 hours or per product directions. Avoid splashes and cleaning for a few days.
Can I remove the frame later without breaking the mirror?
Yes, but go slow. Use a plastic putty knife and a thin wire to cut the adhesive while supporting the trim.
What if my mirror has black edge rot?
Increase overlap to cover the damage. Seal the inner seam with silicone to prevent more moisture intrusion.
Conclusion
You now know how do you frame a bathroom mirror with confidence. Measure well, pick the right method, and seal your finish. Keep it simple and neat, and your bath will look new for less.
Ready to start? Grab your trim, test a corner, and try one wall today. Share your results, ask questions, or subscribe for more step-by-step home upgrades.

Table of Contents