Turn off power, mount bracket, connect wires, attach fixture, test for safety.
If you want to know how to install vanity light like a pro, you are in the right place. I have installed dozens in bathrooms large and small, and I will show you how to install vanity light with clear steps, smart safety tips, and solutions for real-world snags. Stick with me, and you will learn how to install vanity light with confidence and clean results.
What you will need
Gather everything before you start. It keeps the job calm and fast.
- Non-contact voltage tester checks that power is off.
- Screwdrivers flat and Phillips for brackets and cover plates.
- Drill and bits for pilot holes and wall anchors.
- Wire strippers and cutters for clean copper ends.
- Wire connectors and electrical tape for secure splices.
- Level and tape measure for straight lines and spacing.
- Pencil and painter’s tape for marks that remove clean.
- Mounting hardware and the new vanity light for final fit.
- Safety glasses and gloves for eye and hand protection.
I always lay a towel over the vanity top. It saves your countertop and catches screws. With the right tools ready, how to install vanity light becomes a simple, steady process.
Safety first and prep
Turn off the breaker to the bathroom circuit. Do not trust the wall switch. Use a non-contact tester on all wires to confirm power is off.
Check that the electrical box is securely fastened and rated for fixtures. Boxes should be flush with the finished wall. If not, use a box extender. Local codes often require a GFCI-protected circuit in bathrooms. When in doubt, call a licensed electrician.
Label your breaker if it was wrong in the panel. Future you will thank you. Safety is the base of how to install vanity light the right way.

Plan your layout
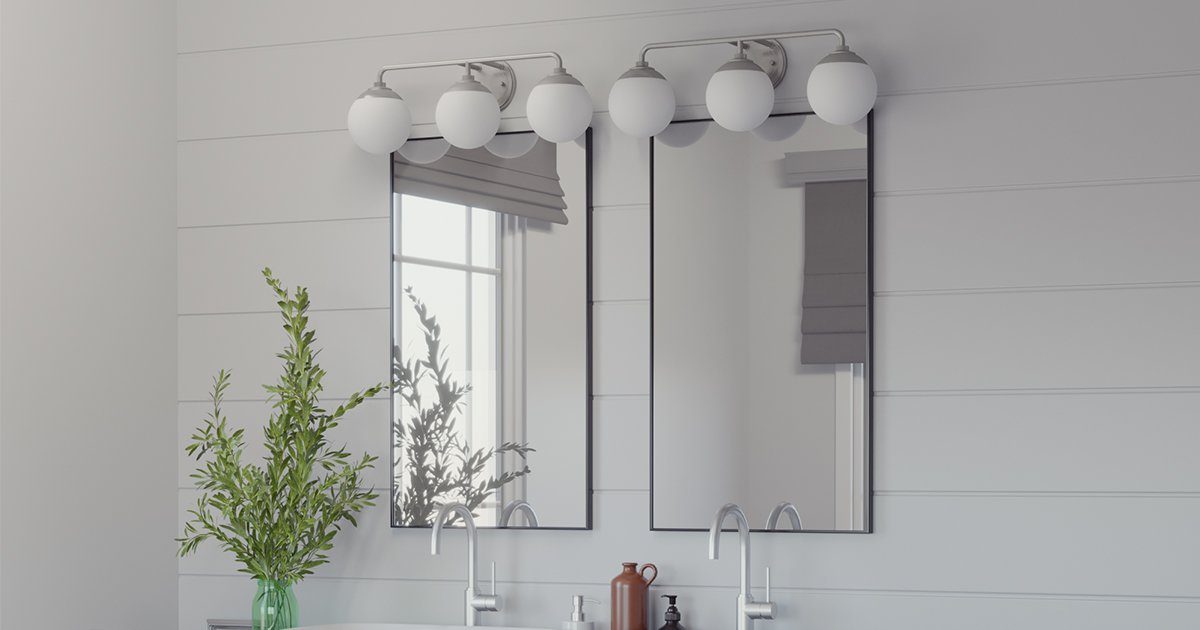
Good layout makes the light look custom. Center the fixture over the sink or mirror. Standard height is about 75 to 80 inches from the floor to the center of the fixture, but adjust for your mirror size and ceiling height.
Choose the width. A single bar should be about 60 to 75 percent of the mirror width. For two sconces, place them 65 to 70 inches from the floor and about eye level. Planning like this makes how to install vanity light feel easy on install day.
Personal tip: Use painter’s tape to outline the fixture on the wall. You can step back and check symmetry before you drill.
Electrical basics you must know
In most US homes, black is hot, white is neutral, and bare or green is ground. You may also see a red wire, which is a switched hot. Always match hot to hot, neutral to neutral, and ground to ground.
Use the right wire connectors and tug-test every splice. If your switch controls a fan and light together, there may be two hots in the box. Follow the fixture diagram. Understanding these basics turns how to install vanity light into a clean, code-aware job.
If you have aluminum wiring, old cloth wiring, or no ground, stop and call a pro. Some setups are not DIY-safe without upgrades.
Step-by-step: how to install vanity light
Follow these steps and take your time. Small details make a big difference.
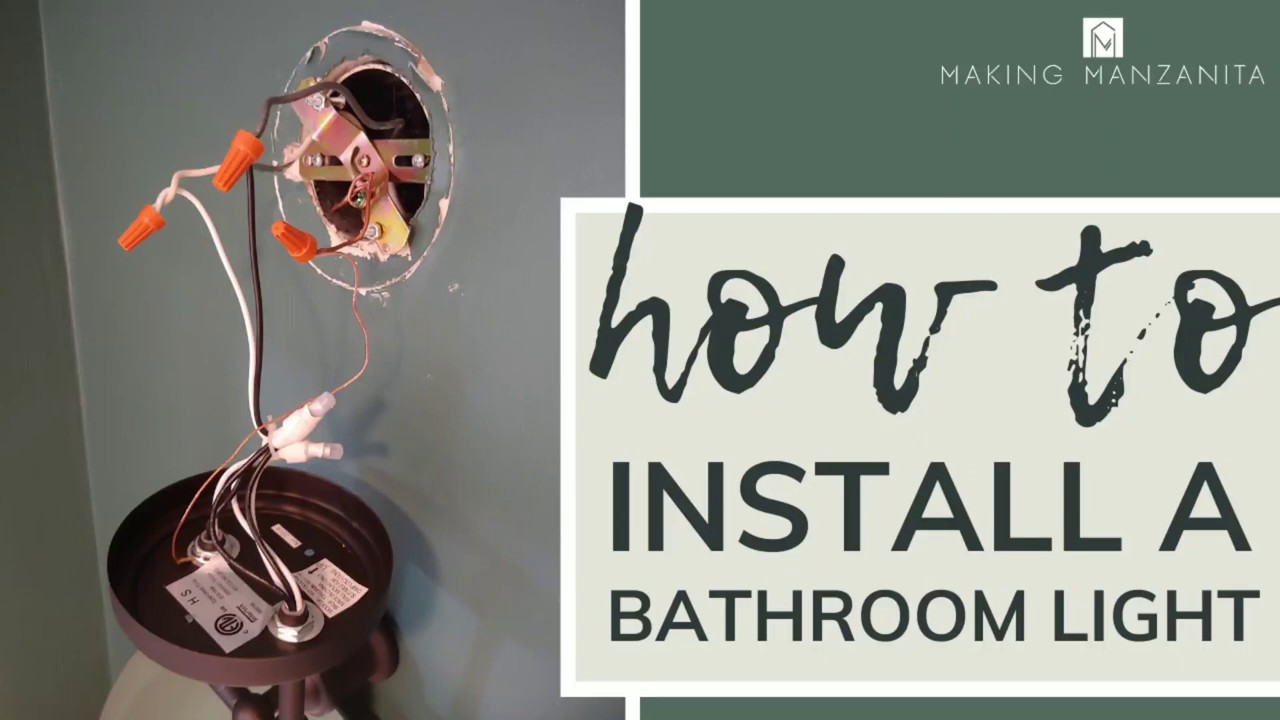
- Kill power at the breaker. Confirm with a non-contact tester on every wire.
- Remove the old fixture. Support it with one hand as you loosen screws. Untwist wire connectors and separate the wires.
- Inspect the box. Tighten loose screws. Add a box extender if it sits back from the wall.
- Dry fit the new bracket. Hold it level and mark holes with a pencil.
- Drill pilot holes. Use wall anchors only if you cannot hit a stud or the box mounting holes.
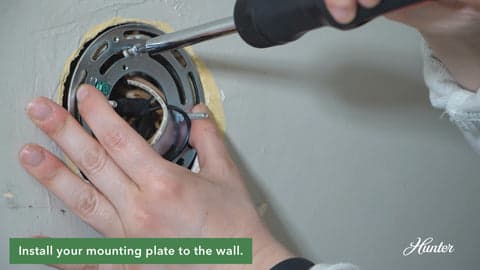
- Mount the bracket. Set it level. Snug the screws, but do not overtighten and bend it.
- Prep the fixture wires. Strip about 1/2 inch of insulation for clean copper ends.
- Connect the ground. Attach the bare or green house wire to the green screw on the bracket and to the fixture ground with a pigtail if needed.
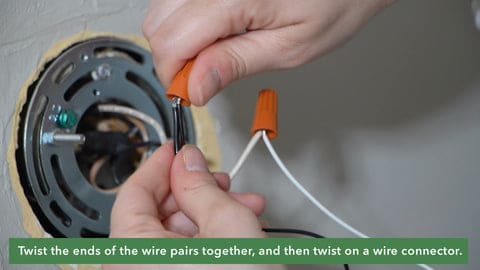
- Connect neutral to neutral. Twist white to white. Cap with a connector and tug-test.
- Connect hot to hot. Twist black to black, or black to red if the switch leg is red. Cap and tug-test.
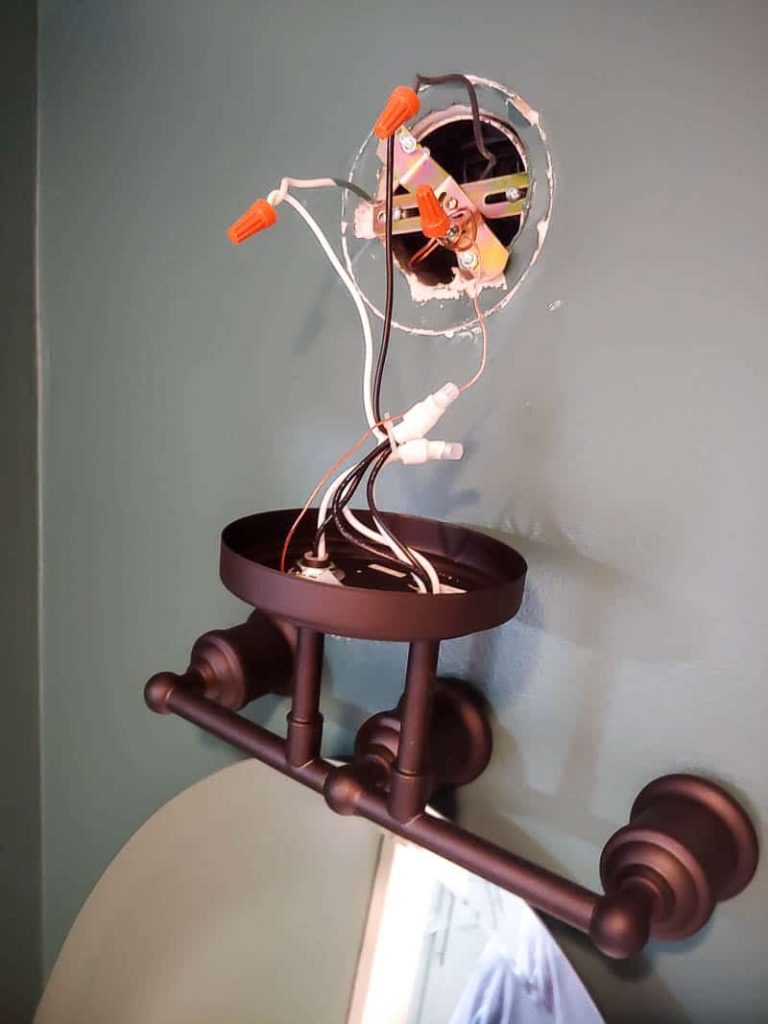
- Tuck wires carefully. Fold them back into the box in gentle loops. Do not pinch.
- Mount the fixture body. Align the screws and tighten until flush. Do not crack the base.
- Install bulbs and shades. Use the correct wattage and style the maker recommends.
- Restore power and test. Flip the switch. If it does not light, turn power off and recheck connections.
A small bubble level on top of the fixture keeps things straight. This method is how to install vanity light with pro-level results at home.
Special scenarios and pro tips
Old walls are never perfect. Here is how to handle common issues.
- Off-center box: Use a wider backplate or a light bar that covers the offset. This keeps how to install vanity light simple without opening the wall.
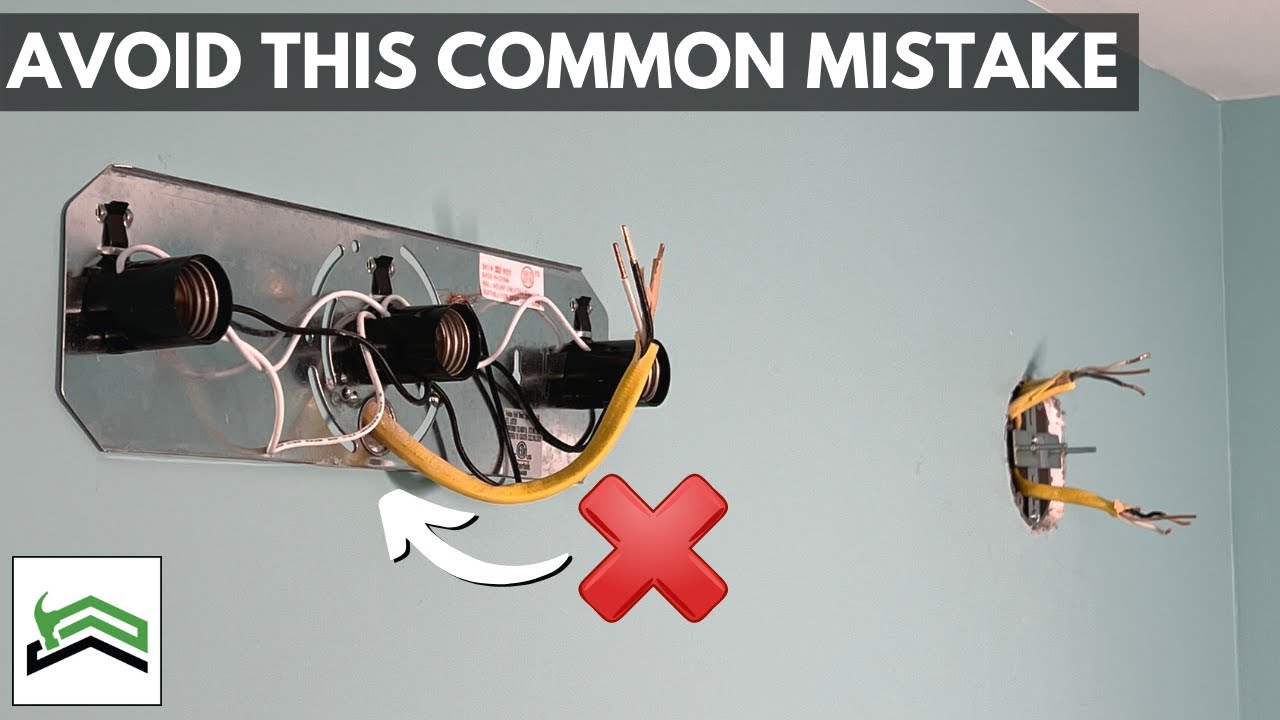
- No junction box: Do not attach a fixture straight to drywall. You must add a rated box. Surface-mount raceways can help when opening walls is not an option.
- Crumbly drywall: Add new anchors or install a wood backing strip behind the drywall if you open a small area. Support matters.
- No ground wire: Use a GFCI-protected circuit and call a pro about grounding. Do not fake a ground. It is unsafe.
- Heavy fixture: Verify the box is metal or a strong plastic box fastened to framing. Upgrade the box if needed.
Pro tip from experience: When the mounting studs are too long and the cap nuts bottom out, add a small washer behind the bracket. It saves time and keeps how to install vanity light frustration-free.
Troubleshooting and quick fixes
If the light will not turn on, check the breaker, the switch, and each connector. One loose neutral can kill the circuit.
If bulbs flicker, tighten bulbs, replace cheap dimmers, or switch to dimmer-compatible LED bulbs. Buzzing often means an incompatible dimmer.
If the fixture is crooked, loosen slightly, add a thin cardboard shim behind the low side, and retighten. This trick has saved many install days and keeps how to install vanity light looking clean.

Cost, time, and when to call a pro
Most DIY installs take 45 to 90 minutes once you have tools ready. Expect to spend 10 to 30 dollars on small materials if you already have tools.
Hire a licensed electrician if you have aluminum wiring, no ground, water damage, or mystery wires. Labor rates vary, but a simple swap is often one to two hours. Knowing when to delegate is part of how to install vanity light safely and wisely.
Maintenance, bulbs, and upgrades
Choose bulbs with 2700K to 3000K for warm light or 3500K to 4000K for crisp task light. A high CRI, 90 or above, shows true skin tones.
Clean glass shades with mild soap and water every few months. Dust kills brightness. Consider a quality dimmer designed for LEDs. This small upgrade improves comfort and completes how to install vanity light the smart way.
Frequently Asked Questions of how to install vanity light
Do I need a permit to install a vanity light?
Most areas do not require a permit to swap a fixture on an existing box. New wiring or moving a box may need a permit and inspection.
What height should I mount a vanity light?
Aim for 75 to 80 inches from the floor to the center of the fixture for a bar. For sconces, place them near eye level on each side of the mirror.
Can I install a vanity light without a ground wire?
It is not recommended. Use a GFCI-protected circuit and consult a licensed electrician to add proper grounding.
What size vanity light should I buy?
Choose a bar about 60 to 75 percent of your mirror width. For two sconces, keep them even with the mirror edges and spaced for balance.
Are LED bulbs better for bathroom vanity lights?
Yes. LED bulbs run cool, save energy, and last long. Choose dimmer-compatible bulbs with high CRI for the best skin tone rendering.
Conclusion
You now know how to install vanity light from start to finish, with safety, planning, and finesse. With the right tools, a good layout, and careful wiring, your bathroom can look brighter and feel more polished in under two hours.
Take the next step today. Pick your fixture, gather supplies, and follow the steps. If you found this helpful, subscribe for more DIY guides, or leave a comment with your how to install vanity light success story.

Table of Contents