Use a rigid coupler, strong sealant, and self-fusing tape for a durable hose repair.
If your vacuum lost suction, the hose is often the culprit. In this guide, I share the best way to fix vacuum hose issues fast and right. I’ll show you what works on rubber, PVC, and corrugated plastic hoses, plus mistakes to avoid from years of repairing shop vacs and uprights in the field. Read on to save money, restore suction, and make the fix last.

How vacuum hoses fail and why your fix matters
Small leaks steal suction. Cracks widen under stress. A quick tape job can hold for a day, but it often peels. The best way to fix vacuum hose damage is to make a sealed splice that can flex and stand up to use.
Most hoses fail at high-stress points. Look near the cuff, at tight bend spots, or where the hose rubs. If the hose is brittle or flattened, a clean splice beats patching thin walls.

Tools and materials that actually work
You do not need a shop full of tools. You need a tight fit and a seal that will not peel. For most hoses, a rigid coupler and stretch tape give the longest life. That is the best way to fix vacuum hose damage in daily use.
Have these on hand:
- Rigid coupler or hose mender sized to your hose. Measure inner and outer diameter before you buy.
- Self-fusing silicone tape. It bonds to itself and seals under tension.
- Two small hose clamps or heat-shrink tubing. These lock the splice.
- Cutting tool. A sharp utility knife or PVC cutter makes square cuts.
- Cleaning wipes. Isopropyl alcohol removes dust and oil.
- Adhesive matched to hose type. PVC cement for PVC hoses. Contact cement for rubber. Most corrugated PE or PP will not glue well, so rely on the coupler, clamps, and tape.
Pro tip: A barbed coupler grips corrugated hoses better than a smooth tube.
The best way to fix vacuum hose: step-by-step
Here is the method I use in homes and shops. It is strong, simple, and cheap. It is the best way to fix vacuum hose problems for most brands and sizes.
Step 1: Unplug and find the leak
- Run the vacuum and flex the hose. Listen for a hiss.
- Feel for air with your hand. Mark the spot with tape or a marker.
- If needed, dip a rag in soapy water, wipe the area, and look for bubbles.
Step 2: Prep and cut
- Wipe the hose clean and dry.
- Cut out the cracked section with two square cuts. Keep the gap short.
- If the crack is near a cuff, remove the cuff to give space for the coupler.
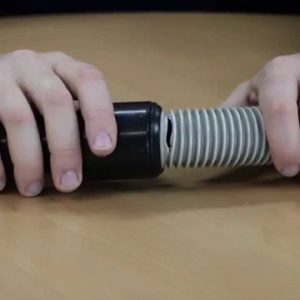
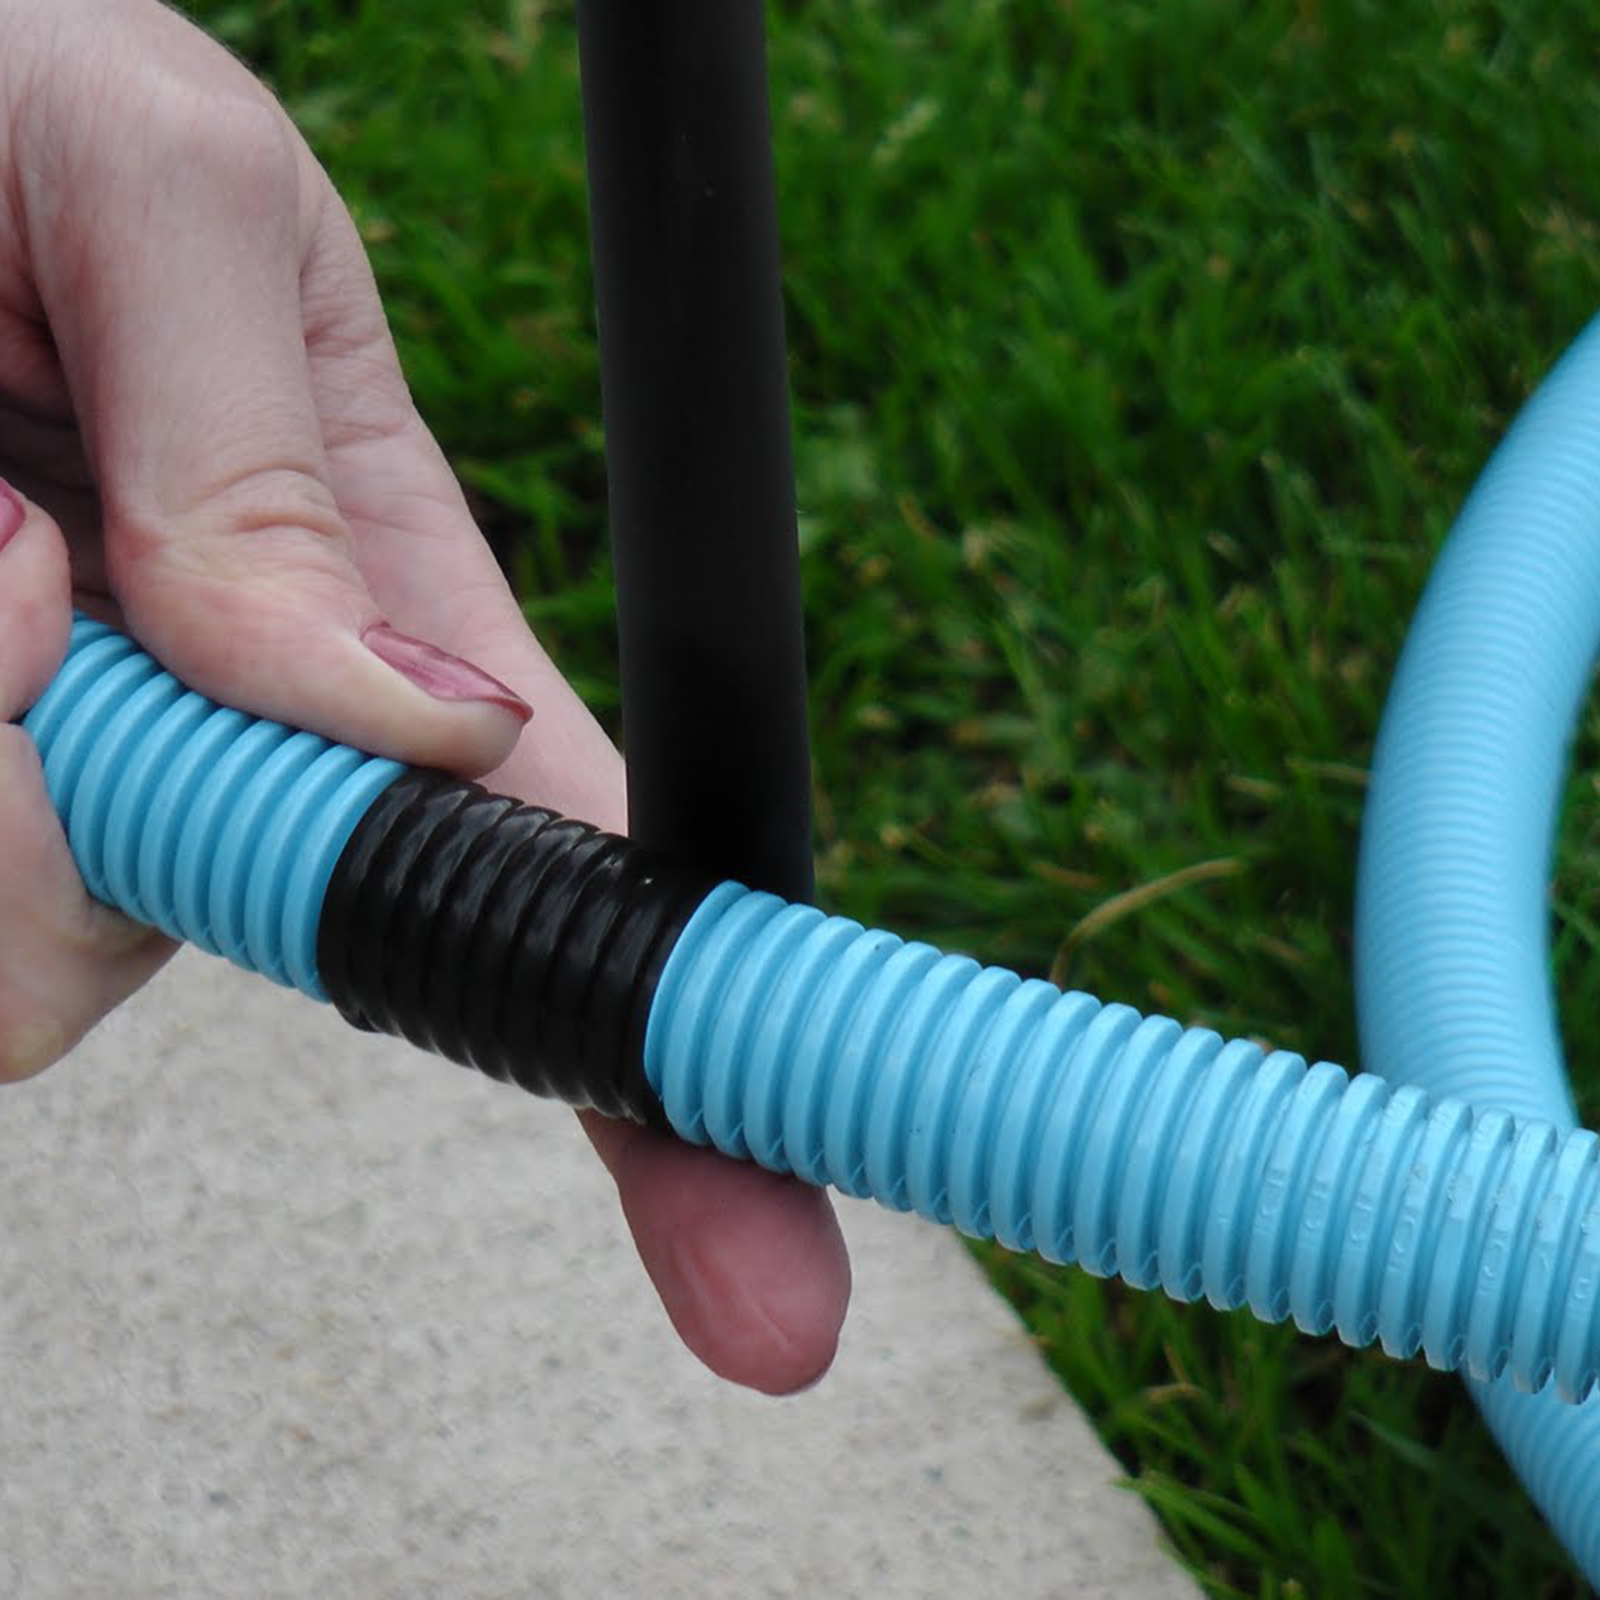
Step 3: Fit the coupler
- Test the coupler in the hose ends. It should be snug.
- Warm stiff plastic with hot water for one minute to ease the fit.
- Push the coupler halfway into one end, then join the other end.
Step 4: Add adhesive only if it bonds your hose
- PVC hose to PVC coupler: use PVC cement. Quick, strong.
- Rubber hose: a thin layer of contact cement can help.
- Corrugated PE or PP: skip glue. It will not hold well. Use clamps and tape.
Step 5: Lock the splice
- Tighten a small clamp at each side of the coupler. Do not crush the hose.
- Or slide heat-shrink over the joint and shrink it for a snug sleeve.
Step 6: Seal the outside
- Stretch self-fusing silicone tape to about double length as you wrap.
- Overlap by half a width. Cover one inch past the joint on both sides.
- Press it down. It bonds to itself in minutes and sets firm.
Step 7: Let it set and test
- Give adhesives the cure time on the label.
- Run the vacuum. Block the nozzle with your hand. Listen for leaks.
- If you hear a hiss, add one more tight layer of silicone tape.
This splice bends, seals, and lasts. It beats plain duct tape by a mile. It is also the best way to fix vacuum hose trouble when the hose material does not glue well.

Fast temporary fixes when you need to clean now
Sometimes you just need suction today. Use a quick patch, then do a proper splice later. Even a stopgap can buy you time while you gather parts. Still, the best way to fix vacuum hose damage for the long run is a coupler splice.
Try these quick fixes:
- Self-fusing silicone tape. Stretch tight and overlap. Good for days to weeks.
- Duct tape. Works for smooth hoses, but peels on corrugations.
- Zip ties over tape. Adds pressure so the tape grips the ridges.
- Moldable rubber. Press into a small hole, then tape over it.
Mark the spot so you can return for a proper repair.

Match the fix to the hose material
Not all hoses are the same. Pick the right mender and adhesive. That is the best way to fix vacuum hose joints that need to flex and seal.
- Corrugated PE or PP (common on shop vacs). Glues do not bond well. Use a barbed coupler, clamps, and self-fusing tape.
- PVC smooth-wall or central vacuum hose. PVC cement to a PVC coupler makes a strong chemical weld.
- Rubber or rubber-blend hose. Contact cement or a rubber-tough super glue can help. Still use a coupler for strength.
- Reinforced fabric hose. Use a mender kit with clamps. Skip brittle glues.
When in doubt, rely on a tight mechanical fit.

When to repair and when to replace
A clean break in the middle of the hose is easy to fix. A shredded hose near the handle or multiple splits may not be worth the work. The best way to fix vacuum hose issues still has limits.
Replace the hose if:
- The hose wall has many cracks or turns sticky or brittle.
- The break is at a molded cuff you cannot remove or match.
- The repair would leave the hose too short to use.
Compare prices. A mender kit is cheap. Some branded hoses cost more than a new mid-range vacuum.
Prevent leaks and future breaks
A little care avoids repeat repairs. The best way to fix vacuum hose problems is to stop them before they start.
- Store the hose in wide loops. Avoid tight kinks.
- Keep it off hot pipes, heaters, and sharp edges.
- Do not pull the vacuum by the hose. Grab the handle or body.
- Empty the canister and clean filters. Low airflow raises hose stress.
- Check cuffs and seals every few months.
These small habits add years to a hose.

Troubleshooting after a repair
If suction still seems weak, do a quick check. The best way to fix vacuum hose issues includes a test plan.
- Block the nozzle with your hand. If the motor pitch changes, airflow is better.
- Check all joints and the canister lid. A leak there can mimic a hose issue.
- Look down the hose for clogs. A small toy or screw can hide in a ridge.
- Verify your coupler is centered. A gap can let air sneak in.
If you still hear a hiss, add one more wrap of silicone tape and retest.

Cost, time, and real-world results
Expect to spend under twenty dollars for a coupler, clamps, and tape. The repair takes about 20 to 30 minutes. In my shop, these splices outlast plain tape by months. For most home users, the best way to fix vacuum hose damage is this simple coupler method.
I have used it on uprights, canisters, and shop vacs. It helps renters, owners, and pros keep work moving with little downtime.
Safety notes and smart handling
Unplug before you start. Sharp blades slip on ridged hoses, so cut slow and away from your hand. Ventilate if you use strong glues. Wear eye protection when tightening clamps. Safe steps are part of the best way to fix vacuum hose problems.
Frequently Asked Questions of best way to fix vacuum hose
What is the simplest long-lasting repair?
Use a rigid coupler, two clamps, and self-fusing silicone tape. This combo is strong, flexible, and seals well on most hose types.
Can I just use duct tape?
You can for a day or two, but it lifts on ridges and dust. A coupler splice with silicone tape lasts much longer.
How do I know what size coupler to buy?
Measure the inner diameter and outer diameter of the hose. Bring a cut piece to the store if you can to test the fit.
Will glue work on corrugated plastic hoses?
Most are polyethylene or polypropylene, and many glues do not stick well. Use a barbed coupler, clamps, and self-fusing tape instead.
What if the crack is near the handle or cuff?
Remove the cuff if possible and splice behind it. If the cuff is molded and fixed, you may need a new hose section or a full replacement.
Is heat-shrink better than clamps?
Heat-shrink gives a smooth sleeve and helps seal. Clamps add stronger mechanical grip. Using both is fine on tough jobs.
How long should I wait before using the vacuum after repair?
If you used adhesive, follow the cure time on the label. If you used only a coupler, clamps, and silicone tape, you can often use it after a few minutes.
Conclusion
You can fix a leaky hose fast and make it last. A snug coupler, proper adhesive when it helps, and a tight wrap of self-fusing tape form a tough, flexible joint. That simple method is the best way to fix vacuum hose damage for most homes and shops.
Set aside half an hour, gather a mender kit, and bring your vacuum back to full suction. Try the steps today, then share your results or questions so others can learn from your repair.

Table of Contents