Unscrew the broom head, swap the brush block, and tighten it back.
If you want a clean sweep, knowing how to change standard sweeper brush for broom is a simple win. I’ve changed dozens in homes, shops, and job sites, and the process is quick once you spot the right attachment. This guide gives you clear steps, pro tips, and mistakes to avoid so you can get a firm, straight, shed-free fit that lasts. Stick with me and you’ll master how to change standard sweeper brush for broom like a pro.

What You’ll Need
Before you start, gather the exact tools and replacement parts. This keeps the job fast and safe. It also helps you avoid stripped threads and wobbly heads later.
Essentials you may need:
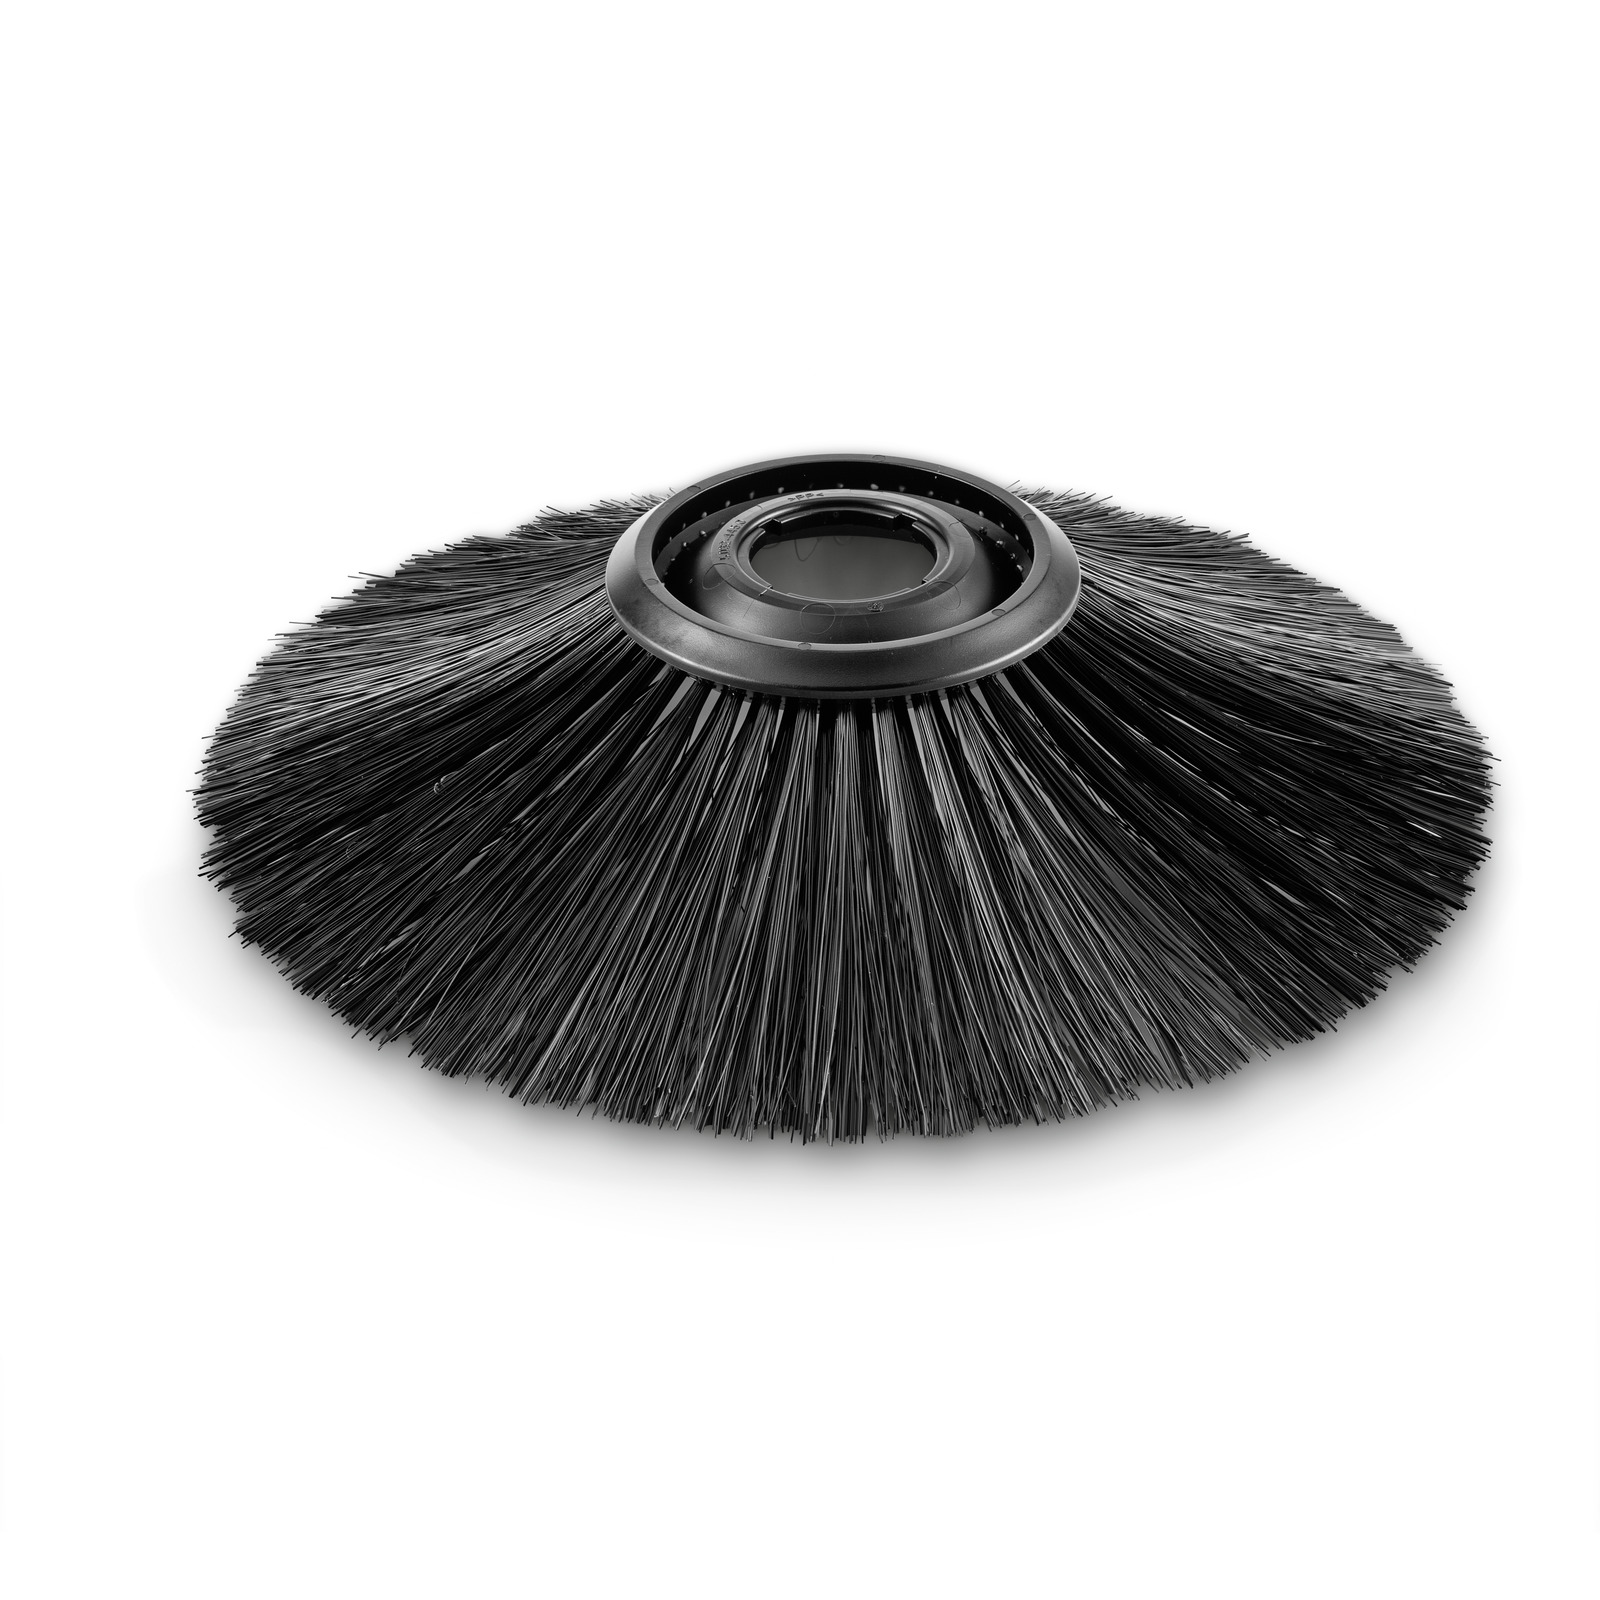
- Replacement brush head or brush block Choose the same width and attachment style as your current head.
- Handle or pole with the correct connector Threaded, quick-connect, or clamp.
- Small adjustable wrench For bolts, wing nuts, or end caps.
- Screwdriver Phillips or flat, if your head uses screws.
- Tape measure Check head width and hole spacing if bolt-on.
- Work gloves Protect hands from wire or stiff bristles.
- A drop of light oil Helps loosen stuck parts on older brooms.
If you are learning how to change standard sweeper brush for broom for the first time, check the handle and head brand for compatibility. Many parts are universal, but a quick check saves time.
Know Your Attachment Type and Size
The secret to a stress-free swap is to identify the connection. Look closely at the head and where it meets the handle. You will see one of a few common styles.
Common attachment types:
- Threaded socket The most common in the US. Many use a 3/4 in ACME-style thread.
- Clamp or quick-clamp A metal or plastic clamp squeezes the brush block.
- Quick-release tab A button or tab clicks the head in and out.
- Bolt-on push broom block Two to four bolts or wing nuts hold the block.
Measure the head width. Note bristle style: soft, medium, or stiff. If you plan how to change standard sweeper brush for broom on a push broom, also note hole spacing for bolts. A quick photo of the setup helps when buying parts.
Step-by-Step: How to Change Standard Sweeper Brush for Broom
This section shows exact steps for each common attachment. Keep the area clear. Put the head on a flat surface for control. If anything is stuck, add a tiny drop of oil and wait a minute.
Threaded heads
- Hold the brush head with one hand. Turn the handle counterclockwise to loosen.
- If it sticks, wrap a rag around the neck and twist again for grip.
- Remove the old head. Check the threads on the handle for damage or debris.
- Align the new head. Turn the handle clockwise until snug. Do not over-tighten.
- Test the fit with a few passes on the floor.
Clamp-style heads
- Open the clamp by lifting the lever or loosening the knob.
- Slide out the old brush block. Note the orientation.
- Seat the new block so it sits flush and centered.
- Close the clamp. Tighten until the head does not wiggle.
- Give it a light shake. It should not rattle.
Quick-release tab heads
- Press the tab or button to unlock the head.
- Pull the old head straight out.
- Push the new head in until you hear a click.
- Tug gently to confirm it is locked.
Bolt-on push broom blocks
- Loosen wing nuts or bolts with your hand or wrench.
- Remove the old block. Keep washers in order.
- Place the new block. Line up holes and hardware.
- Tighten nuts in a cross pattern for even pressure.
- Check alignment by sighting down the bristles.
Pro tip from the field: when you learn how to change standard sweeper brush for broom on older threaded handles, wrap one turn of plumber’s tape on worn threads. It adds grip without making removal hard next time.

Fit Check and Bristle Alignment
A great install feels solid and sweeps straight. You should not hear rattles or feel wobble. If it skews, debris will streak your floor.
Quick checks:
- Set the head on the floor. The bristles should touch evenly.
- Sweep a short path. Look for even lines and no dragging.
- If the head loosens, add a quarter turn. Stop when snug.
This step matters when you teach someone else how to change standard sweeper brush for broom. A two-minute check saves a week of loose-head frustration.
Troubleshooting and Common Mistakes
Things can go wrong even with simple gear. Here is how to fix them fast.
- Head keeps loosening on threaded handles Add one wrap of plumber’s tape and snug it again.
- Head wobbles in a clamp Tighten the clamp more or check for a missing spacer.
- Quick-release will not click Clean the socket and tab. A little dust can block the catch.
- Bolts cross-thread Tighten by hand first. Use the wrench only after threads bite clean.
- Bristles sweep crooked Flip the block if it is reversible, or reseat so it sits flat.
If you still struggle with how to change standard sweeper brush for broom, snap photos and compare parts. A mismatch in thread size or hole spacing is the usual cause.
Care And Maintenance To Extend Brush Life
A few small habits will double the life of most broom heads. This saves money and keeps your sweep smooth.
- Clean after use Knock off dirt. Rinse if needed. Let dry bristles-down.
- Store hanging or bristles-up This prevents bent tips.
- Rotate the head on reversible blocks Switch sides every few weeks to even wear.
- Match bristle to the task Use stiff bristles outdoors. Use soft bristles indoors.
- Keep hardware snug Check once a month, especially on bolt-on blocks.
These simple steps also make it easier when you repeat how to change standard sweeper brush for broom later. Clean, well-kept gear comes apart without a fight.
Buying Guide: Choosing The Right Replacement Brush
Pick the right brush and you will feel the difference in the first pass. Choose for your surface and debris.
Key factors:
- Bristle type Polypropylene handles wet jobs. PET is gentle for indoor dust. Natural fiber grabs fine dirt.
- Stiffness Soft for fine dust on tile and wood. Medium for mixed debris. Stiff for garage, deck, and concrete.
- Width 12–18 inches for tight spaces. 18–24 inches for most rooms. 24–36 inches for large areas.
- Compatibility Match thread type, clamp size, or bolt pattern. Check the product label.
- Value Look for replaceable blocks instead of full heads if your handle is good.
When you are shopping with the phrase how to change standard sweeper brush for broom in mind, compare specs, not just the picture. A quick check of the connector avoids returns.

Eco-Friendly Disposal And Recycling
Old brush heads do not need to go straight to the trash. Some parts can live on.
- Wood blocks Compost or reuse for crafts if clean and untreated.
- Metal hardware Recycle bolts and washers.
- Plastic heads Some local programs accept rigid plastics. Check rules first.
- Repurpose Old heads make good garage or patio sweepers.
- Donate Lightly used brushes can help schools, shelters, or community centers.
If sustainability guides how to change standard sweeper brush for broom at your place, buy heads with replaceable blocks to cut waste over time.

Safety And Ergonomics Tips
Small safety steps prevent cuts and strains. They also help the install go faster.
- Wear gloves Stiff or wire bristles can poke skin.
- Use eye protection When cutting old zip ties or scraping debris.
- Mind your posture Keep your wrists straight and avoid over-twisting when loosening heads.
- Do not over-tighten Hand-tight plus a little is enough on most systems.
These habits matter every time you show someone else how to change standard sweeper brush for broom. Safe work is smart work.
Time And Cost: Quick Reference
Most swaps take just a few minutes. Planning and the right part cut that to less than five.
- Time Threaded or quick-release heads: 2–5 minutes. Clamp or bolt-on heads: 5–10 minutes.
- Cost Replacement heads run from low to mid cost for basic indoor models, and more for wide, stiff outdoor blocks.
- Savings Replacing only the head is cheaper and greener than buying a full broom.
Set a reminder to check wear each season. You will get faster each time you do how to change standard sweeper brush for broom, and your floors will show it.
Frequently Asked Questions Of How To Change Standard Sweeper Brush For Broom
How often should I replace a broom head?
Replace it when bristles bend, fray, or lose shape. Heavy use may need a swap every 3–6 months.
What tools do I need to learn how to change standard sweeper brush for broom?
Most jobs need only your hands and maybe a wrench. A screwdriver helps for bolt-on or clamp styles.
How do I know if my handle thread is compatible?
Check for a 3/4 in threaded socket on the head. If it spins loosely or will not start, it may be the wrong thread type.
Can I mix brands of handles and heads?
Often yes, especially with standard threads. For clamps or quick-release, match the brand or measure carefully.
What bristle type should I buy for indoor floors?
Use soft or medium bristles for tile, wood, and laminate. Stiff bristles can scratch or scatter fine dust.
What if the head keeps loosening after I install it?
Clean the threads and add one wrap of plumber’s tape. Tighten by hand until snug, then test.
Is there a right way to store the broom to prevent damage?
Yes. Hang it or store bristles-up. Keeping weight off the tips stops bending.
Conclusion
Swapping a broom head is simple, fast, and budget friendly. Identify the attachment, pick a matching head, and follow the steps to get a snug, straight fit. With a quick fit check and basic care, your new brush will sweep clean for months.
Put this guide to work today. Do how to change standard sweeper brush for broom on your most-used broom, and feel the smoother sweep on your next pass. Want more practical home care guides? Subscribe, share your result, or drop a question in the comments.

Table of Contents