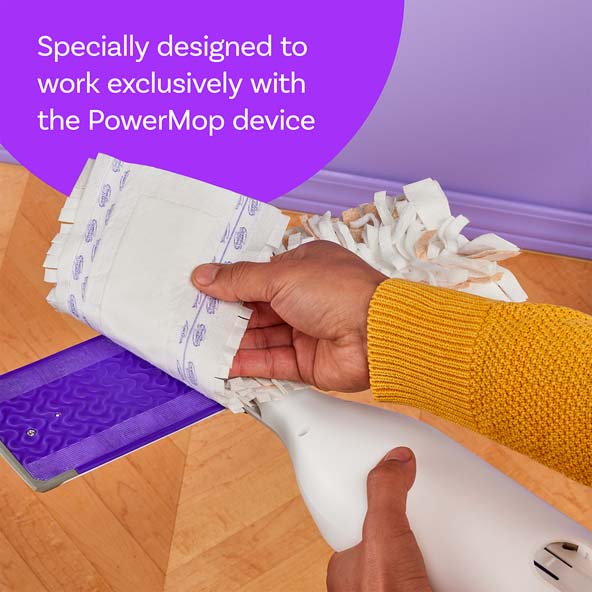
Press the pad onto the hook strips, align the arrows, and press firmly.
If you have ever fumbled with a new mop, you are not alone. I have set up dozens for clients, and a few for my own home. In this guide, I will show you how to attach swiffer power mop pads the right way, fast, and with zero mess. You will learn what to check, what to avoid, and how to fix pads that will not stick.

What you need before you begin
Gather a few things so the job is quick and clean.
- Swiffer PowerMop or PowerMop XL clean and ready
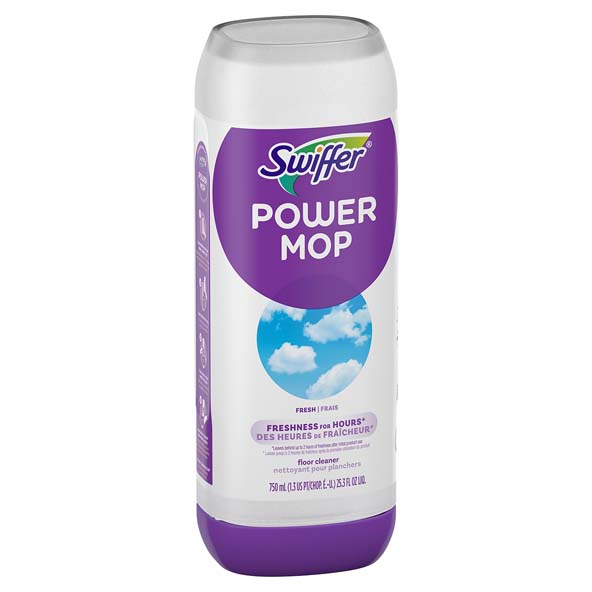
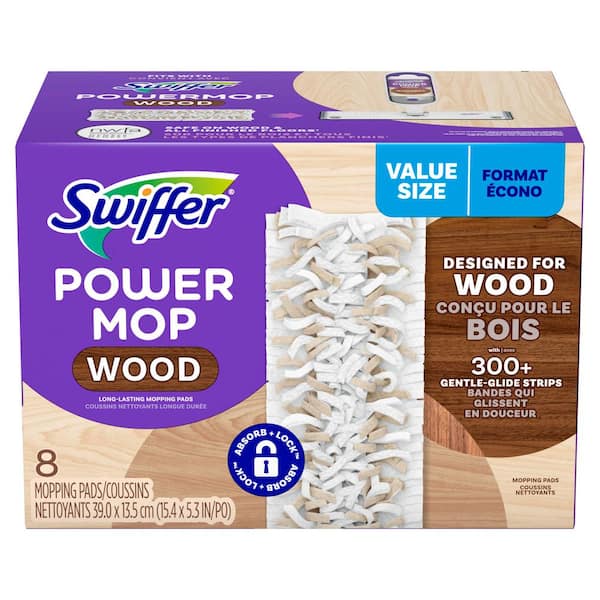
- Fresh PowerMop pad multi-surface or wood-ready
- Clean hands and a clear space on the floor
- Good light so you can see the front spray area
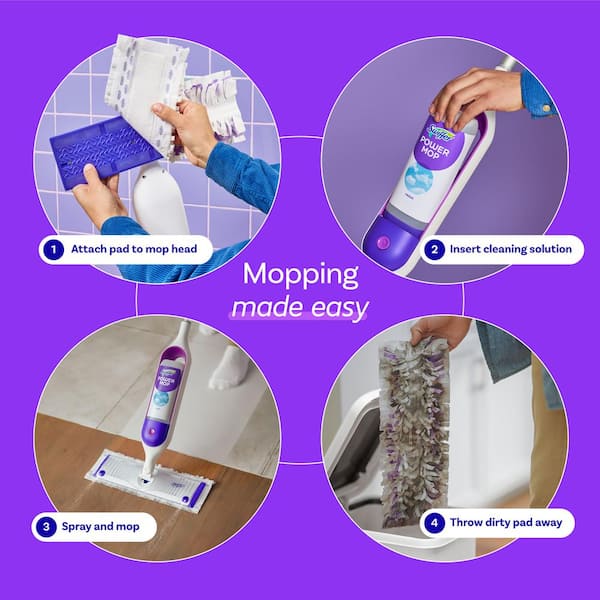
Most PowerMop pads attach with hook-and-loop strips. You do not need to peel any film. If your pad has arrows, the arrows should face the front, toward the spray nozzles. This setup is key for how to attach swiffer power mop pads without fuss.
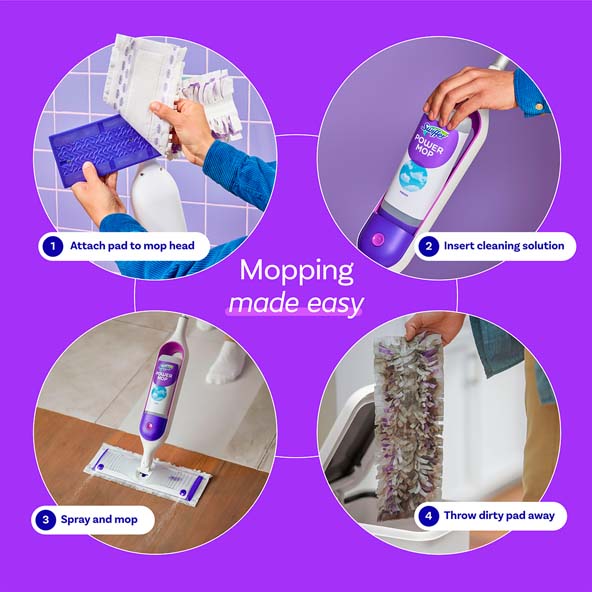
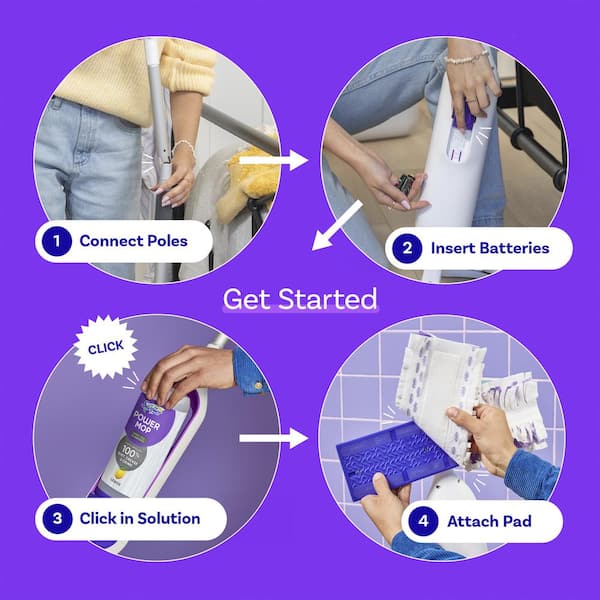
Step-by-step: attach the pad like a pro
Follow these simple steps. I use this order in client homes to save time and avoid rework.
- Place the mop on the floor with the spray nozzles pointing away from you.
- Lay the new pad on the floor, print side up if marked. Arrows should point away from you.
- Center the mop head over the pad. Leave equal pad edge on the left and right.
- Start at the middle. Press the mop head down onto the pad so the hook strips catch.
- Smooth outward with your hands. Press along the long strips, then the edges.
- Check the front. The pad should not cover the spray nozzles or the front lip.
- Flip the mop and check the back. Make sure the pad is flat with no folds.
- Give it a small shake test. If it shifts, press again from center to edges.
- Test spray on a small area. Watch that the spray hits in front of the pad.
- You are set. Begin mopping in slow, even passes.
If you want a phrase to recall later, remember this: how to attach swiffer power mop pads is center, press, smooth, check, test.
Orientation, fit, and pad sides explained
The front of the PowerMop has one or two spray nozzles. The pad must sit behind this zone, not over it. Many pads show arrows or printed text. The arrows should aim toward the spray, and the text side usually faces the mop head.
The mop head has gray hook strips. They grab the soft loop side of the pad. If you see deep scrub lines on the pad, those lines should face the floor. This is the part that does the cleaning.
Do not confuse systems. The Swiffer Sweeper uses push-in corner grippers. The WetJet and PowerMop use hook-and-loop. Knowing this helps with how to attach swiffer power mop pads the right way, every time.
 mistakes to avoid”
style=”max-width: 100%; height: auto; border: 2px solid black; border-radius: 10px; display: block; margin: 0 auto;”
loading=”lazy”
/>
Common mistakes to avoid
These simple checks prevent leaks, drag, and wasted pads.
- Covering the spray nozzles The pad must sit behind the nozzle line.
- Off-center pad Too much pad on one side causes drag and streaks.
- Dusty hook strips Lint blocks the grip. Wipe with a dry cloth before each pad.
- Wrong pad type Use PowerMop pads. Sweeper or WetJet pads will not fit right.
- Wet attachment If the hook strips are wet, the pad may not stick well.
These fixes seem small, but they solve most issues with how to attach swiffer power mop pads.

Troubleshooting: pad will not stick or keeps sliding
If the pad pops off, do a quick reset. Remove the pad and clean the mop head strips with a dry cloth. A lint roller works even better. Check that the pad’s loop side is clean too.
If it still slips, try a fresh pad. Some discount pads have thin loops that do not hold well. Confirm you have the PowerMop size. If the mop head is very worn, the hooks may be dull and need a replacement head. This is rare but it happens with heavy use.
If you are stuck, review how to attach swiffer power mop pads from the steps above and match each step.
Care, storage, and replacement frequency
Change pads when they look gray or feel draggy. I swap after each room for best results. On large jobs, I use one pad for about 200 to 300 square feet.
Store pads in a dry cabinet, away from steam or heat. Moist air weakens the hook grip over time. After use, remove the dirty pad right away and dispose of it. This keeps the mop head clean and ready for your next setup and helps with how to attach swiffer power mop pads fast next time.
Tips for different floors and pad choices
Match the pad to the floor for safe, bright results.
- Tile and vinyl Use multi-surface pads. Spray a bit more on grout lines.
- Laminate Use light spray and quick passes. Avoid pooling water.
- Sealed wood Use wood pads and a wood-safe cleaner. Keep passes short and dry fast.
- High-traffic entry Use a newer pad and overlap strokes to lift grit.
When you know your floor, you can plan how to attach swiffer power mop pads and choose the best pad before you even open the box.
Eco-smart and cost-saving ideas
You can get more from each pad with a few habits. Sweep or vacuum first. The pad will focus on sticky spots, not crumbs. Work from the far corner to the door so you never walk on wet floors.
Use short, overlapping strokes. Rotate your path to use the full pad surface. If you pause, set the mop pad-side up against a wall. That keeps moisture off one area on the floor. This care also makes the next run at how to attach swiffer power mop pads clean and simple.
Frequently Asked Questions of how to attach swiffer power mop pads
Which side of the PowerMop pad faces the floor?
The textured, scrubby side faces the floor. The soft loop side faces the mop head so the hook strips can grab it.
Do I need to peel off any film before attaching the pad?
Most PowerMop pads do not use peel-off films. If your pad has any packaging film, remove it, then attach as usual.
How tight should the pad fit on the mop head?
It should sit flat and centered with no folds. A snug, even fit ensures smooth glide and even spray coverage.
Why does my pad keep sliding off while mopping?
The hook strips may be dusty or worn. Clean the strips, press from center to edges, and use compatible PowerMop pads.
Can I reuse a PowerMop pad?
They are designed for single use. For large areas, change pads when they get gray or leave streaks.
Are PowerMop pads the same as WetJet pads?
No, they are different sizes and backing types. Use pads made for PowerMop to ensure a solid grip and proper coverage.
How often should I change pads during a deep clean?
Change after each room or when you see dirt tracks. Fresh pads prevent haze and make the floor dry faster.
Conclusion
You now know the simple method to attach, align, and secure your pad. Center the head, press on the hook strips, keep the nozzles clear, and do a quick shake test. Little checks save time and leave floors bright.
Give these steps a try on your next clean. If you found this helpful, share it, bookmark it, or leave a question so I can help you dial in your routine.

Table of Contents