Proctor Silex can openers have sat on kitchen counters for decades. They are workhorses. Simple.
Reliable. Cheap. You buy one, plug it in, and it just works, until you hit a weird can or the magnet grabs the lid and won’t let go.
I’ve opened thousands of cans with these units across test kitchens and home setups. The learning curve is flat, but a few pro tricks separate a clean cut from a jagged mess. This guide walks through every step, from unboxing to troubleshooting the stubborn #10 can.
Unboxing and Initial Setup
Pull the opener from the box. You get the main unit, a cutting lever assembly (sometimes pre-attached), and a short manual. That’s it.
No accessories. No fancy gears.
Check the voltage label on the bottom. Standard US models run 120V. Plug it into a grounded outlet.
Avoid power strips with long cords, voltage drop makes the motor labor on thick cans. Set the unit on a flat, dry surface. A damp countertop risks a short if water seeps into the base vents.
Wipe the cutting wheel and drive gear with a damp cloth before first use. Factory oil residue tastes terrible on tomato sauce. Dry it thoroughly.
The magnet on the lever arm should sit clean and shiny. If it looks dull, hit it with a little vinegar on a rag.
Understanding the Parts
Know the anatomy. It speeds up troubleshooting.
Base unit: Houses the motor, drive gear, and power cord. Heavy enough to stay put.
Cutting lever (arm): The hinged assembly you lift. Holds the cutting wheel, drive gear interface, and lid magnet.
Cutting wheel: The sharp stainless disc that pierces the lid.
Drive gear: The toothed metal wheel underneath the cutting wheel. It grips the can rim.
Lid magnet: Small but strong. Catches the lid after the cut finishes.
Release lever/button: Usually a small tab on the side or back of the cutting arm. Press this to unlock the arm after the cycle.
Some models add a knife sharpener slot on the back. Ignore it for cans. It works okay for paring knives but wears fast.
Positioning the Can
This is where most people rush and regret it. Center the can under the cutting arm. The rim must sit inside the drive gear groove, not on top of it.
Lift the cutting arm to its highest stop. Place the can on the base plate. Lower the arm slowly.
Watch the drive gear teeth engage the can rim. You should feel a distinct click as the teeth seat. The cutting wheel should rest just inside the rim, poised to pierce.
If the can wobbles, reposition. A tilted can cuts an oval. The lid won’t seal for storage.
The magnet might miss the lid entirely. For tall cans (broth, tomato sauce), steady the top with your free hand. Don’t clamp down, just guide.
Standard 15-oz cans sit flat. #10 institutional cans (restaurant size) overhang the base. That’s fine. The drive gear still grabs the rim.
Just keep a hand on the side so vibration doesn’t walk the can off center.
Operating the Can Opener
Plug it in. Press the cutting arm down until it locks. The motor starts instantly on most models.
Some older units have a separate start button, press it after locking the arm.
Listen. The motor hums. The can rotates.
The cutting wheel scores the lid. One full revolution takes 10, 15 seconds. You’ll hear a slight pitch change when the cut completes, the motor unloads because the lid separates.
Do not lift the arm early. Let the motor stop on its own. The internal cam mechanism releases the arm lock automatically at the end of the cycle.
Forcing it strips the plastic gear inside the base. I’ve cracked three units that way.
Once the motor stops, lift the cutting arm. The magnet holds the lid. The can sits free.
Tilt the can slightly and pull it away. The lid stays on the magnet. Tap the magnet release tab (usually a small plastic nub on the arm) to drop the lid into the trash.
Empty the can. Rinse the rim if liquid splashed. Wipe the cutting wheel with a damp rag before the next can.
Dried tomato paste dulls the wheel fast.
Handling Different Can Types
Not all cans play nice. Here’s the breakdown.
Standard Sanitary Cans (Soup, Veggies, Beans)
Easy. The process above works 99% of the time. Rim thickness is consistent.
The drive gear bites clean.
Pull-Tab Lids (Soda, Pet Food, Some Soups)
The tab ring sits above the main rim. The drive gear can’t grip it. Do not force it. You’ll bend the tab, not cut the lid. Use a manual church-key opener or the pull tab itself.
Proctor Silex electrics aren’t built for this profile.
#10 Institutional Cans (Bulk Tomato, Fruit, Sauce)
Heavy. Wide. The base plate feels small.
Center carefully. The motor will groan, that’s normal. These cans have thicker steel.
The cutting wheel takes more torque. If the motor stalls completely, unplug, wait 30 seconds, and retry. Don’t run a stalled motor.
The thermal cutoff will trip, but repeated stalls burn windings.
Dented or Damaged Rims
A bent rim prevents the drive gear from seating. The can slips. The cut wanders.
You get metal shavings in the food. Transfer contents to a bowl first. Use a manual side-cut opener (the kind that cuts the side seam, not the top).
It bypasses the damaged rim entirely.
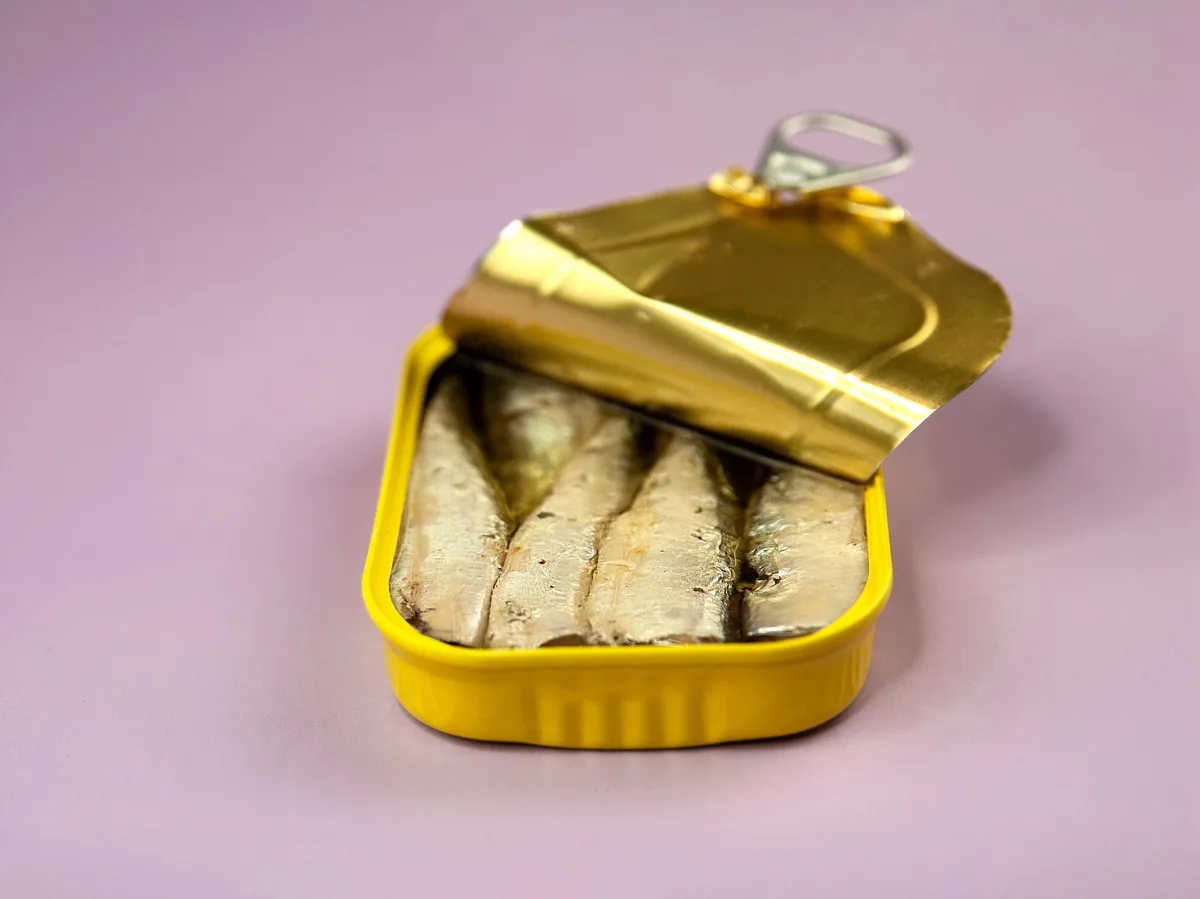
Non-Round Cans (Spam, Sardines, Pâté)
Rectangular or oval. The drive gear needs a continuous round rim. These won’t work.
Use the key attached to the can or a manual opener.
Cleaning and Maintenance
A dirty opener contaminates food and dies early. Clean after every session.
Daily wipe: Unplug. Damp cloth on the base. Damp cloth on the cutting arm, wheel, and drive gear.
Dry immediately. Never submerge. Never spray cleaner directly on the unit, liquid kills the motor.
Weekly deep clean: Remove the cutting arm. Most models have a release lever at the hinge pivot. Pull the arm straight off.
Soak it in hot, soapy water for five minutes. Scrub the drive gear teeth with an old toothbrush. Dried food there causes slippage.
Clean the cutting wheel edge carefully, it’s sharp. Dry every piece. Reattach the arm.
You’ll hear a solid snap at the pivot.
Lubrication: Once a year, put one drop of food-grade mineral oil on the drive gear shaft (inside the arm hinge) and the motor output shaft (inside the base, visible when the arm is off). Wipe excess. Do not use WD-40, vegetable oil, or 3-in-One.
They gum up or turn rancid. Food-grade mineral oil is cheap and safe. The FDA food-contact substance guidelines confirm mineral oil is acceptable for incidental contact.
Cutting wheel replacement: The wheel dulls after ~500 cans. You’ll feel it, the motor works harder, the cut leaves burrs. Replacement wheels cost $5, 8.
Order by model number (stamped on the base bottom). Pop the old wheel off (usually a retaining clip or screw), snap the new one on. Five minutes.
Troubleshooting Common Problems
Motor Won’t Start
Check the outlet. Test with a lamp. Check the arm lock, the motor interlock switch won’t engage if the arm isn’t fully down.
Press firmly until you hear the click. Still dead? The internal thermal fuse may have blown.
That’s a shop repair or replacement unit. These openers cost $25, 35. Repair rarely pencils out.
Can Slips / Won’t Rotate
Drive gear teeth clogged with food. Clean them (see Weekly deep clean). Can rim too thin?
Some discount brands use thin tin. The gear strips it. Hold the can firmly against the gear with your hand, light pressure.
If it still slips, the drive gear is worn. Replace the cutting arm assembly ($12, 15).
Lid Falls Into Can
Magnet weak or dirty. Clean the magnet face with vinegar. Dry.
Test with a steel spoon, it should snap firmly. If the spoon slides off, the magnet is dead. Replace the cutting arm.
Magnets aren’t serviceable.
Jagged Edges / Metal Shavings
Dull cutting wheel. Replace it. Or the can wasn’t seated level.
Re-read Positioning the Can. Shavings mean the wheel is tearing, not slicing. Stop.
Clean the wheel. If shavings persist, swap the wheel.
Motor Smells Hot / Smoke
Unplug instantly. Let cool 30 minutes. Thermal overload tripped.
Usually caused by a stalled #10 can or a bound drive gear. Clean the gear teeth thoroughly. Spin the cutting wheel by hand (unplugged!).
It should turn freely. If it binds, the arm bearing is shot. New arm assembly.
If the motor itself binds, junk the unit.
Safety Essentials
Electricity + water + spinning blade = respect.
- Unplug before cleaning. Every time. Muscle memory.
- Keep fingers clear of the cutting wheel. It spins fast and cuts bone. The guard helps, but the wheel protrudes.
- Don’t reach under the arm while running. The can rotates with surprising torque. It pinches.
- Hot cans: Opening a can straight from a boiling water bath? Steam blasts the motor vents. Let cans cool five minutes. Or use a manual opener for hot cans.
- Cord condition: Check the cord for cracks. Base sits near sinks. A nicked cord + wet counter = shock hazard. Replace the unit if the cord is damaged. Don’t tape it.
- Children: Store unplugged, cord wrapped. The cutting arm locks down but a curious kid can lift it. The wheel is exposed.
Pro Tips for Speed and Cleanliness
Batch open: Line up five cans. Open, dump, wipe wheel, repeat. Rhythm cuts time in half.
Two-bowl method: One bowl for food, one for lids. Magnet drops lid into lid bowl. No fishing lids out of tomato sauce.
Label before opening: Marker on the lid before you cut. Once the lid is off, you’re guessing between diced tomatoes and crushed tomatoes.
Drain in the can: After opening, tilt the can over the sink. The lid (on the magnet) acts as a strainer. Shake once.
Less mess in the colander.
Sharpen the wheel (emergency): Fold aluminum foil into a thick strip. Run the wheel over it a few times (unplugged, by hand). It hones the edge for a few more cans.
Not a replacement for a new wheel, but it saves a dinner service.
Mount it (optional): Some models have keyhole slots on the base bottom. Screw to the underside of a cabinet. Frees counter space.
Ensure the cord reaches an outlet without tension.
When to Replace the Unit
Proctor Silex openers are disposable appliances. Expect 3, 5 years of daily home use. Signs it’s done:
- Motor whines but can barely turns (worn brushes/bushings).
- Base cracks near the motor mounts (vibration fatigue).
- Interlock switch fails, motor runs with arm up (dangerous).
- Replacement parts cost >50% of a new unit.
Buy the same model if you liked it. The cutting arms interchange across many years. Keep the old arm as a spare.
Final Word
A Proctor Silex can opener asks for little and gives back reliability. Seat the can. Lock the arm.
Walk away. Come back to a clean lid and zero metal shavings. Clean the gear teeth weekly.
Swap the wheel annually. Treat it rough and it lasts years. Treat it right and it outlives the warranty.
That’s the whole secret. Now open something good.

Table of Contents