If you’re tired of dust settling on your furniture an hour after you clean, or you can’t seem to kick that musty smell no matter how often you change the furnace filter, an in-duct air purifier might be the answer. I’ve installed dozens of these units in homes and light commercial spaces, and I can tell you this: it’s not rocket science, but it does require a careful hand and a solid understanding of your HVAC system.
In this guide, I’ll walk you through exactly how to install an in-duct air purifier. We’ll cover the tools you’ll need, the safety steps you can’t skip, and the actual installation process from start to finish. By the end, you’ll know whether this is a weekend DIY project for you or one best left to a pro.
Let’s start with the basics.
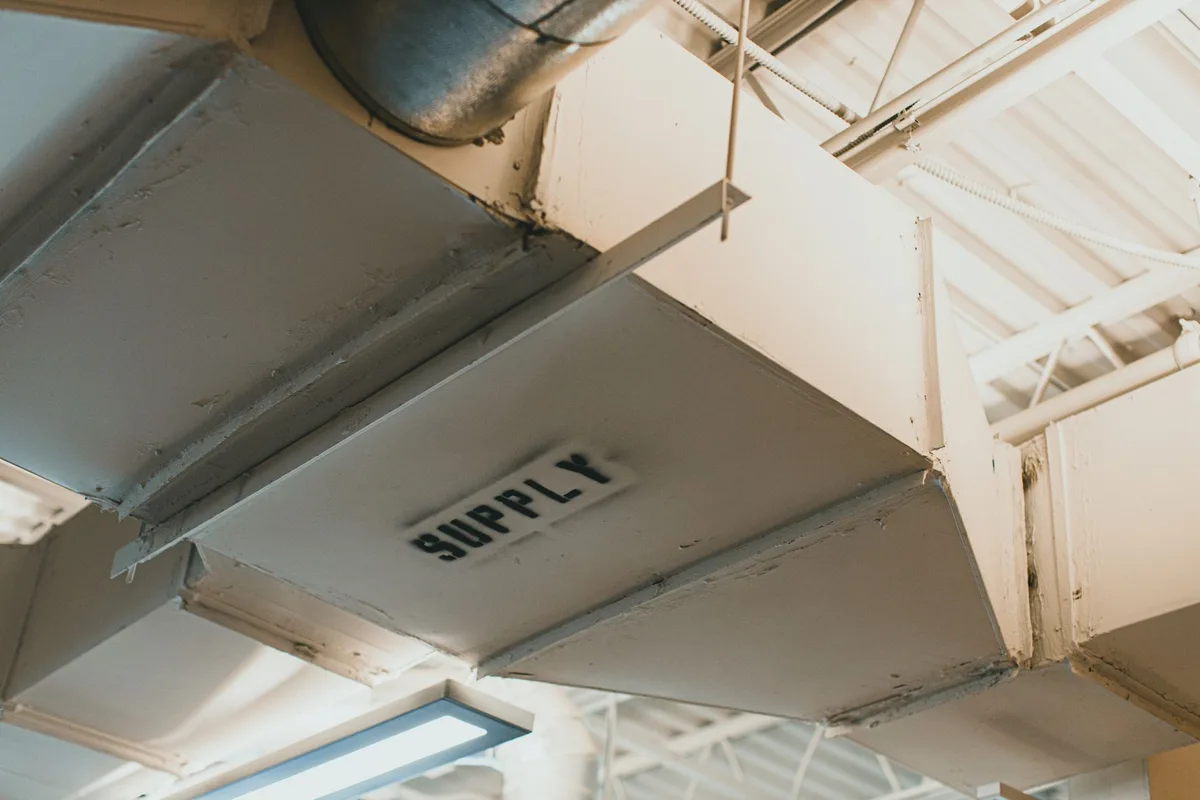
Image source: Pexels / Jonathan Cooper (Pexels License)
What Is an In-Duct Air Purifier?
An in-duct air purifier mounts directly into your existing forced-air HVAC ductwork. Unlike portable units that sit in a room and clean a small volume of air, these whole-house devices treat every cubic foot of air that passes through your heating and cooling system. They come in two main types:
- Electronic or electrostatic, uses an electric field to charge particles, then traps them on a collection plate.
- Media or filter-based, uses a high-MERV (Minimum Efficiency Reporting Value) or HEPA filter to physically capture pollutants.
Both types are installed the same way, though the wiring differs slightly for electronic models. Most modern units are designed to fit standard 20‑inch or 24‑inch return ducts, but you can find adapters for other sizes.
Why Install an In-Duct Air Purifier?
Before we get into the how, let’s talk about the why. The U.S. Environmental Protection Agency has long pointed out that indoor air can be two to five times more polluted than outdoor air [EPA Guide to Air Cleaners].
A whole-house purifier tackles that problem at the source.
Key benefits:
- Whole-house coverage, one unit cleans air for every room on the system.
- Low maintenance, most models only need a filter change every 6, 12 months.
- No floor space required, it’s hidden in the ductwork.
- Reduces HVAC strain, cleaner air means less dust on coils and blower fans, which improves efficiency.
If you have allergies, asthma, or pets, an in-duct purifier is a game changer. I’ve seen clients go from sneezing through spring to sleeping through the night after installing one.
Tools and Materials You’ll Need
Get everything ready before you start. Nothing kills momentum like a run to the hardware store mid-install.
Tools:
- Measuring tape
- Tin snips or aviation snips
- Utility knife
- Drill with metal-cutting bits
- Screwdrivers (flathead and Phillips)
- Wrench or socket set (for duct clamps)
- Safety glasses and gloves
- Dust mask (you’ll be cutting metal)
Materials:
- In-duct air purifier unit (with mounting bracket)
- Sheet metal screws (self-tapping, #8 or #10)
- Duct tape (UL‑181 rated) or mastic sealant
- Foil-backed insulation (if the unit is in an unconditioned space)
- Wire nuts and electrical tape (for hardwired models)
- A 20‑amp dedicated circuit or a pre-existing outlet nearby (check local codes)
Pro tip: Before you buy the unit, measure the width and height of your return duct. Most purifiers fit a 20×20 or 20×25 opening, but you’ll need to confirm.
Safety First: What to Know Before You Start
HVAC systems involve electricity, moving parts, and sharp metal. Don’t skip these steps.
Turn Off the Power
Shut off the furnace or air handler at the breaker panel. Double-check with a non-contact voltage tester. I’ve seen too many people trust the switch on the unit and get zapped.
Don’t be that person.
Wear Protective Gear
Cutting into ductwork creates sharp edges. Wear gloves and safety glasses. A dust mask isn’t optional if you’re cutting into old ductwork that may have accumulated years of debris.
Check for Asbestos and Mold
If your home was built before 1980, the duct insulation or the duct itself may contain asbestos. Have a professional test it before you cut. Similarly, if you see mold inside the duct, stop and remediate first.
You don’t want to blow mold spores all over the house with your new purifier.
How to Install an In-Duct Air Purifier
Now for the main event. I’ll give you the general steps that work for most residential units. Always follow the manufacturer’s instructions for your specific model, but the process is very similar across brands.
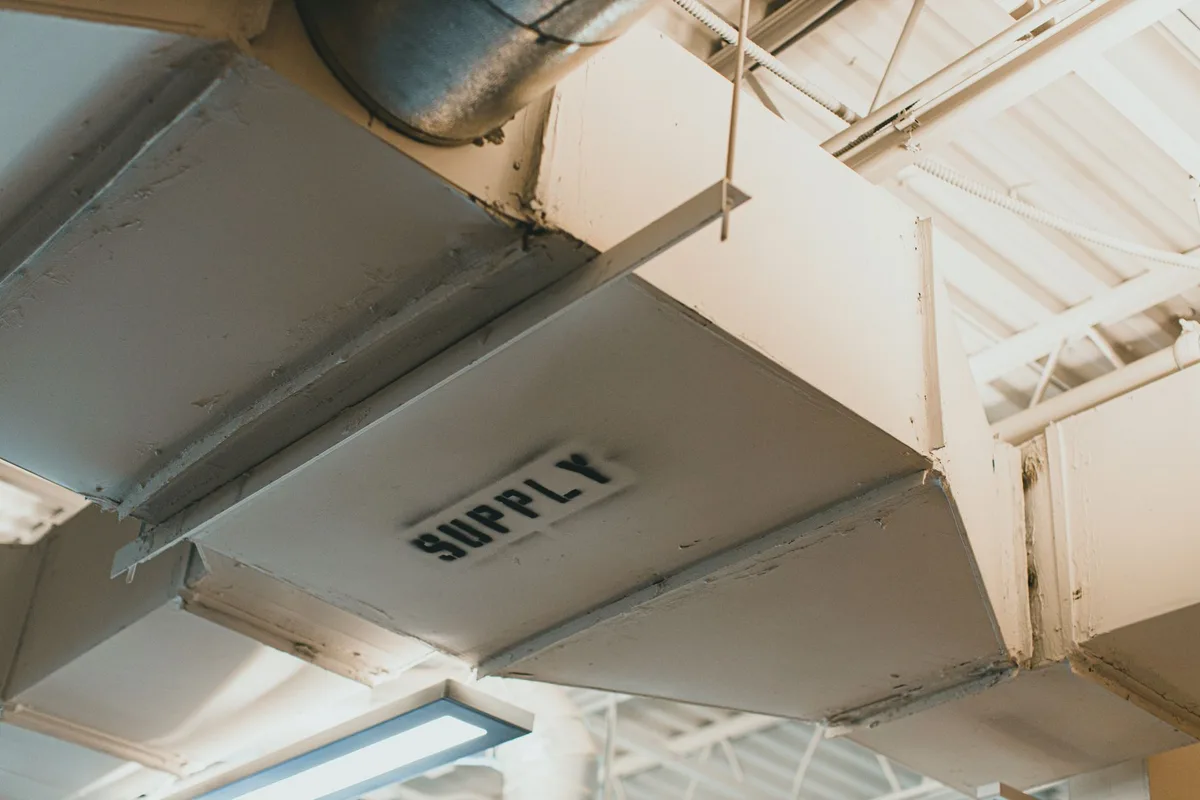
Image source: Pexels / Jonathan Cooper (Pexels License)
Step 1: Choose the Installation Location
The best spot is in the return duct, just before the air handler or furnace. That way, the purifier cleans air before it goes through the system. Installing it in the supply side is possible but less common, and it can force the unit to work harder because it’s pushing air out.
Things to consider:
- Accessibility, You’ll need to change filters every 6, 12 months. Pick a spot you can reach without a ladder or gymnastics.
- Clearance, The unit needs at least 12, 18 inches of straight duct on either side for proper airflow.
- Electrical, A nearby outlet or junction box makes wiring easier.
If you’re unsure, call a local HVAC pro. The cost of a consultation is tiny compared to a mistake.
Step 2: Cut the Duct Opening
Use the unit’s mounting template (or measure the bracket) to mark the cutout on the duct. Mark the rectangle with a permanent marker.
Cutting tips:
- Score the outline with a utility knife first to reduce burrs.
- Use tin snips to cut along the lines. For straight cuts, a jigsaw with a metal-cutting blade works well too.
- Cut a little inside the line so the bracket fits snugly. You can always file it wider.
- Remove the cut piece and smooth the edges with a file or sandpaper.
Important: If the duct is lined with fiberglass insulation, wear a respirator. The fibers can irritate your lungs.
Step 3: Mount the Bracket or Collar
Most units come with a metal collar or bracket that fits into the cutout. Insert it from the inside of the duct and secure it with self-tapping screws.
- Place the bracket flush against the duct surface.
- Screw every 4, 6 inches around the perimeter.
- Use a level to make sure it’s straight. A crooked unit affects airflow.
Step 4: Seal the Gaps
Air leaks around the bracket reduce efficiency and can pull dirty air from the attic or crawlspace into the system. Apply mastic sealant or UL‑181 rated duct tape over the seam between the bracket and the duct. Don’t use standard duct tape, it dries out and fails.
Step 5: Attach the Purifier Unit
Slide the electronic or filter unit into the bracket. It should click or lock into place. For electronic models, you may need to secure it with screws or a latch.
For filter-based units: Insert the filter first (pay attention to the airflow direction arrow), then close the access door.
For electronic units: Ensure the collection cells are seated properly. The manufacturer usually includes a locking mechanism.
Step 6: Wire the Unit (If Applicable)
Electronic models need power. Some plug into a standard outlet; others require hardwiring into a junction box.
- Plug-in models, Run the power cord to a nearby outlet. Use a cable tie to secure the cord to the duct.
- Hardwired models, Turn off the breaker. Connect the unit’s wires to the house wiring using wire nuts. Black to black (hot), white to white (neutral), and green or bare to ground (green screw). Tuck the wires into a junction box and cover it.
Code check: Most jurisdictions require a 20‑amp dedicated circuit for in-duct air purifiers. If you’re not comfortable with electrical work, hire an electrician.
Step 7: Restore Power and Test
Turn the breaker back on. Set the thermostat to call for fan operation (or “Fan On” mode). Let the system run for a few minutes.
- Listen for strange noises. A rattle means the unit isn’t seated properly.
- Check for air leaks around the bracket. Use a smoke pencil or your hand.
- If the unit has a status light, confirm it’s lit.
Final check: Measure the airflow at a supply register. It should feel similar to before the installation. If it’s noticeably weaker, the unit may be too restrictive, you might need a higher‑MERV filter or a different model.
After Installation: What to Do Next
The installation is done, but the job isn’t over. You need to verify the system is balanced.
Check Static Pressure
Your HVAC system is designed to handle a certain amount of resistance. Installing a purifier adds resistance. Ideally, the total static pressure should stay within the manufacturer’s specs for your furnace or air handler.
If you see a drop in airflow, you can:
- Upgrade to a less restrictive filter (MERV 11 vs. MERV 13)
- Trim the filter to allow more bypass (not recommended for health reasons)
- Install a larger return duct to reduce velocity
I’ve seen a few cases where the purifier caused the furnace to overheat because the airflow was too low. If you notice the system cycling on high limit or the blower running constantly, call an HVAC pro.
Maintenance and Filter Replacement
The beauty of an in-duct purifier is that it requires very little attention. But “little” doesn’t mean “none.”
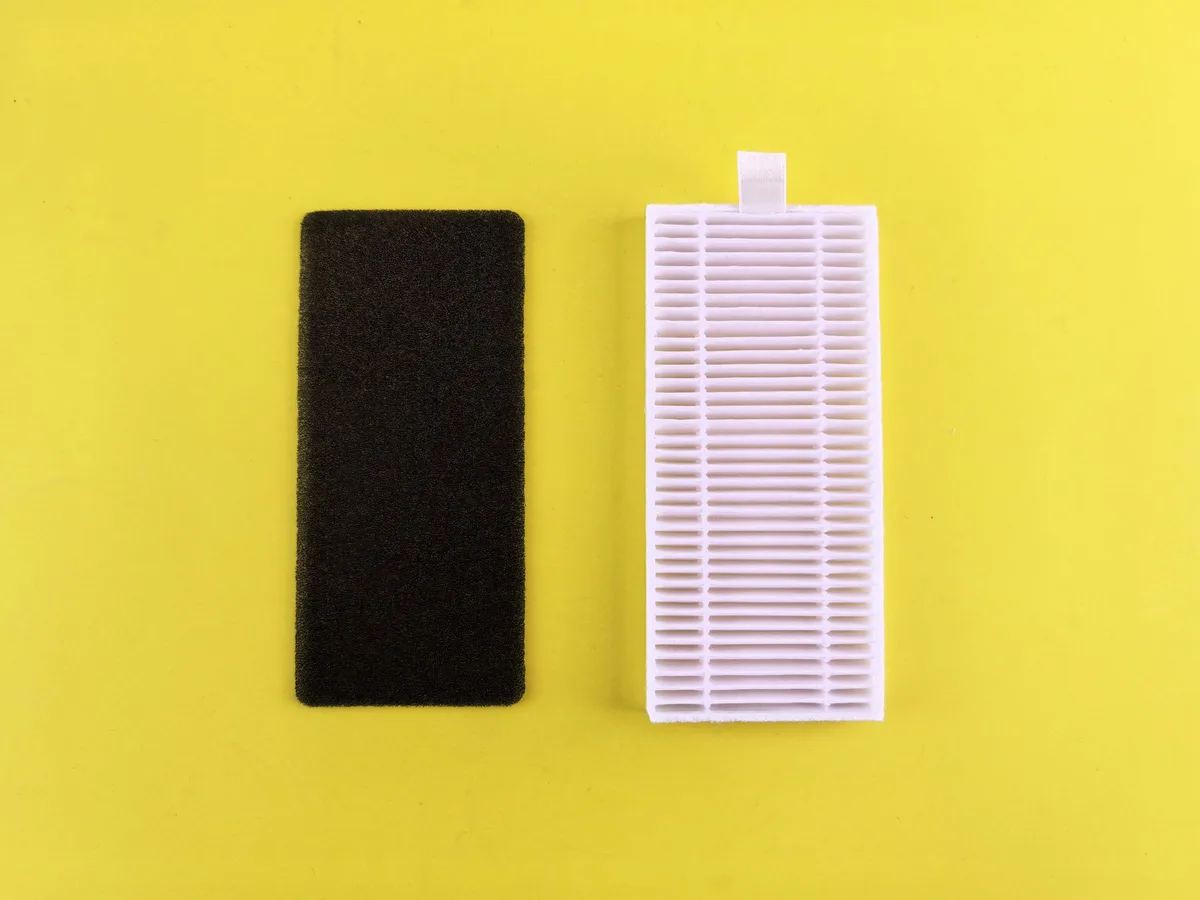
Image source: Pexels / Andrey Matveev (Pexels License)
Filter Replacement Schedule
- Media filters, Replace every 6, 12 months, depending on usage and air quality. Pets and wildfire smoke shorten the life.
- Electronic cells, Clean the collection plates every 3, 6 months. Most cells are dishwasher‑safe (check the manual). Rinse and dry thoroughly before reinstalling.
Signs It’s Time to Replace
- The filter looks dirty even from the outside.
- Airflow from the vents feels weaker.
- You notice a dust buildup on surfaces faster than usual.
- The unit’s indicator light (if equipped) turns red or flashes.
Cleaning the Unit
Turn off the power before you open the access door. Remove the filter or cell. Vacuum any loose debris from inside the unit.
For electronic models, use a soft brush to clean the ionizer wires.
Insurance tip: I always recommend marking the date of installation on the filter itself. That way you know exactly when it’s due for a change.
Common Mistakes to Avoid
I’ve seen a lot of DIY installations go wrong. Here are the top three mistakes:
- Installing in the wrong spot, Placing the unit too close to the furnace or too far from the return can cause airflow issues. Stick to the manufacturer’s recommended location.
- Skipping the seal, Leaks around the bracket waste energy and introduce unfiltered air. Seal every joint.
- Using an undersized filter, A filter that’s too small leaves gaps around the edges. Always use the exact size specified for your unit.
When to Call a Professional
Some installations are straightforward. But if any of these apply, hire a licensed HVAC contractor:
- Your ductwork is old, leaky, or undersized.
- The purifier needs a dedicated circuit and you’re not comfortable with electrical work.
- You have a high‑efficiency modulating furnace that requires precise static pressure.
- The return duct is in a tight space (crawlspace, attic, closet) where cutting is difficult.
A professional installation typically costs $300, $800, depending on the unit and labor. It’s money well spent if it saves you from a system failure.
Frequently Asked Questions
Can I install an in-duct air purifier on my own without HVAC experience?
Yes, if you’re comfortable with basic tools and following instructions. The process is similar to cutting in a new duct register. But if you’re unsure about electrical work or duct integrity, hire a pro.
Will an in-duct air purifier affect my heating or cooling bills?
It can slightly increase energy use because of the added resistance, but the improvement in indoor air quality usually outweighs the small cost. Some units are very efficient and add negligible resistance.
How long does it take to install?
Plan for 2, 4 hours for a first‑time install. Experienced installers can do it in under an hour.
Do I need to turn off the HVAC system during installation?
Absolutely. Turn off the power at the breaker. You don’t want the fan kicking on while you’re inside the ductwork.
What about ozone?
Some electronic air cleaners produce trace amounts of ozone. The EPA states that properly maintained electrostatic units produce less than 0.05 ppm, well within safe limits. But if you’re concerned, choose a media‑based purifier instead.
Final Thoughts
Installing an in-duct air purifier is one of the most effective upgrades you can make for your home’s air quality. It’s a straightforward project that rewards you with cleaner air, less dusting, and peace of mind.
Take your time measuring, cutting, and sealing. Read the manufacturer’s manual twice. And don’t be afraid to call a professional if something feels off.
I’ve installed these units in everything from tiny apartments to sprawling ranch houses. Every time I walk into a home that has one, I notice the difference. The air feels lighter.
The surfaces stay cleaner. And the occupants breathe easier.
If you’re ready to tackle the installation yourself, gather your tools, turn off the power, and follow the steps above. You’ve got this.

Table of Contents