You don’t need a churn, a farmhouse kitchen, or hours of elbow grease. You need a stand mixer and a pint of heavy cream. That’s it.
Making butter in a stand mixer is almost comically easy. You pour cream into the bowl, turn on the mixer, and walk away for a few minutes. When you come back, you’ve got fresh butter and a bonus: real buttermilk.
No tricks, no special ingredients, no chemistry lesson. Just cream, a whisk, and a little patience.
I’ve been making butter this way for years. It tastes better than anything you’ll buy at the grocery store. The texture is richer.
The flavor is cleaner. And the process is satisfying in a way that store-bought butter never can be. Once you try it, you’ll wonder why you ever bought the stuff in a box.
Let’s walk through exactly how to do it, from picking the right cream to washing, salting, and storing your homemade butter.
Why Use a Stand Mixer for Butter?
A stand mixer is the perfect tool for butter making. It does the hard work for you. The paddle attachment or whisk beats the cream until the fat globules break apart and clump together.
The machine runs steadily for minutes without overheating or splattering too much, especially if you use a splatter guard.
Compared to a food processor, a stand mixer gives you more control. You can watch the cream go from liquid to whipped to broken. You can scrape down the sides easily.
And when the butter forms, the buttermilk collects at the bottom of the bowl, ready to pour off.
Compared to hand-churning, it’s obviously faster and less tiring. A stand mixer turns a 20-minute arm workout into a 10-minute hands-off task.
One important note: a handheld mixer works too, but it’s messier. The beaters fling cream around unless you keep the speed low. A stand mixer with a deep bowl and a pouring shield (or a clean kitchen towel wrapped around the top) keeps everything contained.
What You’ll Need
Let’s keep it simple. You probably already own everything except the cream.
Ingredients
- Heavy cream or whipping cream, 1 pint (2 cups) makes about 1 stick (8 ounces) of butter. Use the freshest cream you can find. Avoid ultra-pasteurized if possible, it takes longer to churn and yields slightly less butter. But if that’s all your store carries, it still works.
- Salt (optional), Flaky sea salt or fine kosher salt. Use about ¼ teaspoon per stick for salted butter.
- Ice water, For washing the butter.
Equipment
- Stand mixer, Any brand. KitchenAid, Cuisinart, or even an old Hobart. The paddle attachment or the whisk works fine. I prefer the paddle because it scrapes the bowl better and doesn’t get as much butter trapped inside the whisk wires.
- Large bowl, For draining buttermilk and washing.
- Rubber spatula, For scraping.
- Cheesecloth or fine-mesh strainer, Optional but helpful for draining.
- Butter mold or parchment paper, For shaping and storing.
That’s the entire list. No thermometers, no special paddles, no complex rigs.
Step-by-Step: How to Make Butter in a Stand Mixer
This is the heart of the process. Follow these steps, and you’ll have butter in under 15 minutes.
1. Let the Cream Warm Up
Cold cream takes longer to churn. Take the cream out of the fridge 20 to 30 minutes before you start. You want it around 50, 55°F (10, 13°C).
If it’s too cold, the fat globules stay stubbornly separate. Too warm, and the butter can get greasy instead of firm.
I pour the cream into the mixer bowl and let it sit on the counter while I grab the rest of my equipment.
2. Start Beating on Low Speed
Add the cream to the stand mixer bowl. Fit the whisk or paddle attachment. Start on low speed to avoid a massive splash.
After about 30 seconds, gradually increase to medium speed (around 6 on a KitchenAid 10-speed).
You’ll see the cream go through stages:
- Liquid cream (starts splashing a bit, cover with a towel if you don’t have a shield)
- Soft peaks (looks like whipped cream, this happens around 2, 3 minutes)
- Stiff peaks (thick, holds shape, don’t stop here!)
- Grainy, lumpy texture (the cream starts to break, this is when the butterfat separates)
- Yellow butter clumps floating in thin, milky liquid
The entire process takes 7 to 12 minutes depending on your cream temperature, mixer speed, and fat content.
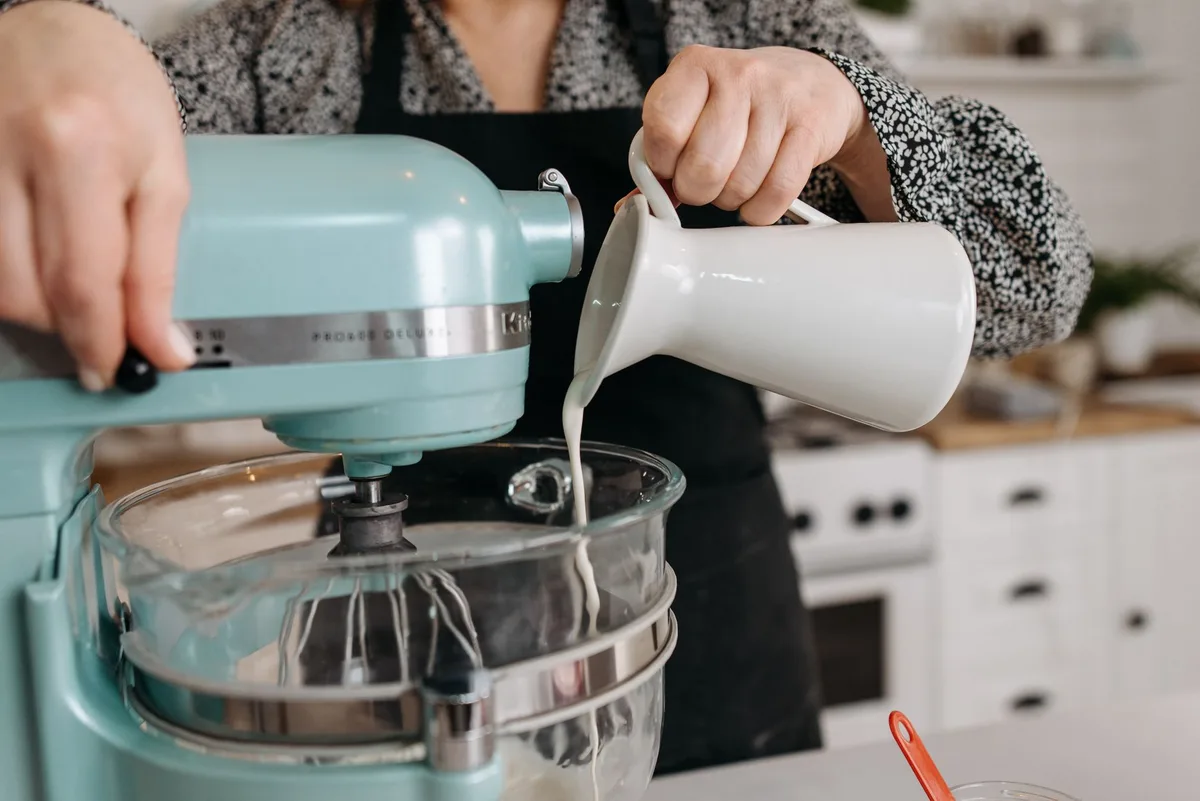
Image source: Pexels / Pavel Danilyuk (Pexels License)
3. Watch for the “Break”
The magic moment happens when the whipped cream suddenly collapses. One minute you have stiff peaks, the next you have chunky, grainy stuff that looks like cottage cheese. Keep beating.
Within another 30 to 60 seconds, you’ll see yellow butter solids and a pool of thin, off-white buttermilk separating.
Stop the mixer as soon as you see clear separation. If you keep going too long, the butter can overwork and become too soft.
4. Drain the Buttermilk
Place a fine-mesh strainer over a bowl. Carefully pour the contents of the mixer bowl through the strainer. The liquid that drains out is real buttermilk, the kind used in baking, not the cultured stuff from the store.
Save it for pancakes, biscuits, or marinades.
The solids left in the strainer are your butter. They’ll look like a wet, crumbly mess. That’s normal.
5. Wash the Butter
This step is crucial. If you skip it, your butter will spoil faster and taste slightly sour.
Why wash? Residual buttermilk contains casein and lactose, which can turn rancid in a few days. Washing removes those milk solids and extends your butter’s shelf life to weeks.
Here’s how to do it:
- Put the butter back into the mixer bowl (or a clean bowl if you prefer).
- Pour cold water over the butter, about 1 cup.
- Mix on low speed for 10 seconds. The water will turn cloudy.
- Pour the water off through the strainer.
- Repeat 2 or 3 more times until the water runs clear.
You can also wash by hand: knead the butter under cold running water in a bowl, squeezing out the milky liquid. But the stand mixer method is faster and just as effective.

Image source: Pexels / Kampus Production (Pexels License)
6. Knead Out Excess Water
After washing, you’ll have butter that’s still wet. You need to remove as much water as possible to improve texture and prevent spoilage.
The easiest way: use a spatula to press the butter against the side of a bowl, tilting the bowl so the expelled water runs off. Or, lay the butter on a clean kitchen towel and fold the towel over it. Press and squeeze until no more water drips out.
If you’re feeling ambitious, you can work the butter with a wooden paddle or a pastry scraper on a cold surface. But a few firm presses with a spatula do the job.
7. Add Salt (If You Want)
Flatten your butter into a disk or pat. Sprinkle fine salt over the surface, about ¼ teaspoon per stick. Fold the butter over itself and press it together.
Turn it a few times to distribute the salt evenly.
Taste a tiny bit. Add more salt if needed. Remember: homemade salted butter tastes less salty than commercial brands because the salt doesn’t fully dissolve.
That’s fine. You can always sprinkle more on toast.
8. Shape and Store
Now your butter is ready to be shaped. You can:
- Roll it into a log in parchment paper for slicing.
- Press it into a small ramekin or butter mold.
- Form a simple block and wrap in wax paper.
- Keep it in a glass butter dish.
For the best texture, refrigerate the butter for at least 1 hour before using. It firms up beautifully.
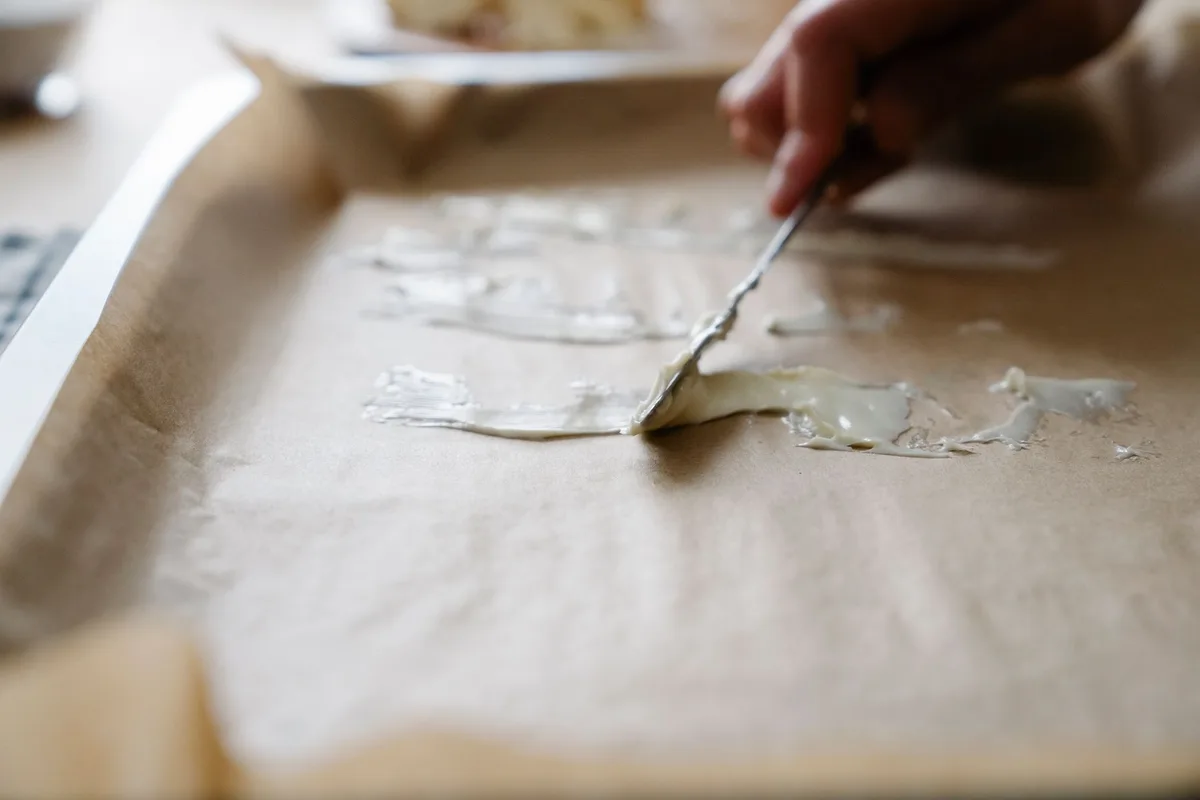
Image source: Pexels / Felicity Tai (Pexels License)
Troubleshooting Common Problems
Even a simple process can go wrong. Here’s what to do if yours does.
My cream isn’t separating. What’s wrong?
You may be using ultra-pasteurized cream, which takes longer to break. Keep beating. Also check the temperature, if the cream is too cold, let it warm up slightly.
If it’s too warm, chill it for 10 minutes in the fridge.
My butter came out too soft and greasy.
That usually happens when the cream is too warm or you over-beat the butter after separation. Next time, use colder cream and stop the mixer as soon as the butter solids form. Overworking the butter melts the fat.
My butter tastes like cream instead of butter.
That’s a sign you didn’t wash it thoroughly or didn’t drain enough buttermilk. Wash again with cold water and knead out more liquid. Also, try adding a pinch of salt, it brings out buttery flavor.
My stand mixer struggled with a small amount of cream.
A stand mixer works best with at least 2 cups of cream. If you use only 1 cup, the whisk or paddle doesn’t reach the cream effectively. Double the batch or use a hand mixer.
The buttermilk looks thick and yellowish.
Strain it through a cheesecloth. That thick stuff is mostly butter solids, you can add it back to the butter if you want a richer product, or discard it.
How to Store Homemade Butter
Fresh homemade butter lasts about 2 to 3 weeks in the refrigerator, or up to 6 months in the freezer. Proper washing is the key to longevity.
Refrigeration
Wrap the butter tightly in parchment paper, then place it in a sealed container or a butter dish. The paper lets the butter breathe slightly while the container blocks odors from other foods.
Keep it away from the door (where temperature fluctuates) and off the butter compartment if your fridge has one, those compartments are often slightly warmer than the main shelf.
Freezing
Butter freezes beautifully. Wrap it in plastic wrap, then foil, then place it in a freezer bag. Press out all the air before sealing.
Label with the date.
Frozen butter keeps for 4 to 6 months. Thaw in the fridge overnight before using. Do not thaw at room temperature, condensation can make the surface spoil.
Can you leave homemade butter on the counter?
Yes, for a few days. Salted butter is safer at room temperature than unsalted because salt acts as a preservative. But if your kitchen is warm (above 70°F/21°C), refrigerate it.
Homemade butter has a higher water content than commercial butter and can go rancid faster.
I keep a small dish of salted butter on the counter for a day or two. Any longer and it goes back in the fridge.
What to Do with the Buttermilk
Don’t throw it away. The liquid left after churning is real buttermilk, not the cultured kind you buy at the store, but thin, tangy, and perfect for cooking.
Use it in:
- Pancakes or waffles
- Buttermilk biscuits
- Irish soda bread
- Marinades for chicken or pork
- Smoothies (it adds a nice tang)
- Salad dressings
Store it in the fridge for up to 1 week, or freeze it in ice cube trays for later.
Variations: Flavored Butters
Once you master plain butter, branch out. Flavored butters are incredibly easy in a stand mixer.
After washing the butter, add one of these combinations and mix on low speed until incorporated:
- Garlic herb butter, 2 cloves minced garlic, 2 tablespoons chopped parsley, 1 tablespoon chopped chives, pinch of salt
- Honey butter, 2 tablespoons honey, pinch of sea salt
- Cinnamon sugar butter, 2 tablespoons brown sugar, ½ teaspoon cinnamon
- Lemon zest butter, Zest of 1 lemon, squeeze of juice, pinch of salt
For compound butter, shape into a log in parchment, twist the ends, and refrigerate. Slice off rounds as needed.
Why Bother Making Butter at Home?
It’s cheaper than good-quality European butter. It tastes fresher. You control the salt level.
And honestly, there’s something primal about turning a liquid into a solid with nothing but motion and a little patience.
Once you’ve done it once, you’ll see why people have been churning butter for thousands of years. It’s simple, satisfying, and incredibly useful.
Plus, the stand mixer does all the work. You just pour and press.
Final Notes on Cream Selection
Not all cream is equal. For the best butter, look for:
- Grass-fed cream, Higher in beta-carotene, which gives butter a deep yellow color and a richer flavor.
- Non-homogenized cream, Rare in supermarkets, but if you have a local dairy, grab it. The cream separates naturally and churns faster.
- Ultra-pasteurized cream, Fine, but expect a longer churn time (up to 15 minutes) and slightly less butter yield.
If you want the best of the best, get cream from a local farm. The butter you make from it will be extraordinary.
For more on dairy handling safety, the USDA offers solid guidelines on storing and working with cream and butter at home. You can check their dairy product safety page for reference.
And if you’re curious about the science behind butter making, the University of Wisconsin Extension has resources on dairy processing, though their focus is more on commercial production, the basics are the same.
Ready to Churn?
Grab a pint of heavy cream. Pick your attachment. Set a timer for 10 minutes.
By the time that timer goes off, you’ll have butter. Real butter, made with your own hands (and a stand mixer). Spread it on warm bread.
Bake with it. Give a jar to a neighbor.
You’ll never look at a grocery-store butter aisle the same way again.

Table of Contents