Let’s talk about the most crucial step in baking. You can nail every other element in a recipe, but if the creaming stage fails, the whole batch suffers. I’m talking about dense cakes, flat cookies, and frosting that splits.
We’ve all been there.
So how do you get it right, every single time? You use a stand mixer, but you use it correctly. This isn’t a suggestion, it’s the key to bakery-level texture at home.
Let’s break down exactly how to cream butter and sugar with a stand mixer. No fluff, just the mechanics.
Image source: Pexels / Pavel Danilyuk (Pexels License)
The Science of Creaming: Why It Works
You aren’t just mixing two ingredients together. You’re building the very structure of your bake. Think of granulated sugar as millions of tiny knives.
When you beat them into soft butter, those “knives” cut into the fat, creating millions of microscopic air pockets. The mixer pumps more air into this network with every rotation.
This air is your leavening agent. It expands in the oven, giving your cakes lift and your cookies their signature crumb. If you skip this step or do it poorly, that air never forms.
You end up with a dense, greasy puck.
Stand mixers are uniquely qualified here. Hand mixing can’t match the consistent RPMs. A hand mixer often overheats the butter from lack of power.
The stand mixer’s steady, powerful motor handles the mass of the butter without flinching. Stella Parks’ deep dive on Serious Eats into the science of creaming explains exactly why the physical state of the butter dictates the entire outcome. It’s pure physics in a mixing bowl.
Choosing the Right Attachment for Creaming
Your stand mixer came with several attachments. Only one is built for this specific job.
The Flat Beater (Paddle): This is your creaming tool. It’s designed to smear the butter against the bowl walls while simultaneously incorporating the sugar. It creates the ideal physical emulsion. If your mixer came with a flex edge or scraper paddle, even better.
These minimize the need to stop and scrape the bowl, keeping the process efficient.
The Wire Whip: This is for incorporating air into liquids. Egg whites, heavy cream, meringue. It cuts too deeply into the butter.
It whips in too much air, but not the right kind of stable air for a cake crumb. Avoid it for creaming.
The Dough Hook: This is strictly for gluten development. Kneading bread dough. It completely ignores the process of smearing and aeration.
Don’t use it.
Attachment matters. Speed matters too. Keep your mixer on medium speed, typically setting 4 or 6 on a KitchenAid.
Low speed won’t aerate enough. High speed can overheat the fat and break the emulsion. Medium is the sweet spot.
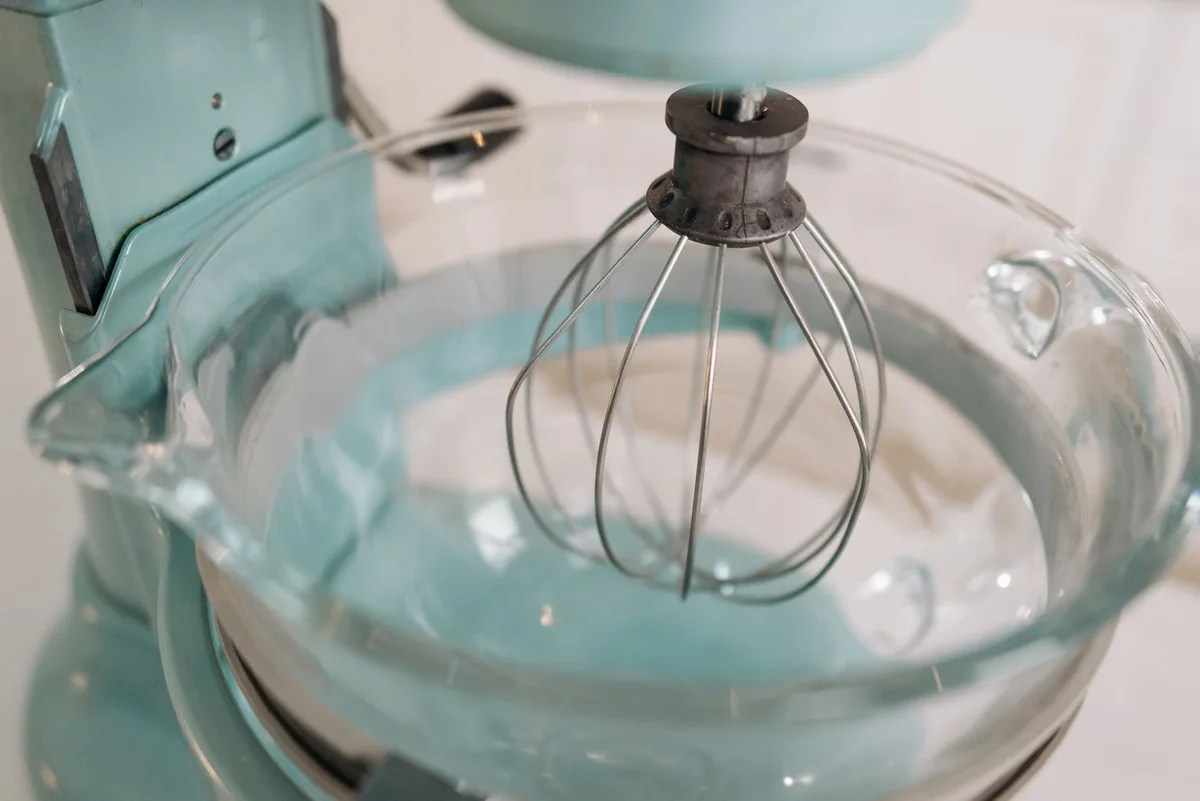
Image source: Pexels / Pavel Danilyuk (Pexels License)
Prepping Your Ingredients for Unstoppable Success
Here is where most people trip up. You cannot rush this stage. Your ingredients need to be in a specific state.
Butter Temperature: The Goldilocks Zone
The butter needs to be cool but pliable. The magic number is 65, 70°F (18, 21°C). It should hold a slight indent when you press it, but it should not be greasy or shiny.
Your finger should not slide right through.
- Too Cold: The sugar can’t cut into the rock-hard fat. You’ll get a lumpy, dense mixture that never lightens. It will look grainy.
- Too Warm / Melted: The fat can’t hold the air pockets. The structure collapses instantly. You’ll get a greasy, sloshy mess that bakes into a brick.
- Pro Tip: Cut your butter into 1-tablespoon sized cubes. This lets it come to room temperature faster and ensures it breaks down evenly in the mixer. Don’t just throw the whole stick in.
The Sugar: More Than Just Sweetness
Granulated white sugar is the standard for creaming. Its sharp, crystalline edges do the best job of cutting into the butter and creating air cells. Brown sugar adds moisture and flavor, but it doesn’t aerate well because the molasses coats the crystals.
If a recipe calls for both, cream the butter with the granulated sugar first for volume, then add the brown sugar.
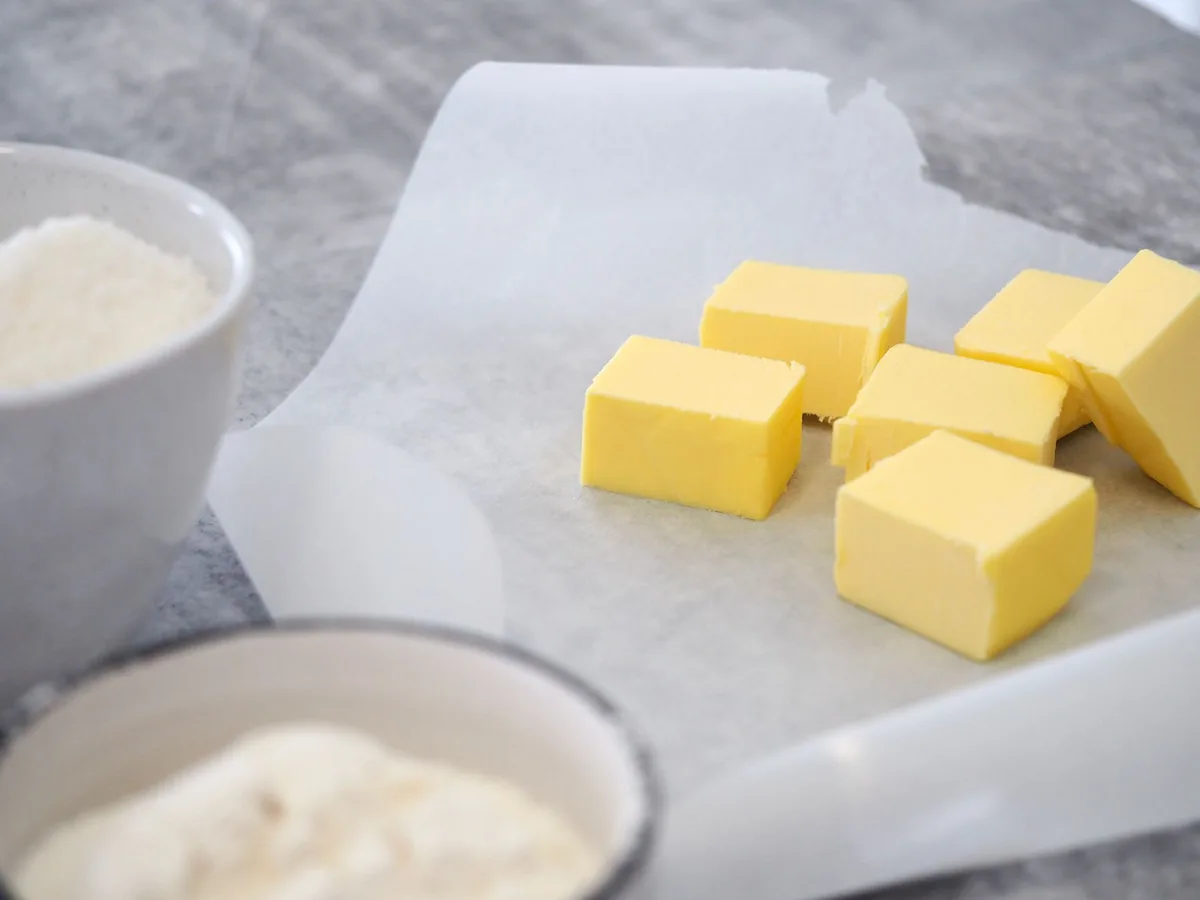
Image source: Pexels / Jess Bailey Designs (Pexels License)
Step-by-Step: How to Cream Butter and Sugar with a Stand Mixer
Let’s walk through the process. I’m assuming you have a standard tilt-head stand mixer with a paddle attachment.
Step 1: The Setup
Put the cubed room-temperature butter in the bowl. Attach the paddle. Start on low speed (Speed 2) briefly, just to break the butter down into a creamy, cohesive mass.
This takes about 30 seconds. Do not add the sugar yet.
Step 2: Add the Sugar
With the mixer still on low (Speed 2), slowly sprinkle in the sugar. Don’t dump it all in at once. A slow stream gives the mixer time to incorporate it without throwing sugar dust everywhere.
Once the sugar is in, stop the mixer. Scrape the bowl and paddle thoroughly.
Step 3: The Main Event
Increase the speed to medium (Speed 4 or 6 on a KitchenAid). Set a timer for 3 minutes. Seriously, set a timer.
When you think it’s done, give it another minute.
You must stop the mixer at least once, scrape the sides and bottom of the bowl, and restart. The mixture will climb up the sides of the bowl. If you don’t scrape it down, chunks of uncreamed butter and sugar will ruin your final texture.
Step 4: Look and Listen
You are looking for specific visual cues.
- Color: The mixture will transform from a deep yellow to a very pale, almost off-white color. This is the air being incorporated.
- Texture: It should look fluffy and light, like a thick frosting or mayonnaise. You should see visible tiny air bubbles in the mixture.
- Sound: The mixer should sound consistent. If it starts to sound “sloshy” or the mixture looks greasy and shiny, you’ve pushed it too far. Stop immediately.
Step 5: Timing is Everything
For most stand mixers, perfect creaming happens between 3 and 5 minutes.
- At 2 minutes: You have a paste.
- At 4 minutes: You have a fluffy, aerated cream.
- At 6+ minutes: You risk over-creaming, where the friction begins to melt the butter and the air structure collapses.
When you add the eggs, do it one at a time on low speed. Beat each egg for about 15 seconds before adding the next. This maintains the emulsion you just built.
For a phenomenal reference, King Arthur Baking’s guide to creaming breaks down the timing and visual cues perfectly.
4 Common Stand Mixer Creaming Mistakes (And How to Fix Them)
Even with the right tools, things can go wrong. Here’s how to diagnose and fix the most common issues.
1. The Butter is a Brick
- Signs: The sugar doesn’t incorporate. The mixture looks grainy, hard, and stays yellow.
- Fix: Microwave the bowl for 5 seconds, no more, and try again. Or, wrap a warm, damp towel around the bowl for a minute to gently warm the sides.
2. The Butter is a Puddle
- Signs: The mixture looks sloshy, greasy, and separated.
- Fix: Chill the bowl in the fridge for 10, 15 minutes. It may not recover fully. If it stays greasy, add a tablespoon of flour to help stabilize the emulsion, then proceed.
3. You Never Scrape the Bowl
- Signs: Your final batter has streaks of butter or lumps of sugar.
- Fix: This is the single easiest fix for better baking. Just scrape the bowl twice during the creaming process and once after adding the eggs.
4. You Think “High Speed is Better”
- Signs: The mixture warms up quickly, loses volume, and looks greasy.
- Fix: Stand mixers are powerful machines. Trust the medium speed. Speed 4 or 6 is the ceiling for creaming. High speed is for whipping cream, not building a butter emulsion.
Keeping Your Mixer in Top Shape
A dirty or poorly maintained mixer can’t perform. Caked-on grease or old batter residue on the paddle can reduce aeration.
- Wash the paddle and bowl immediately after use. Hand washing is best for the paddle to protect the coating from the dishwasher.
- Wipe down the mixer head and base after every session. Butter splatter can gum up the mechanism over time.
- Never immerse the mixer head in water. Just use a damp cloth.
If your mixer is struggling to maintain medium speed or is making unusual noises, it might need a tune-up. But for most home bakers, a well-cared-for stand mixer will last for decades of perfect creaming.
FAQ: Quick Answers to Common Questions
Can I over-cream butter and sugar in a stand mixer?
Yes. Over-creaming melts the butter from friction, destroying the air pockets. Stick to the 3, 5 minute window on medium speed.
Should I use softened or room temperature butter?
Room temperature butter is essential. It should be around 65, 70°F. If you press it, it should yield, not squish.
Softened butter is room temperature butter.
What speed should I cream butter and sugar on?
Use medium speed. On a KitchenAid, that is settings 4 or 6. Low speed doesn’t add enough air, and high speed risks overheating the emulsion.
Why is my butter and sugar not getting fluffy?
Most likely, the butter was too cold. It couldn’t trap the air. Let it sit out longer next time, or cut it into smaller cubes to speed up the tempering process.
Can I use a hand mixer instead of a stand mixer?
You can, but it is harder. Hand mixers often lack the power to maintain consistent speed, and they create less uniform aeration. A stand mixer is the superior tool for this job.
Mastering how to cream butter and sugar with a stand mixer is the single highest-leverage skill in a baker’s repertoire. It doesn’t take fancy ingredients. It takes attention to temperature, the right tool, a timer, and a scraper.
Next time you bake, don’t rush. Let the mixer work. Let the air build.
When you see that fluffy, pale cream, you know you’ve set the stage for a perfect bake. Now go preheat your oven.

Table of Contents